
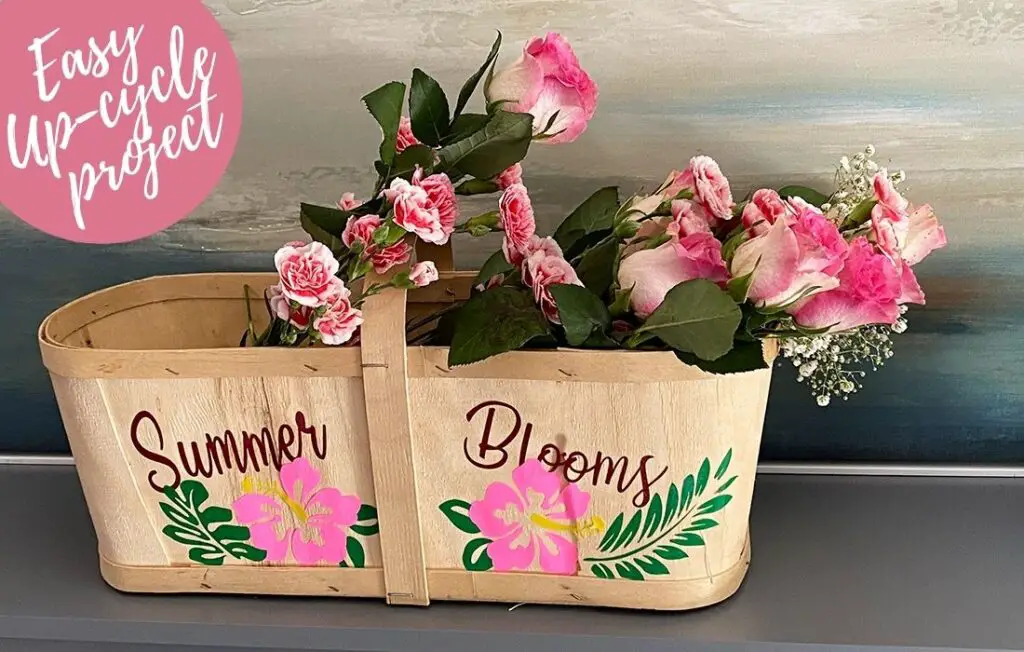
This summer blooms basket was another great thrift store find. It had a price tag of $2.50, so I couldn’t leave it behind. It was screaming at me to make a Summer Blooms basket. It did not look like it had ever been used. Great, mint condition find. What is more fun than upcycling craft projects?
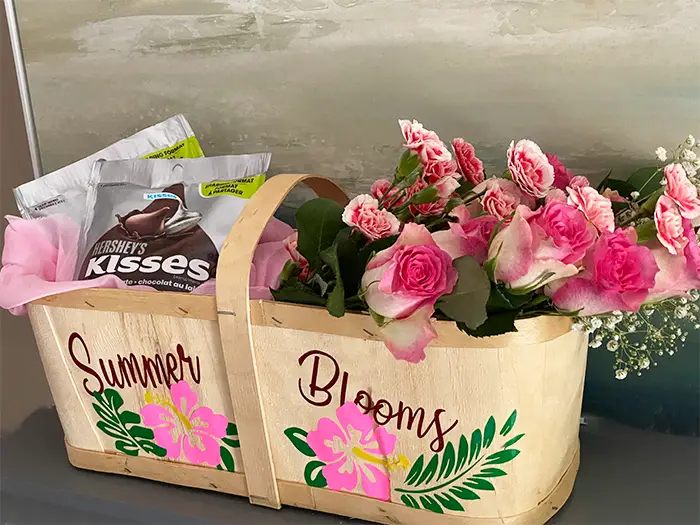
A little vinyl and a little time, and my basket is ready for a bouquet. This summer blooms basket would also make a great gift basket for Mother’s Day or any occasion. Fill it with goodies and cover it in clear wrap, and it makes a beautiful showpiece to give.
If you have an old basket and want to use it, but it needs cleaning, use our easy step-by-step process to clean old wood. Once cleaned it can be used in our Summer Blooms Basket project.
The plan was to create some adhesive vinyl cuts and decorate the basket, and then fill it with flowers. The flowers will be paper and fabric when the basket is used indoors, and when summer arrives, fill it with real flowers and place it outside. I think some pink petunias and some hanging vines would look lovely by the front step, next to an old pair of shoes. Love it already!

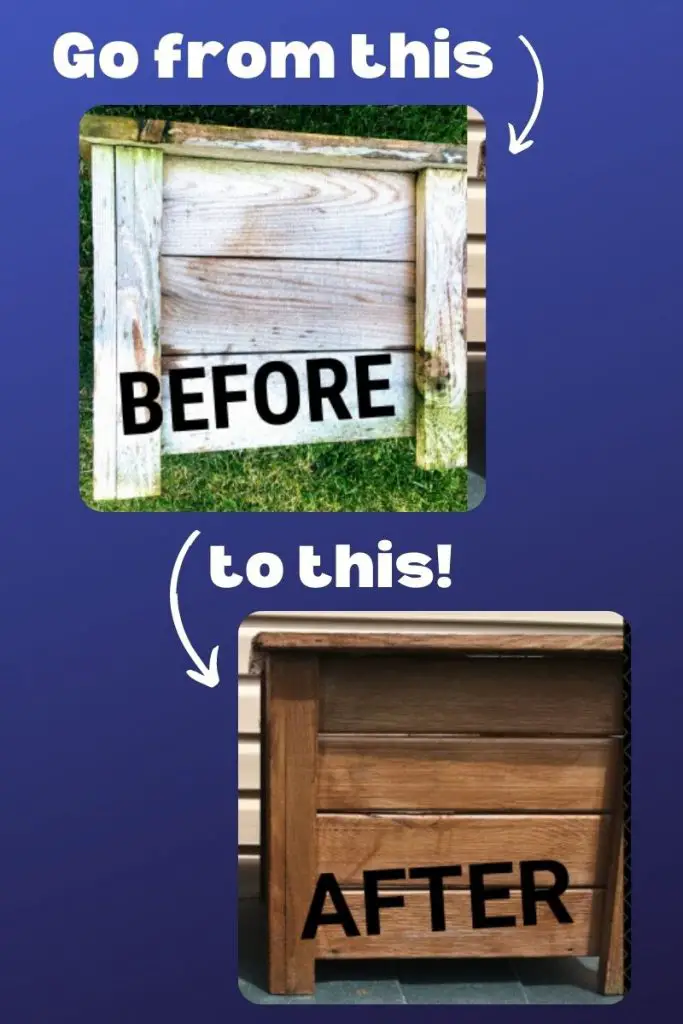
Clean old wood baskets with this easy wood renewing project and use them in our Summer Blooms Project
This website contains affiliate links. As an Amazon affiliate, I earn a small commission from qualifying purchases (at no cost to you).
Supplies List
- Basket ( a vintage garden basket is what I used)
- Cricut or another brand of cutting machine
- Your design choice
- adhesive vinyl (suitable for outdoor use)
- transfer tape
- clear acrylic sealer
Cutting machine tools List
Instructions to make a Summer Blooms Basket
Measure the side of your basket, where you will be placing your design.
The font that I used was “Countryside.” This is a free font that you can easily download onto your computer. Just visit DaFont.com
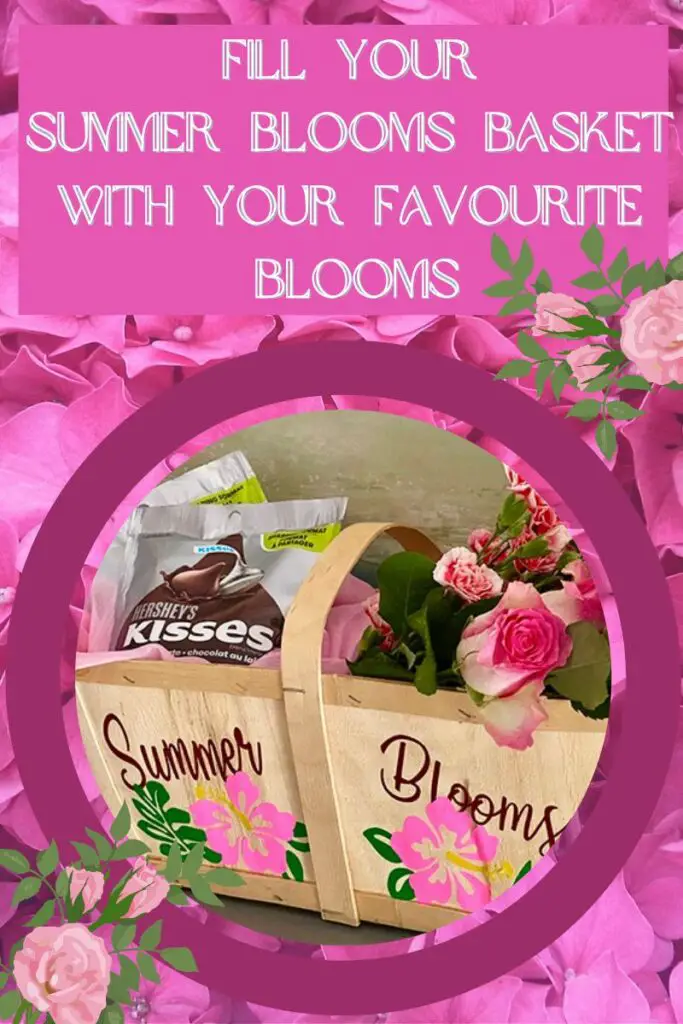
I chose a Hawaiian hibiscus flower pattern for the sides of my basket. This is a fantastic summer design that adds a touch of class to an old basket.
Just load the design into Cricut Design Space and resize it for your basket.
Select “MAKE IT”
Follow the instructions on layering Vinyl.

Download the hibiscus design for your own Summer Blooms Basket from our free resource library.


Once the designs are cut on your cutting machine and weeded. They are ready to be applied to the sides of your basket.
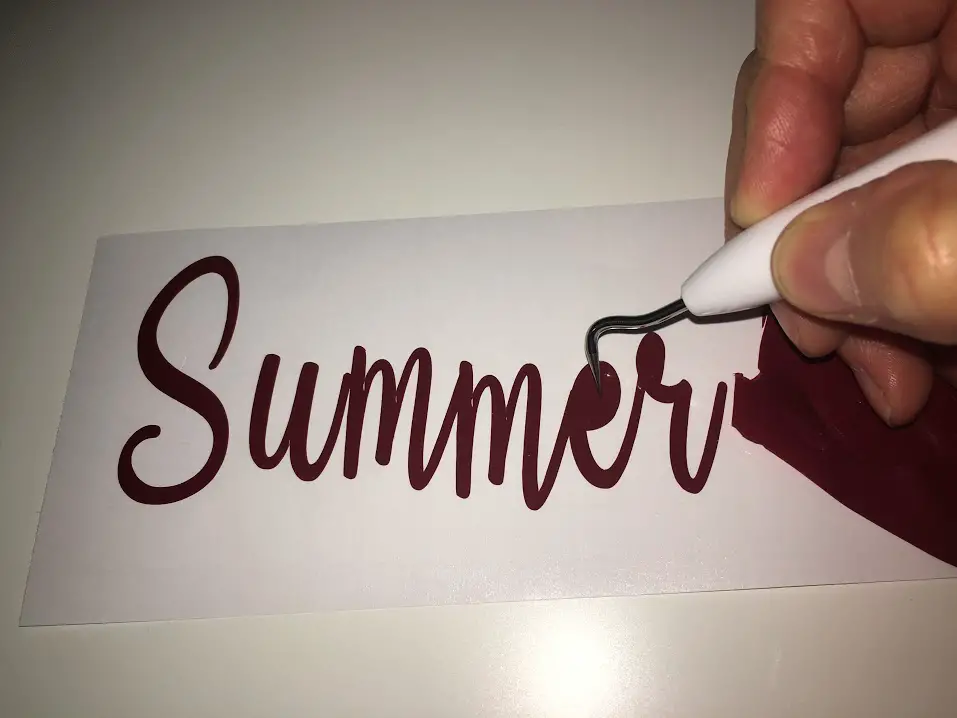
Using Transfer tape, apply your design to the basket.
I have tried a few different brands of transfer tape, and so far, I have found the Con-tact brand shelf liner paper works best.
I would always see people in videos easily pulling their vinyl off the carrier sheet and then peeling off the transfer paper seamlessly. It never worked like that for me until I tried Con-tact paper. It is so easy to use, and it is probably cheaper than anything else I’ve seen so far.
Using the Con-tact paper,I applied each design on the side of the basket in the desired spots. Using an X-Acto knife, trim any excess vinyl along the edge of the basket. Using a Cricut scraper, make sure that all the designs adhere well.
Once everything is in place and secured, give the basket a light coating of clear Mod Podge sealer. If it’s not going outside, then it isn’t needed, but the sealer will help protect the design from the elements.
You can fill the basket with fresh blooms or use it as a decorative piece for storage for remotes, glasses, books and the like.
Thanks for visiting Baker Street Living. Happy Crafting!
Disclaimer: This post contains affiliate links. We receive a small commission when purchases are made through our links. Thank You for your support.