
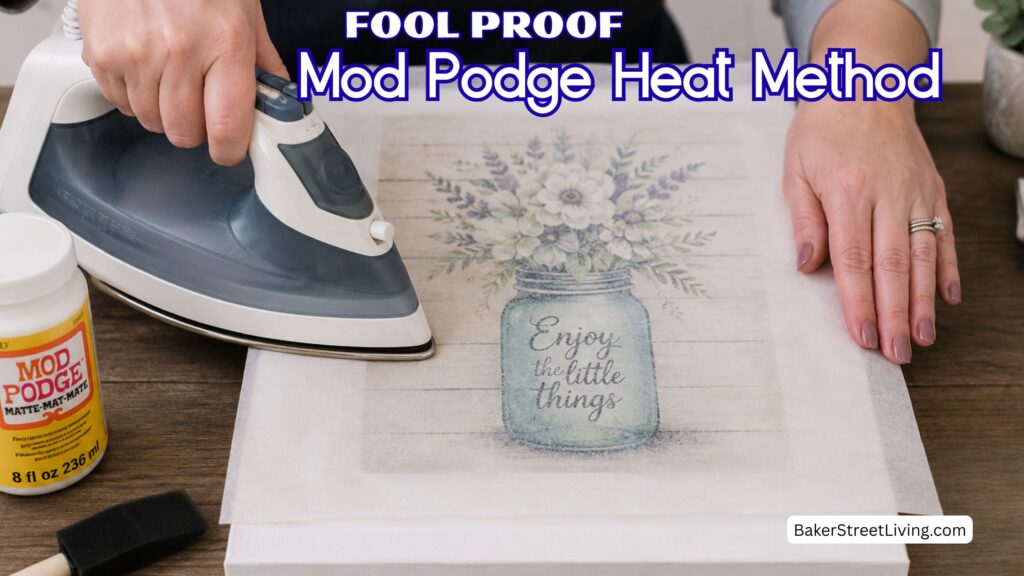
If you’ve ever finished a beautiful Mod Podge project only to watch wrinkles, bubbles, or puckering appear as it dries, you’re not alone. Traditional “wet” Mod Podge methods can be frustrating, especially when working with paper, scrapbook sheets, tissue paper, napkins, or printed designs. The good news? There’s a cleaner, smoother option that many crafters swear by: the Mod Podge heat method, sometimes called the dry method or iron-on method.
Instead of gluing paper directly into wet Mod Podge and hoping it dries smoothly, the heat method allows you to work with a dry adhesive base and activate it using heat. The result is often a flatter, more professional finish with np wrinkles or bubbles.
Supplies You’ll Need
- Mod Podge (all styles work well)
- Foam brush or soft paintbrush
- Decorative paper or printed design
- Wooden surface, canvas, or plaque
- Household iron (steam turned OFF) or heat press
- Parchment paper or a pressing cloth
Step-by-Step: How to Use the Mod Podge Heat Method
Step 1: Prepare Your Surface
Start with a clean, dry surface.
If you’re working with unfinished wood, lightly sand it first, so the Mod Podge spreads evenly. Wipe away dust before movingto the next step.
A smooth base helps prevent uneven adhesion later. If you are using a textured surface, skip the heat and go for the wet application.
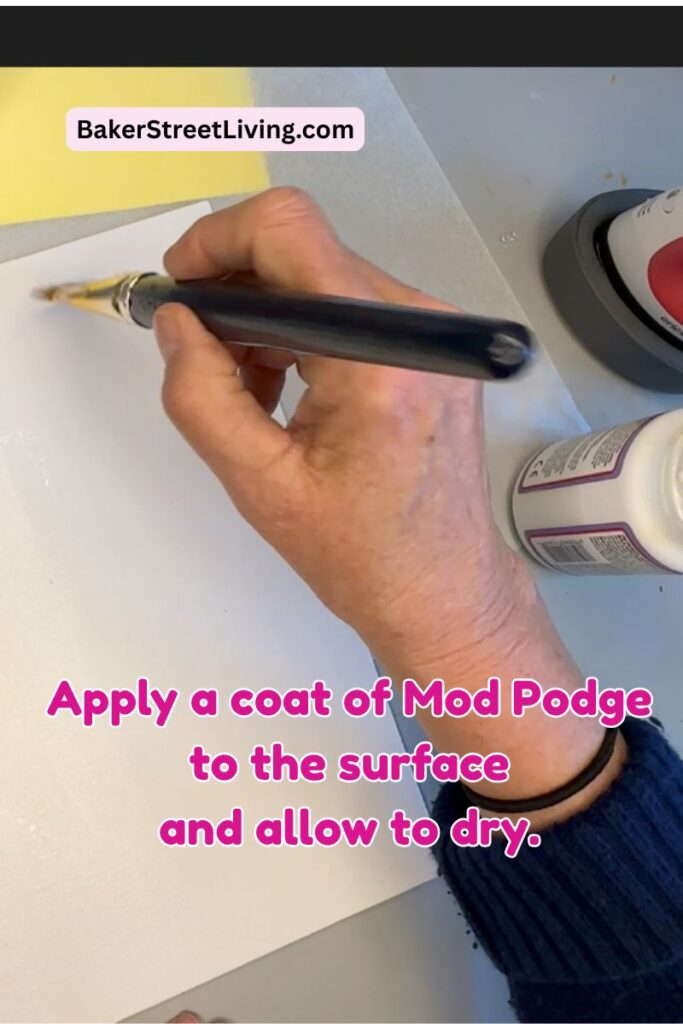
Step 2: Apply a Coat of Mod Podge
Brush a thin, even layer of Mod Podge directly onto your project surface.
Don’t make it too thick; heavy layers can create lumps or uneven bonding.
Try to avoid streaks or puddles.
Step 3: Let the Mod Podge Dry Completely
This is the step that makes the heat method different.
Allow the Mod Podge to dry fully until it feels smooth and no longer tacky. Depending on humidity, this usually takes 20–60 minutes.
You can even leave it overnight if needed. If quick drying is required, use a hair dryer set to cool on low speed to dry the surface.
The surface should feel dry to the touch before moving on.
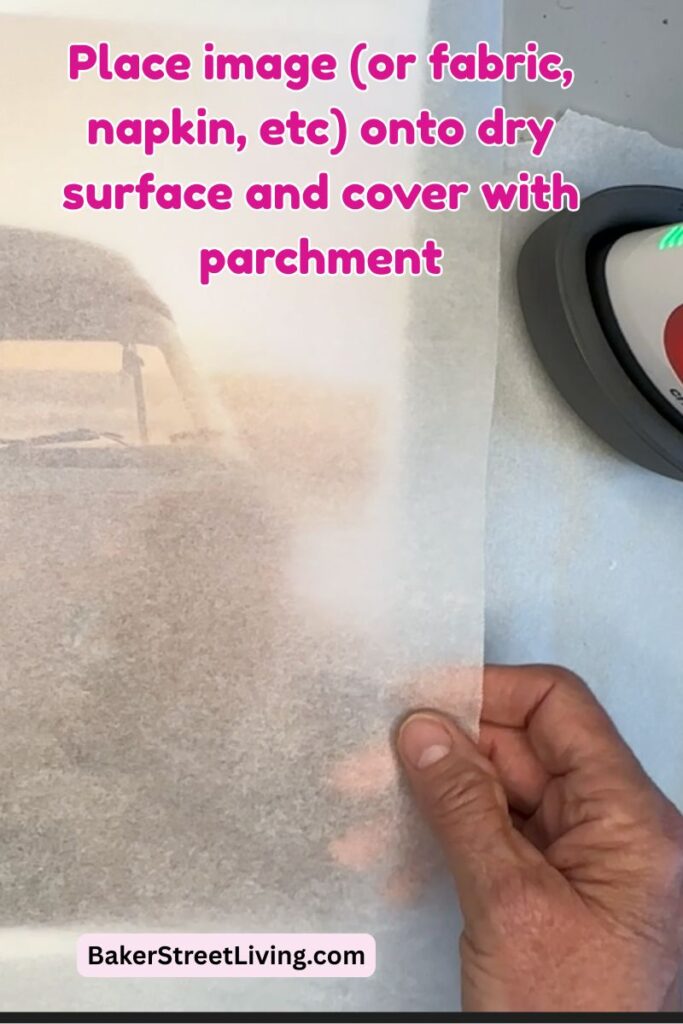
Step 4: Position Your Paper
Place your decorative paper exactly where you want it.
Since the adhesive is dry, you can take your time lining everything up before bonding.
If your design must be centred, now is the time to double-check the placement.
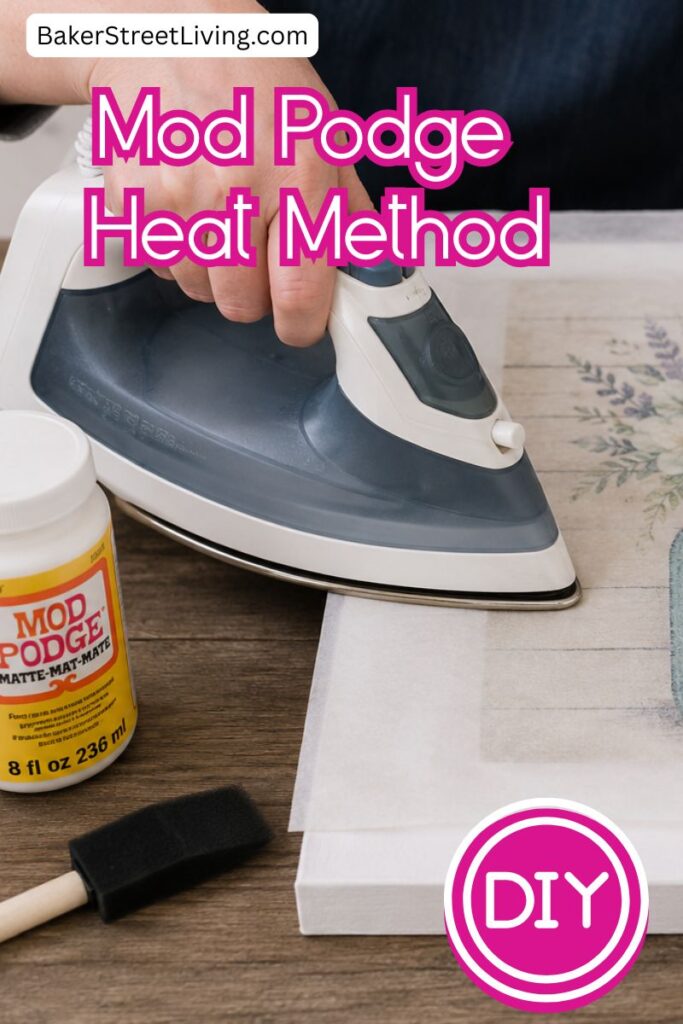
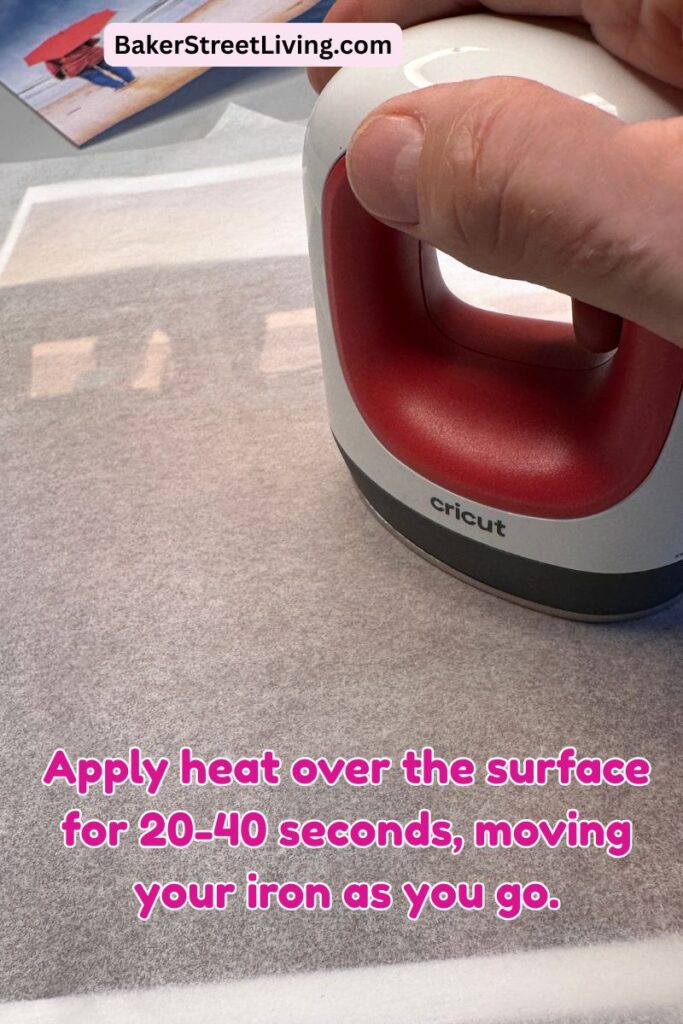
Step 5: Apply Heat
Place parchment paper or a thin cotton pressing cloth over your project to protect it.
Using a dry iron (no steam) on medium heat, slowly iron over the surface.
Move steadily and apply gentle pressure for 20–40 seconds, paying extra attention to corners and edges.
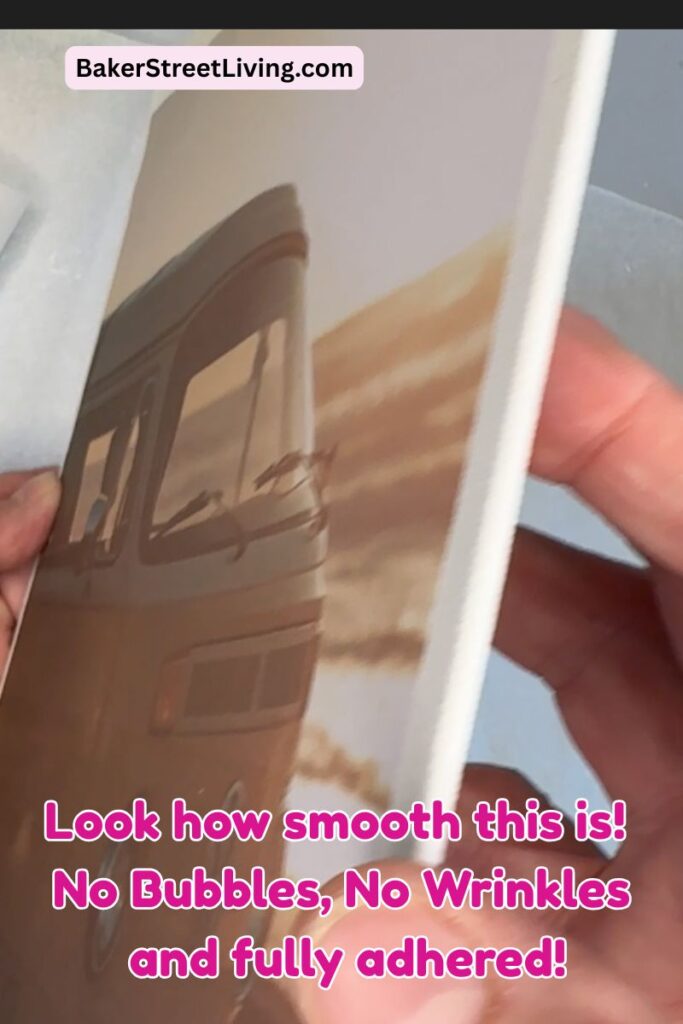
Step 6: Check and Re-Iron if Needed
Gently lift one edge to check adhesion.
If sections haven’t fully attached, simply place the cover back down and apply more heat.
Stubborn edges usually need just a few extra seconds.
Step 7: Seal the Top (optional)
Once everything has cooled, brush a thin sealing coat of Mod Podge over the top.
Let dry completely.
For extra durability, apply 2–3 thin coats, allowing drying time between each.


Choosing Wet or Dry Mod Podge Method:
Choose the Mod Podge Heat Method if you want,
- Smoother paper application
- Fewer wrinkles
- Better results with scrapbook paper
- Cleaner decorative signs
- Less frustration with bubbles
- Lightweight Fabrics
Choose the Wet Method If You’re Working With:
- Curved surfaces
- Heavy Fabric
- Tissue paper layering (ie, piñatas)
- Uneven objects
- Textured surfaces
Common Mistakes to Avoid
Using Steam on the Iron
Steam introduces moisture, which defeats the purpose of the heat method and may create wrinkles.
Always turn the steam off or use a heat press that does not have a steam option.
Applying Too Much Mod Podge
One of the most common errors is using too much Mod Podge. Thicker is not better.
A thin coat bonds more evenly and reduces bubbling. If needed, multiple thin coats is preferred over one thick coat. The result is a smoother surface.
Not Letting the Base Dry First
If the Mod Podge is still wet, you’re basically doing the traditional method.
Patience matters here. If the base application is not fully dry, it can cause a sticky mess when pressing.
Skipping the Protective Layer
Always use a thin pressing cloth (untextured), parchment paper between the iron and the project to avoid scorching and protect your iron from being damaged by seeping Mod Podge.
I love this method. It was a game-changer for my crafting projects! It takes a little extra patience upfront, but the payoff is worth it: smoother finishes, cleaner edges, and projects that look far more polished.
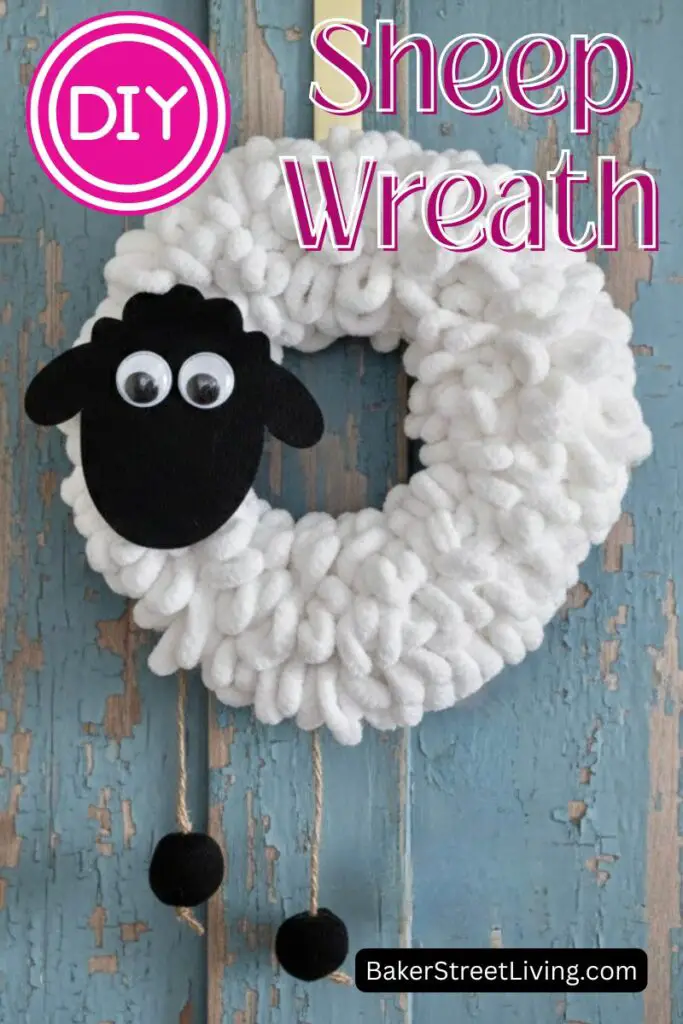
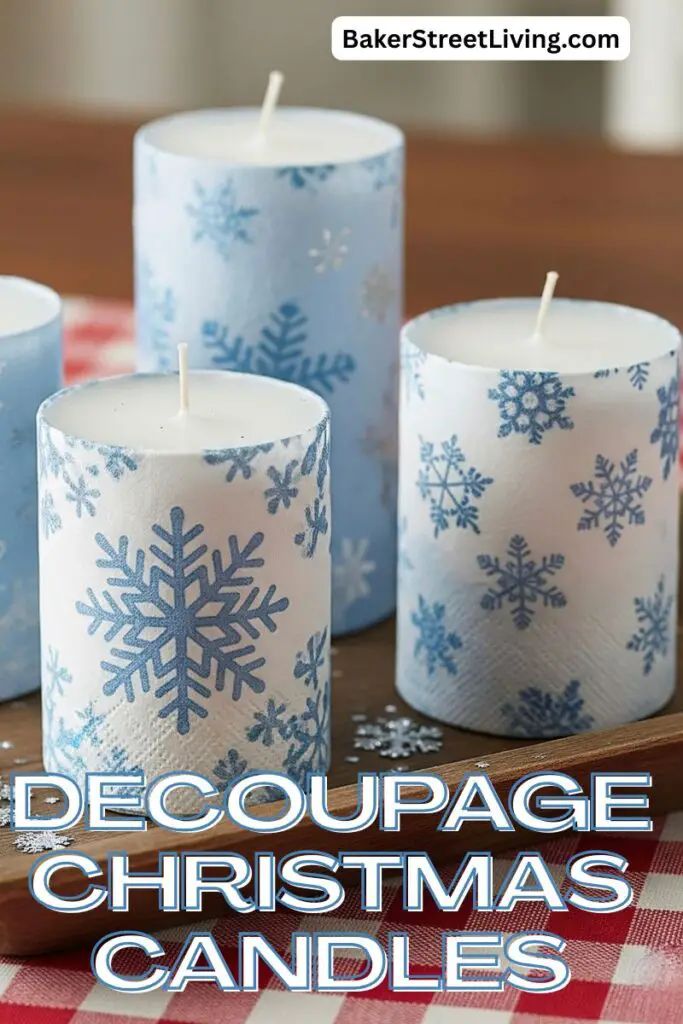
Whether you’re decorating wood signs, making Cricut crafts, or creating seasonal ornaments, this technique can help you get professional-looking results with much less frustration.

This website contains affiliate links. As an Amazon affiliate, I earn a small commission from qualifying purchases (at no cost to you).