
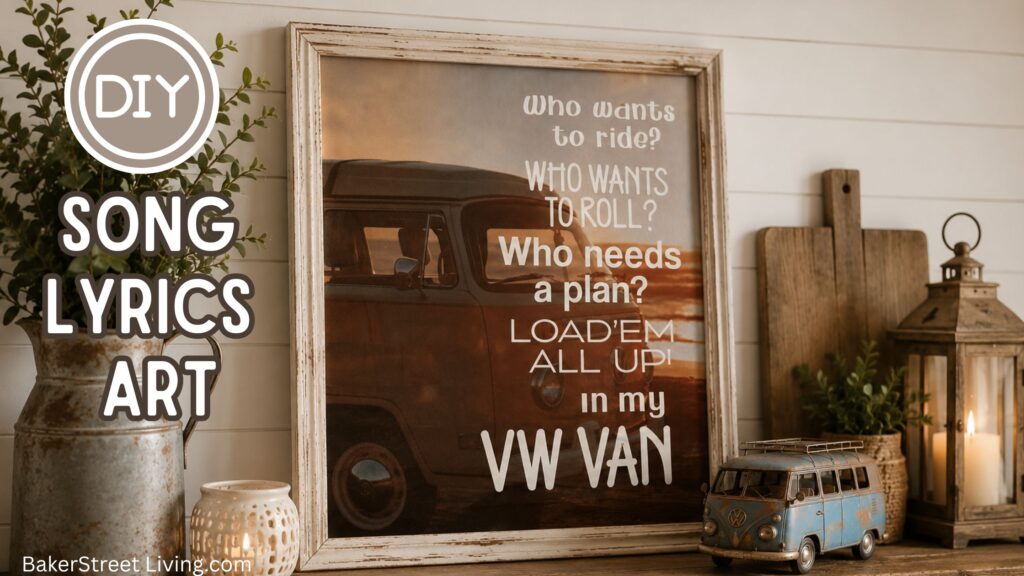
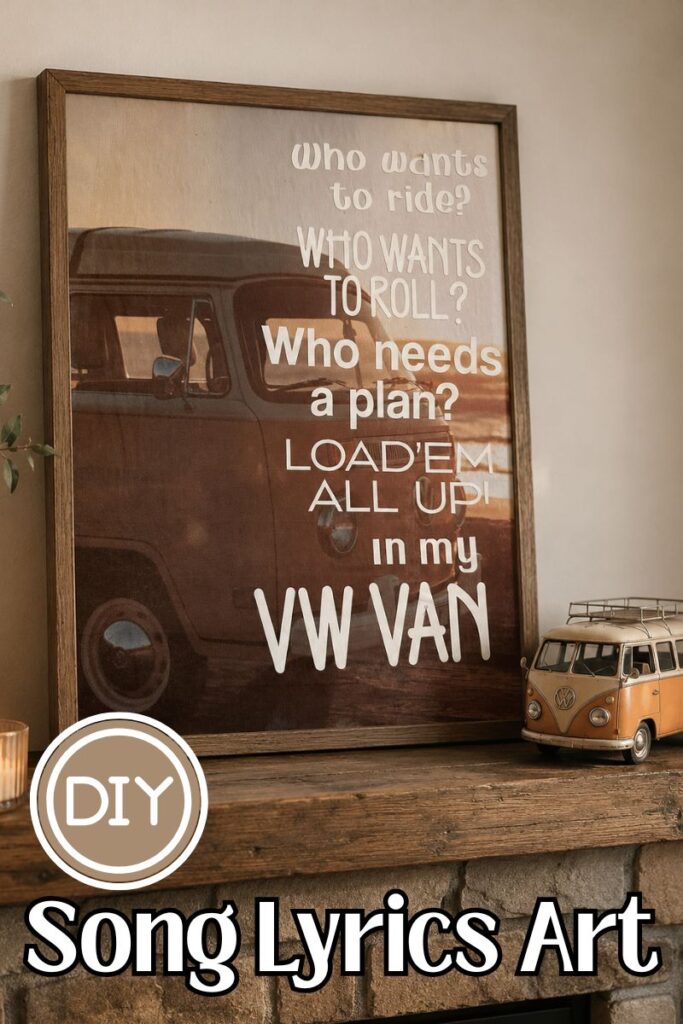
Looking for a meaningful, handmade gift that feels personal and looks high-end? This DIY song lyrics art project is the perfect solution. Using a simple canvas and a favourite image, you can create a custom piece featuring a song that reminds you of a special person, pet or event. Whether it’s a childhood favourite, a road trip anthem, or a meaningful lyric that says it all.

Why Song Lyrics Art Makes the Perfect Gift
Song lyrics have a way of capturing emotions that are hard to put into words. Turning them into wall art creates a gift that is:
- Deeply personal and meaningful
- A lasting keepsake, not just another item
- Perfect for a home, garage, or office
- Easy to customize for any style
Materials You’ll Need
This website contains affiliate links. As an Amazon affiliate, I earn a small commission from qualifying purchases (at no cost to you).
- Blank canvas
- Printer Paper and image (to use our images – see free download below)
- Adhesive Vinyl
- Cutting machine (lI am using a Cricut)
- Standard Grip Mat
- Weeding tools
- Mod Podge Matte
- Paint brush
- Transfer Tape
- Scissors
How to Make Song Lyrics Art
Step 1: Choose Your Song Lyrics
Pick a short section of lyrics that has meaning. Think:
- A song you listened to together
- A song from a special event
- Lyrics that describe a feeling you are going for.
- A line that brings back a memory
- First dance wedding songs
- Worship songs
- Family songs Parent-child songs
- Graduation songs
- Encouraging or faith-based lyrics
Tip: Keep it short: 1–3 lines work best for a clean, readable design.
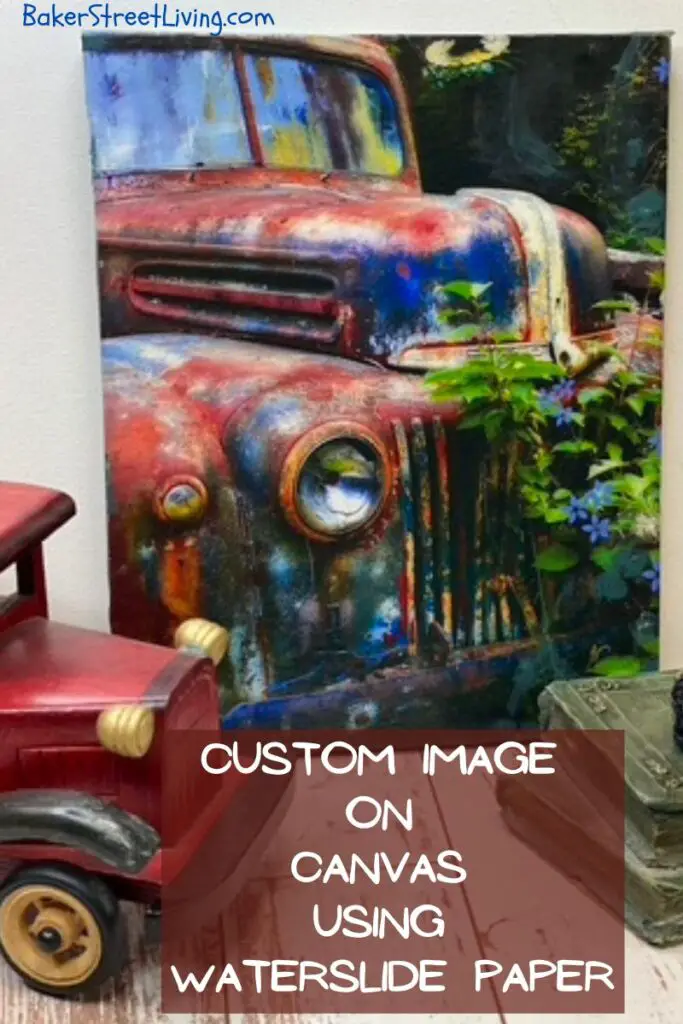
Step 2: Choose Your Image
We use 2 images in this tutorial. Both are free for you to download below.
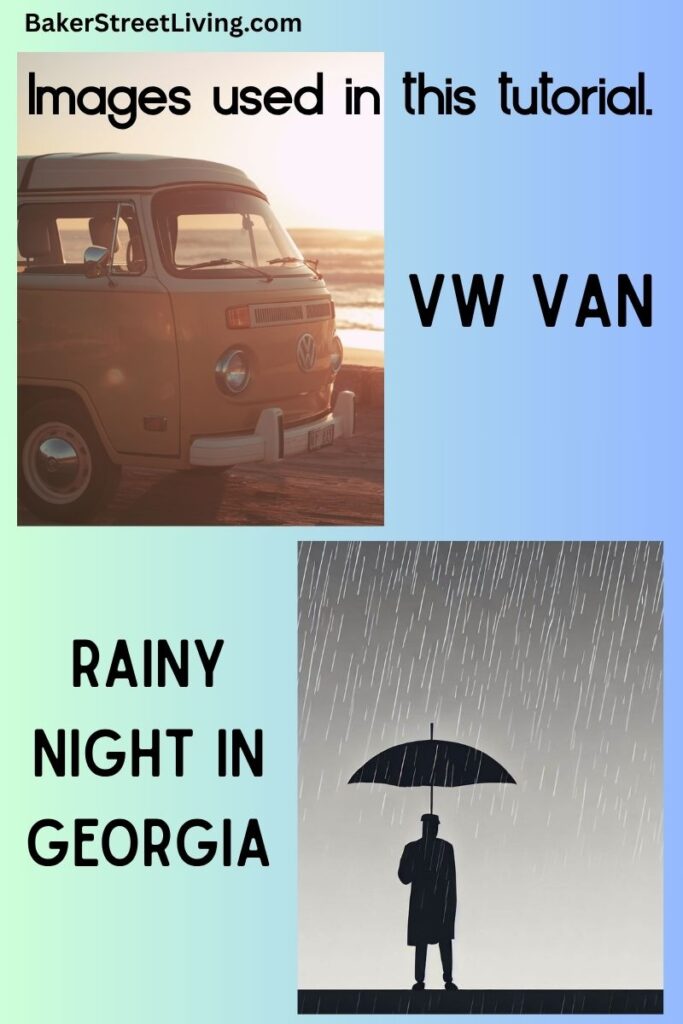
Choose a meaningful image for the background.
If you have a muted or an aged image, it will look best on ther finished canvas. If not, consider aging or muting the photo with a filter in Canva or Photoshop.
Popular background ideas include:
- Watercolor florals
- Vintage sheet music
- Sunset or beach scenes
- Wedding photos
- Rustic wood textures
- Abstract neutral designs
- Nature photography
Print your image.
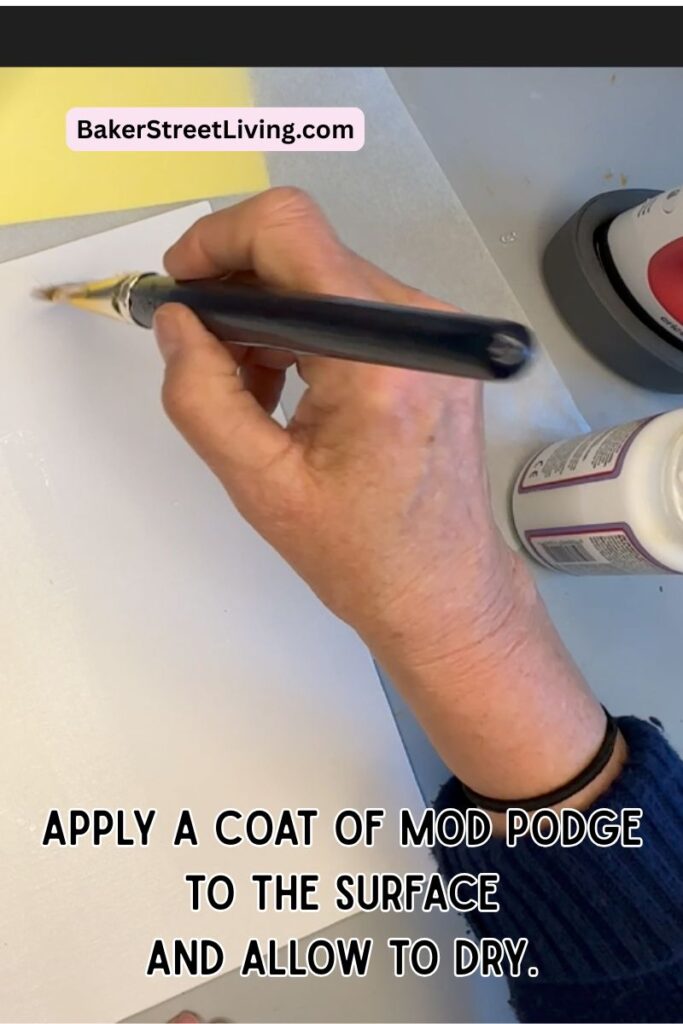
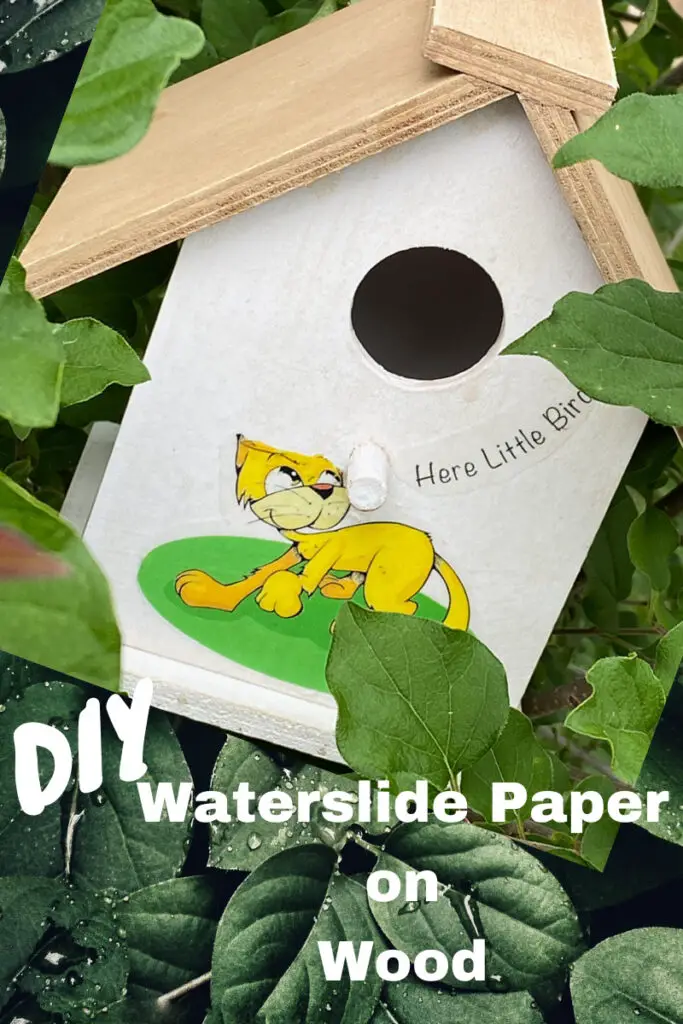
Step 3: Apply the Background with Mod Podge
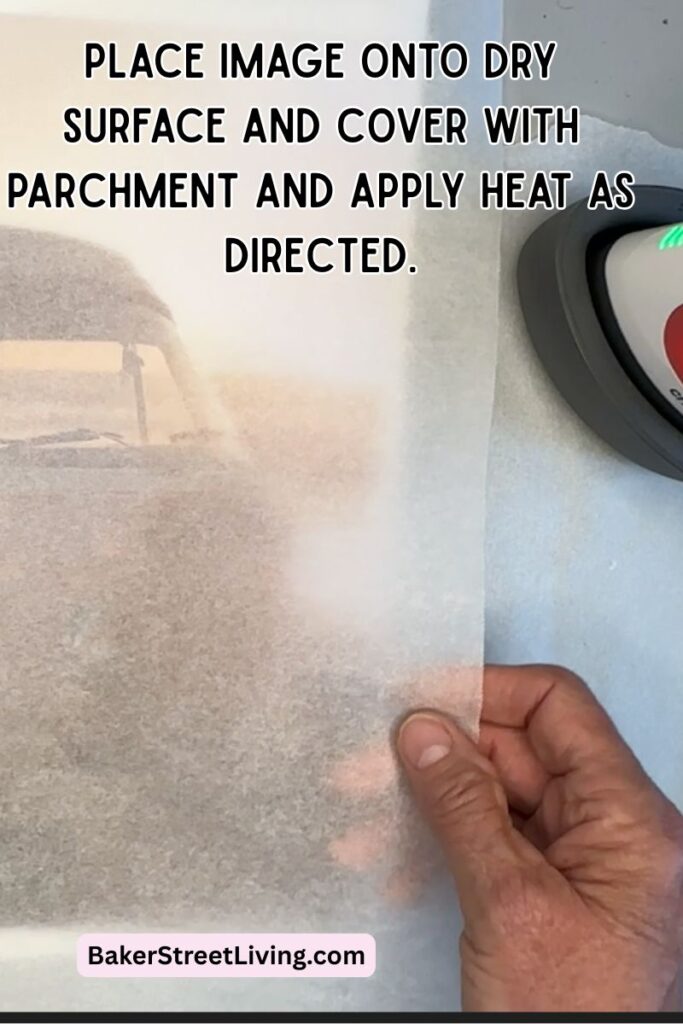
For flat surfaces, I recommend the Heat Application Method
Brush a thin layer of Mod Podge onto the surface.
Allow to dry/
Place the image on top of the dried surface and apply heat with a heat press or household iron (no Steam). Press for a few seconds. This heat activates the glue, resulting in a smooth surface.
For textured surface – Use the wet application method.
Apply a thin coat of Mod Podge.
Place the image onto the wet Mod Podge and smooth from the center outwards to avoid wrinkles.
Important Tip: Use a light coat. Too much Mod Podge often causes wrinkling.
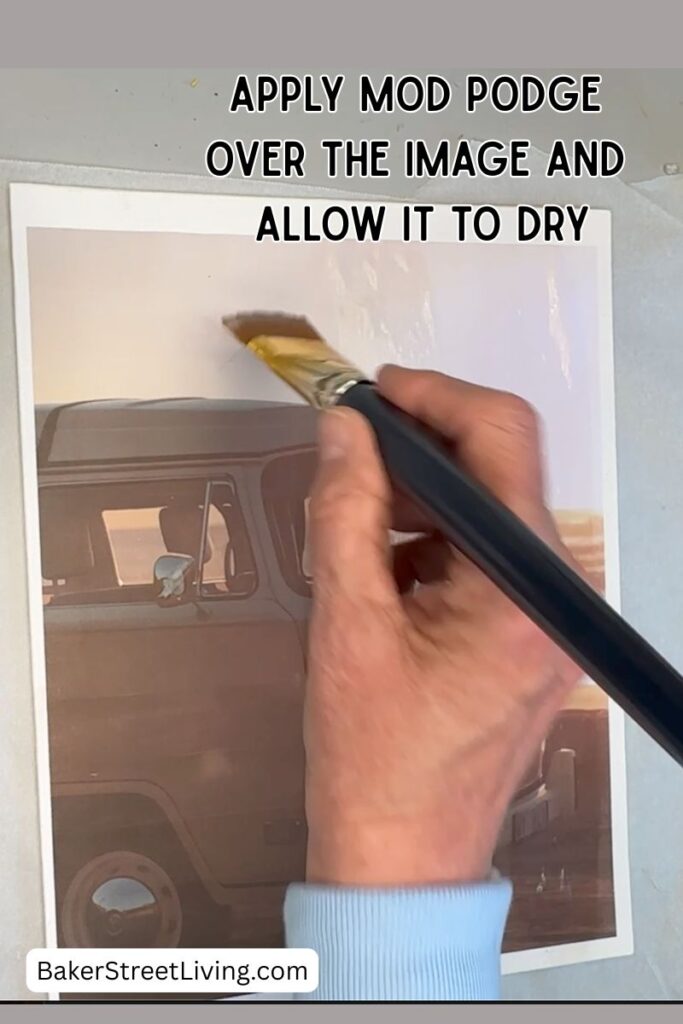
For both applications: Once dry, apply a thin top coat of Mod Podge to seal the image.
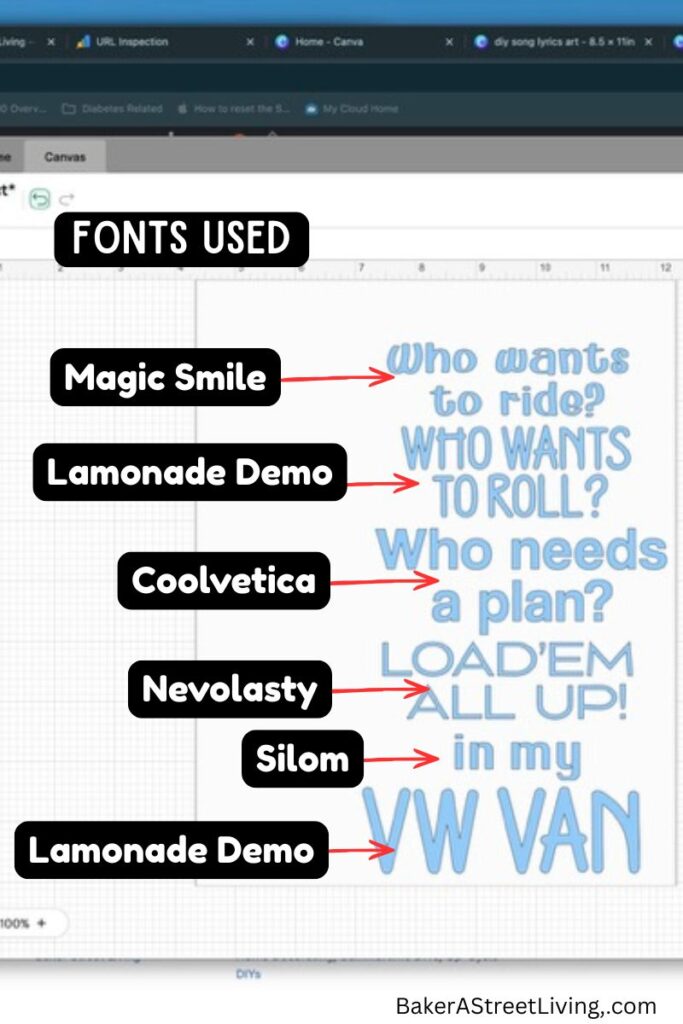
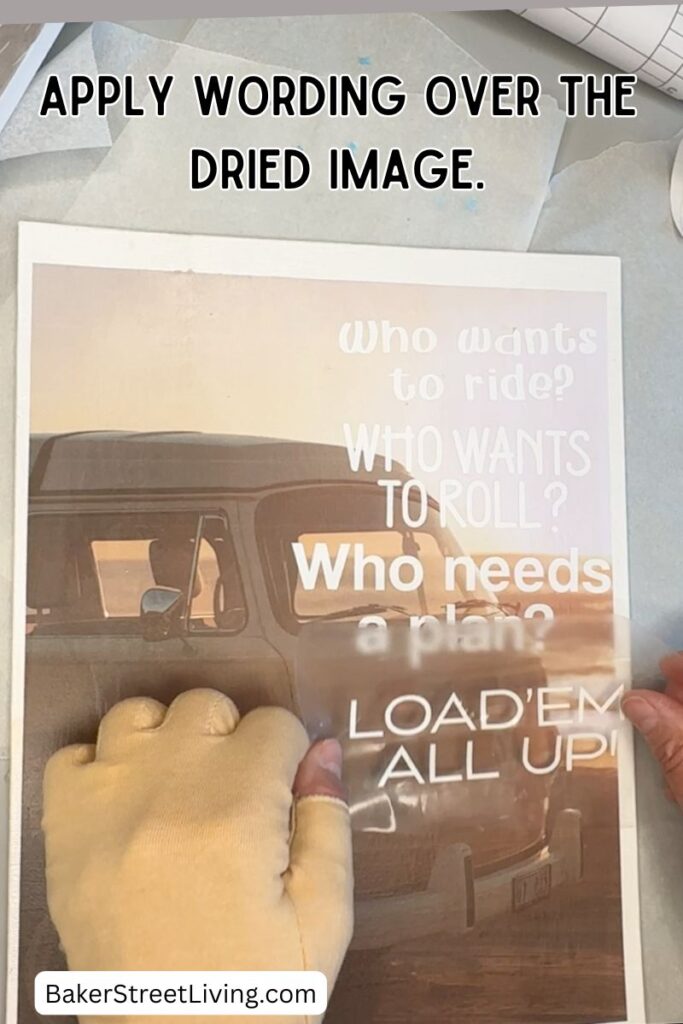
Step 4: Add Lyrics

Cut the lyrics with your Cricut using permanent vinyl.
Use transfer tape to carefully apply the wording over your background. Using a low-tack transfer tape will help preserve the background.
Step 5: Seal Your Artwork (Optional)
If desired, protect the finished piece with:
- Matte sealer for farmhouse style
- Satin finish for subtle sheen
- Gloss finish for vibrant colours
Allow everything to dry completely before hanging. Use a UV-protectant sealant for art that may be in a sunny spot.

Creative DIY Song Lyrics Art Ideas
Here are some meaningful variations:
- Wedding Song Canvas: Use your first dance lyrics with wedding colours or a wedding photo background.
- Family Song Sign: Create a sentimental family keepsake featuring meaningful lyrics.
- Hymn or Worship Art: Display favourite worship song words in your home.
- Beach or Cottage Theme: Pair coastal imagery with meaningful summer song lyrics.
- Rustic Wood Sign: Apply white vinyl letters to stained wood for a farmhouse look.
- Memorial Art: Use meaningful lyrics that remind you of a loved one. This works beautifully when added to a celebration of life display.
Tips for the Best Results
- Use matte mod podge to reduce glare.
- Allow inkjet prints to fully dry l before applying Mod Podge to prevent bleeding and smudging.
- Don’t overload Mod Podge; thin layers work best.
- Test vinyl word placement before applying it permanently.
- Choose high-contrast colours for fonts for readability.
Frequently Asked Questions
Can I use copyrighted song lyrics?
For personal home décor, many people create song lyric art for themselves or as gifts. However, selling products using copyrighted song lyrics may require permission or licensing.
What is the best surface for song lyrics art?
Wood signs, stretched canvas, framed boards, and painted panels all work well. The best results are achieved on a flat surface.
What is the easiest method?
A printed background with Cricut vinyl lettering added is usually the easiest way to get professional-looking results. The letters/words will stand out better against the background.
Making song lyrics art without a Cutting Machine?
There are easy ways to make song lyrics art without a cutting machine. You can print lyrics onto paper, cut them out and apply them using Mod Podge or transfer techniques
Use precut store-bought letters. Many of these are peel-and-stick and are easy to apply. The downfall is the selection in font styles as well as the limited number of letters, which may mean you need to purchase multiple letter sets.
Stencilling is another budget-friendly way to add lettering. It is simple. Use stencil spray to avoid bleeding.
Using permanent markers is a kid-friendly option. Pro-Tip: Write out the lyrics beforehand so the child has a reference and to avoid spelling mistakes.
Painting letters is also a budget-friendly way to add lettering. A good quality brush set helps to achieve crisp edges of the lettering. Use colour float with acrylic paints to prevent drying out while painting.
DIY song lyrics art is one of those projects that feels deeply personal and meaningful. Whether it reminds you of a special moment, a loved one, your faith, or simply a favourite memory, turning meaningful lyrics into wall art creates décor with heart.

This website contains affiliate links. As an Amazon affiliate, I earn a small commission from qualifying purchases (at no cost to you).