
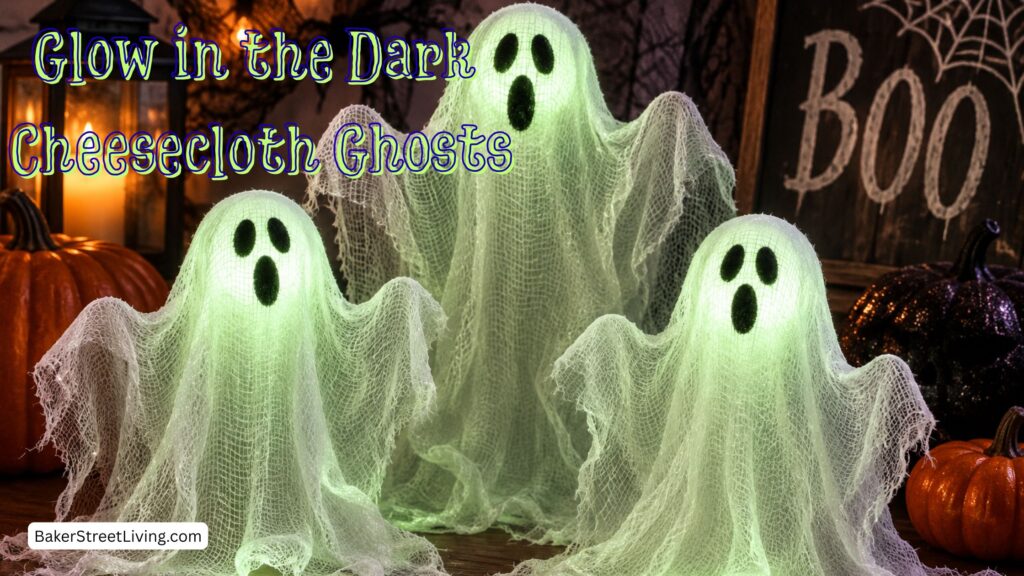
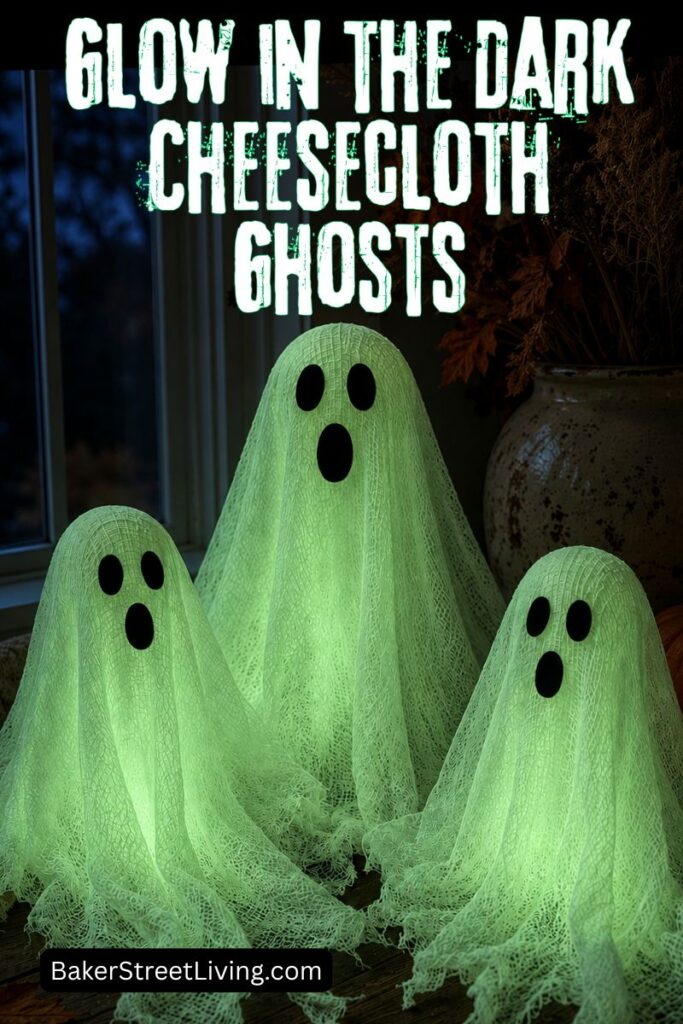
f you’re looking for an inexpensive Halloween decoration that looks spooky without being scary, these glow in the dark cheesecloth ghosts are the perfect project. These floating cheesecloth ghosts are simple to make, require only a handful of supplies, and can be customized in different sizes to decorate your porch, mantel, entryway, or Halloween party. Since they glow in the dark, they look great day or night!
Supplies Needed
This website contains affiliate links. As an Amazon affiliate, I earn a small commission from qualifying purchases (at no cost to you).
- Cheesecloth
- Glow in the dark fabric stiffener
- Styrofoam half ball
- Masking tape
- Glass jar
- Plastic wrap
- Black felt
- Scissors
- Hot glue gun with glue.
How to Make Glowing Cheesecloth Ghosts
Cover your work surface with waxed paper or something to catch the excess fabric stiffener. It can be quite messy!
Step 1: Prepare the Cheesecloth
Cut at least 3 pieces of cheesecloth large enough to drape over your ghost form. If you want fuller ghosts, layer two or three more pieces together.
Lightly fray the edges for an aged, spooky appearance.
Step 2: Make the Homemade Glow in the Dark Fabric Stiffener
In a bowl, mix:
- 1/4 cup PVA white glue
- 1/4 cup Glow in the Dark Glue
- 1/2 cup warm water
- 1 tbsp of Pigment Glow Powder
Stir until completely smooth. Add a few drops of extra water if the mixture seems too thick.
This homemade glow stiffener works well for lightweight decorations and dries clear. For tips and step-by-step instructions, see more HERE
Step 3: Build the Ghost Form
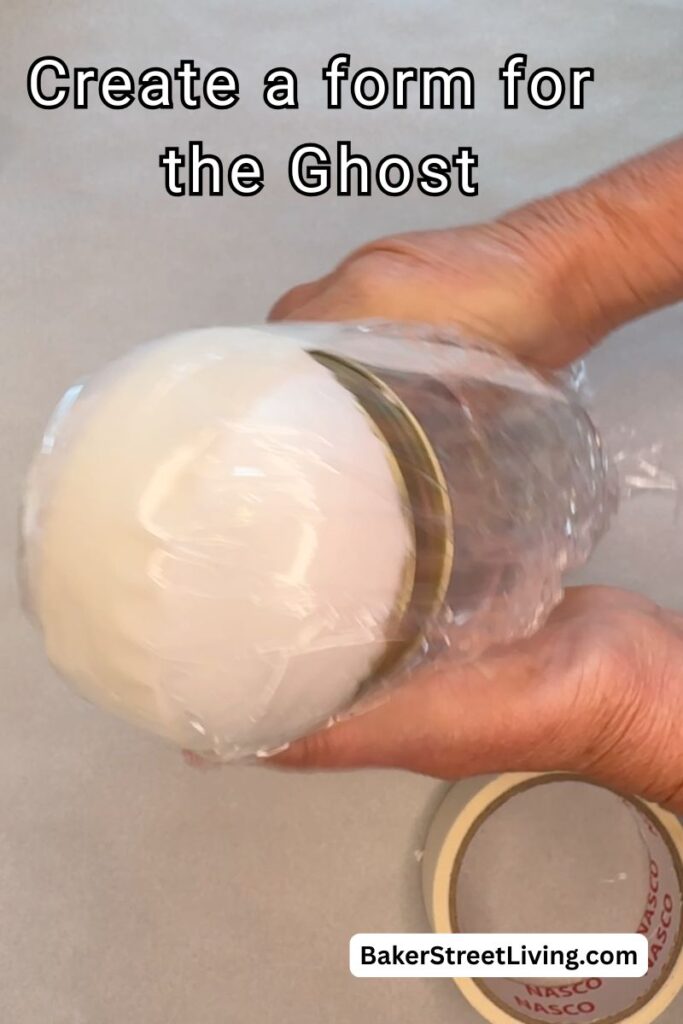
Place a half styro foam ball on top of an upside-down glass or jar.
Secure it in place with a piece of masking tape.
Cover it tightly in plastic wrap.
For Ghosts with Arms
Using painter’s tape, secure armature wire or heavy craft wire to the jar under the foam ball.
Cover your work surface with plastic wrap or parchment paper to prevent sticking.
Step 4: Saturate the Cheesecloth
Dip the cheesecloth into the glow fabric stiffener until fully saturated.
Gently squeeze out the excess without twisting the fabric.
You want it wet but not dripping.
Step 5: Form the Ghost
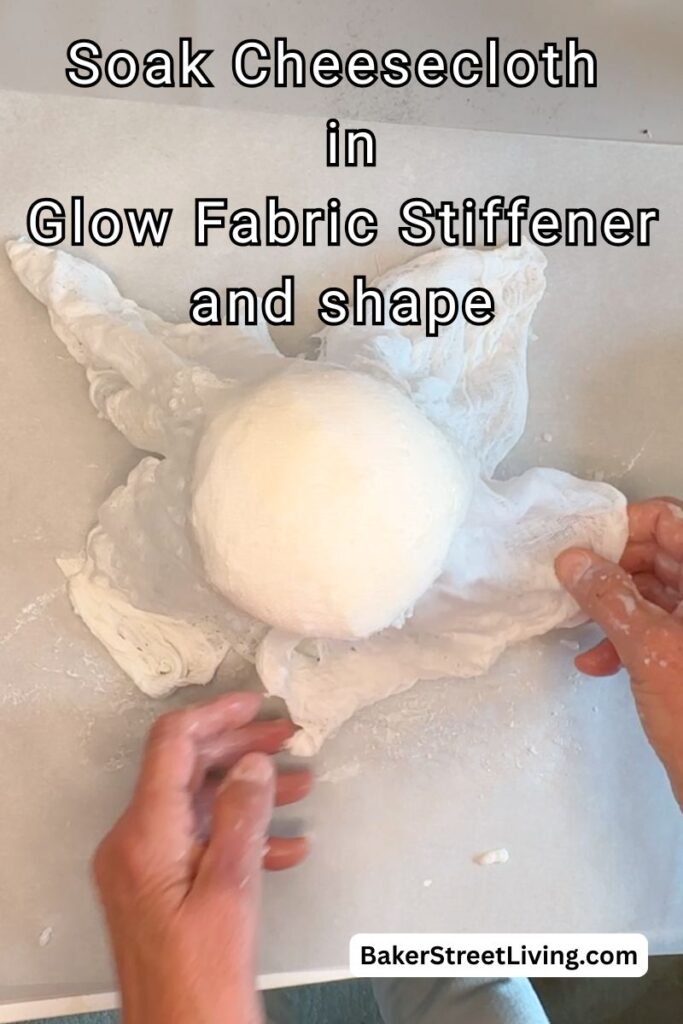
Lay the cheesecloth over the ghost form.
Arrange the folds naturally to create flowing fabric.
Allow extra fabric to pool around the bottom for a floating ghost effect.
Step 6: Let It Dry
Allow the cheesecloth to fully dry before removing it from the form.
If you have multiple layers, this may take a few days.
Removing it from the form before it is fully dry can cause the ghost to lose its shape.
Step 8: Add a Face
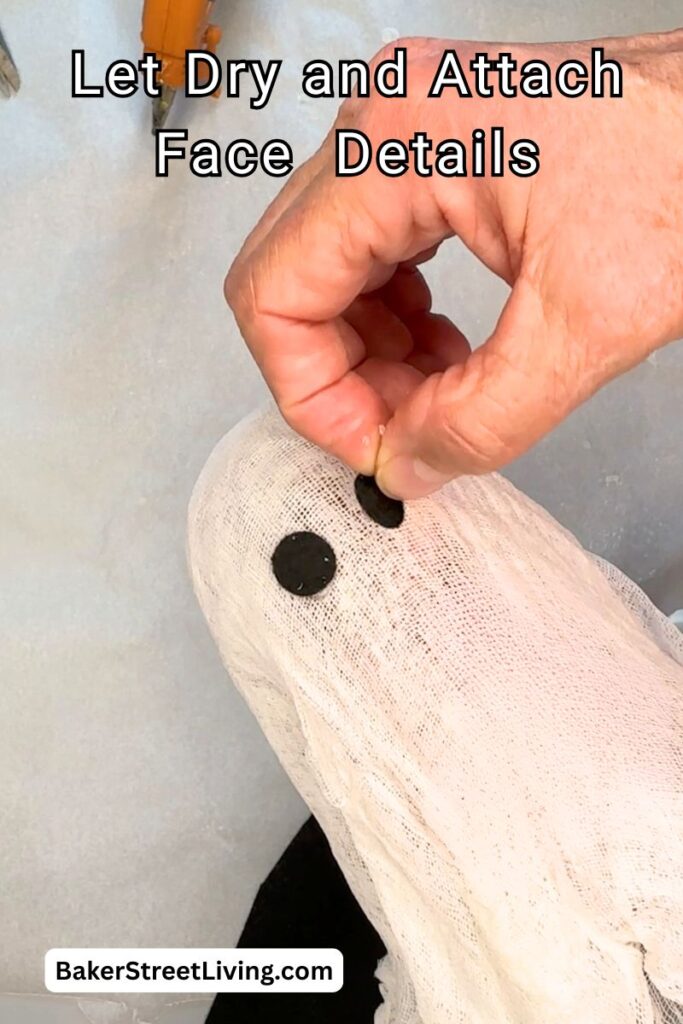
Create a simple ghost face by:
- Gluing on small black felt circles for the eyes and an oval for the mouth.
- Painting tiny black eyes and mouth with acrylic paint
- Gluing small black buttons on to create a face.
Add glue to the felt cutouts and then place them on the cheesecloth ghosts. I don’t recommend you add the glue to the cheesecloth first.
Simple faces usually look the cutest.
Step 9: Remove from the form
Carefully remove the dried cheesecloth from the plastic wrap-covered form. Be gentle!
If there are any damp spots, return it to the form and allow it to completely dry.
Step 10: Charge
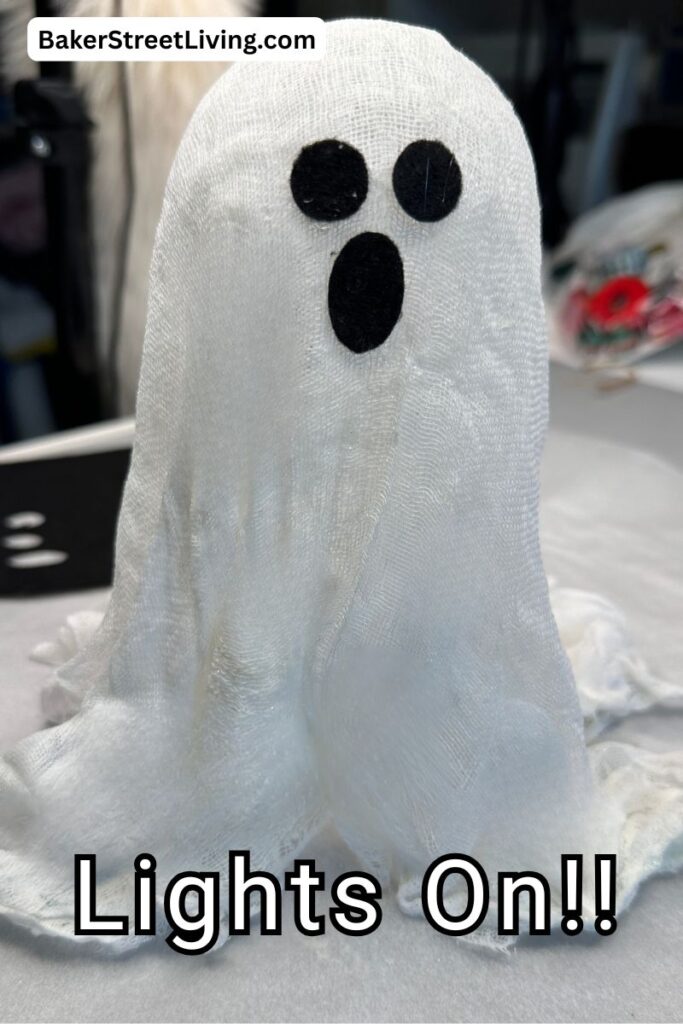
Place the cheesecloth ghost in direct sunlight or under an LED light for at least 45 mins to get it glowing.
For best results, display in an area that receives direct sunlight throughout the day.
Step 9: Display Your Cheesecloth Ghost
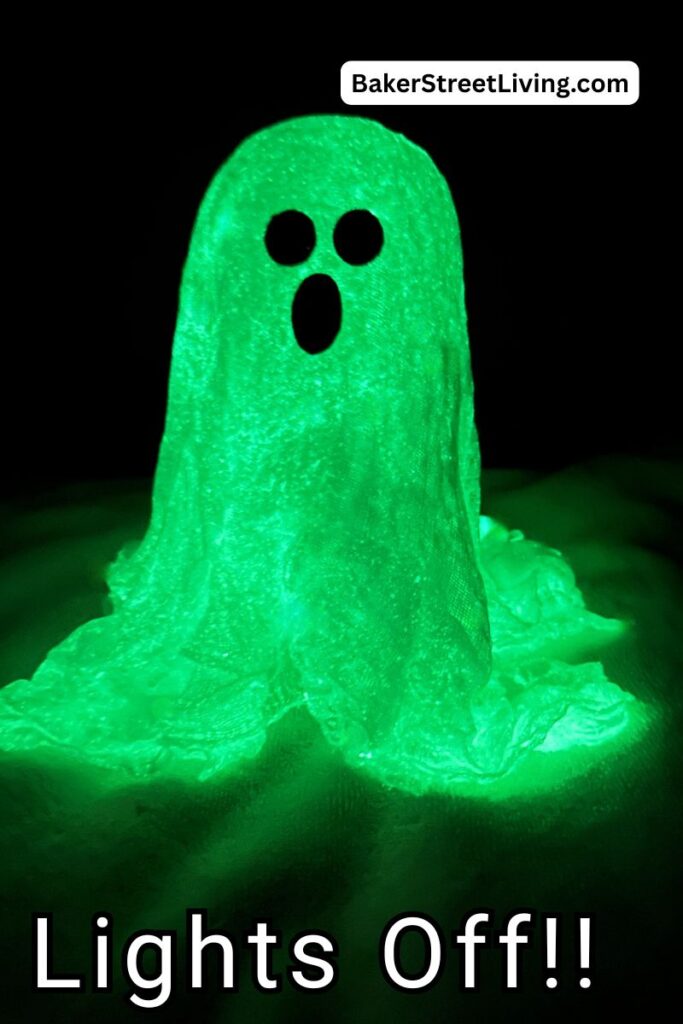
Place your ghost:
- On a mantel
- Hanging from fishing line
- On your Halloween table
- On a covered front porch

Helpful Tips
Use Multiple Layers
Two or three layers of cheesecloth create a fuller ghost and make it sturdier after drying.
Don’t Rush Drying
The ghost must be completely dry before removing it from the form.
Try Different Heights
Use taller jars or bottles to create ghosts of varying sizes.
Grouped, they create a much more dramatic display.
Store Carefully
After Halloween, wrap each ghost in tissue paper and store it in a dry container to prevent crushing.
Homemade cheesecloth ghosts are one of those classic Halloween crafts that never go out of style. They’re inexpensive, easy to customize, and look beautiful displayed individually or in groups throughout your home. Whether you’re decorating your front porch, creating a spooky centrepiece, or adding handmade touches to your Halloween décor, these DIY glow ghosts are a fun project that takes your cheesecloth ghosts to the next level.

This website contains affiliate links. As an Amazon affiliate, I earn a small commission from qualifying purchases (at no cost to you).
