
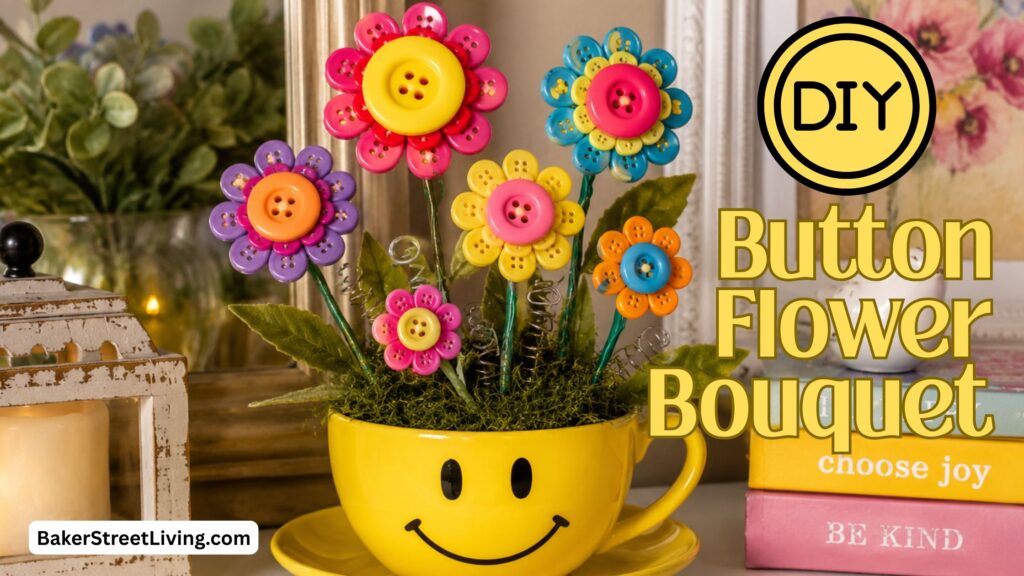
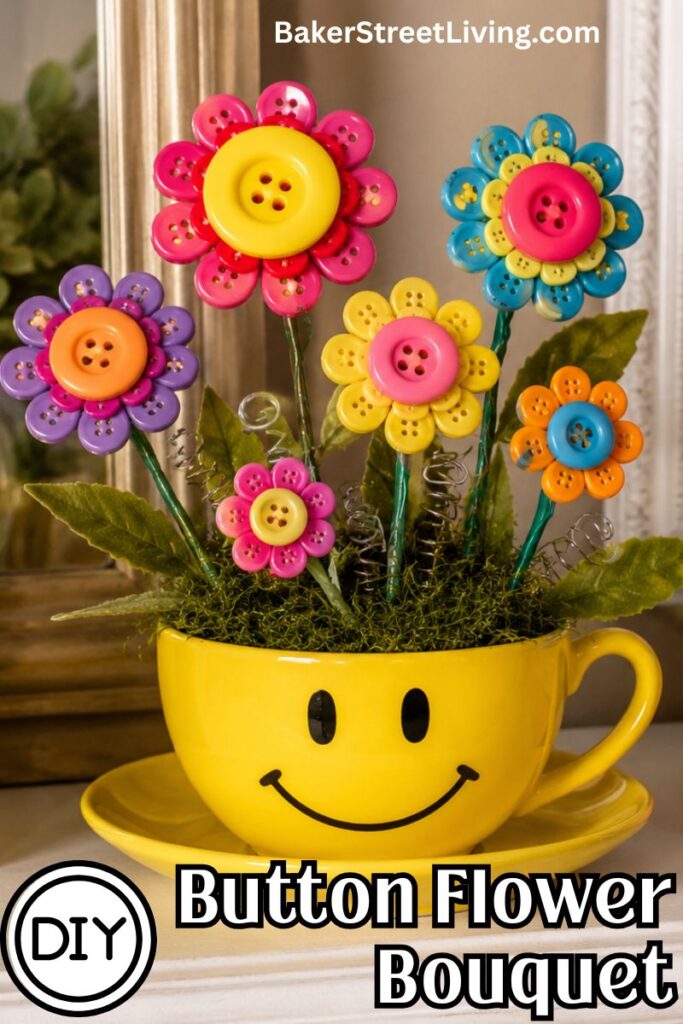
If you love vintage-inspired décor and easy crafts with a high-end look, this DIY teacup button flower bouquet is the perfect project. Made with simple materials like buttons, floral wire, faux greenery, and a pretty teacup, this arrangement looks elegant on a coffee table, kitchen counter, bookshelf, or even as a handmade gift.
The teacup and saucer give the button flower bouquet a delicate cottage-style charm, while looking rustic and creative. Best of all, you can customize the colours to match your home décor or seasonal decorating.
Why You’ll Love This DIY
- Budget-friendly craft project
- Great way to use extra buttons
- Beautiful vintage farmhouse or cottage décor
- Makes a thoughtful, handmade gift
- No two are the same
- Easy to customize with different colours and teacups
Supplies List
This website contains affiliate links. As an Amazon affiliate, I earn a small commission from qualifying purchases (at no cost to you).
- A decorative teacup and saucer
- Stiff felt
- Assorted buttons in 2 or 3 sizes (large, medium, and small)
- Sturdy craft wire (12-gauge crafting wire is being used in this tutorial)
- Hot glue gun and glue sticks
- Faux greenery or silk leaves
- Floral foam or Styrofoam
- Spanish Moss
- Decorative embellishments (pearls, rhinestones, vintage buttons, charms)
- Wire cutters
- Needle nose pliers (optional
How to Make a Button Flower Bouquet
Step 1: Create Your Button Flowers
The flowers are the star of this arrangement.
Start by sorting your buttons by size and colour.
To make each flower:
- Cut a long piece of wire, the length you desire plus one inch.
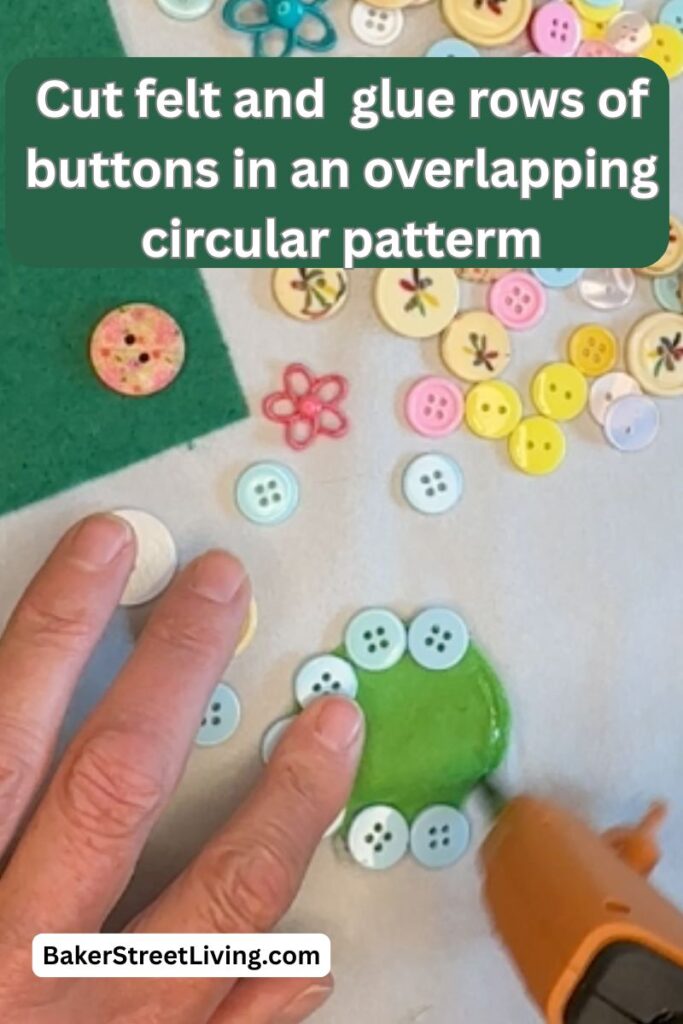
- Cut a circle of stiff felt, smaller than the overall flower size.
- Poke a small hole in the center of the circle. (This can also be done after)
- Layout your button pattern before gluing
- Smaller buttons for the outer circle
- Medium-sized buttons around the middle.
- A large button for the center.
- Arrange medium buttons around it like petals.
- Choose a metallic or pearl for the flower center, which will go on top of the large center button.
- Once you like the design, glue the buttons together with hot glue.
- Start by gluing the outer petals to the felt first, then the second row, followed by the large center button.
- Adding a decorative center button is desired.
- Once everything is glued, allow it to fully dry before adding the stem.
- Repeat for each flower you wish to have in your button flower bouquet.
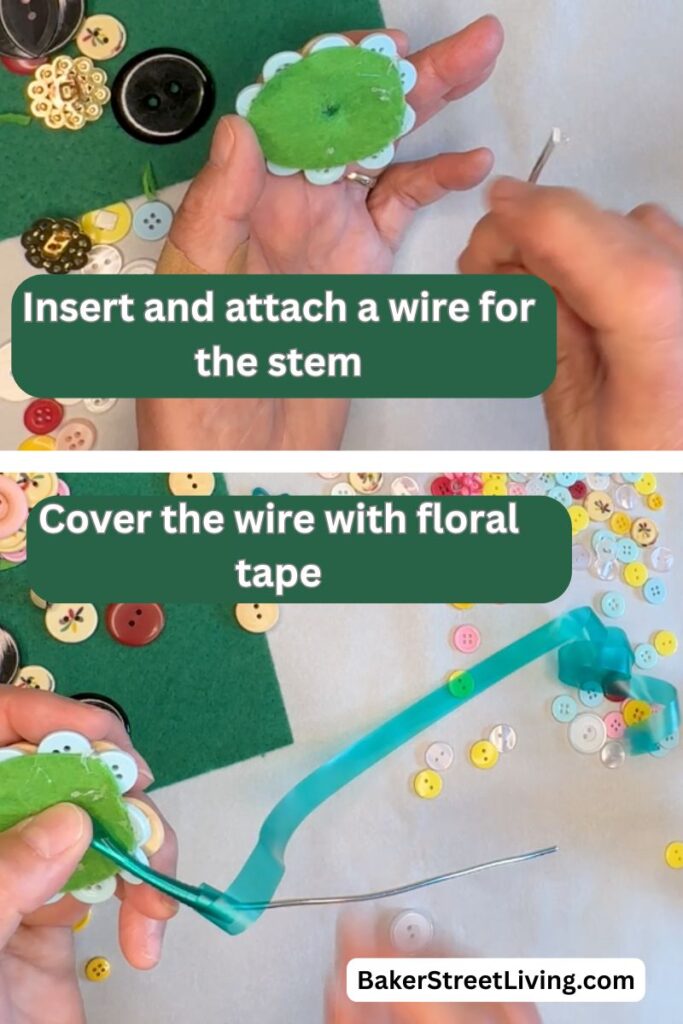
Step 2: Attach the Stem
- Poke the wire stem through the hole in the back of the flower, add hot glue and hold it in place to let the glue set..
- Wrap the wire in floral tape (if desired), securing the ends with hot glue.
- Set it aside to dry.
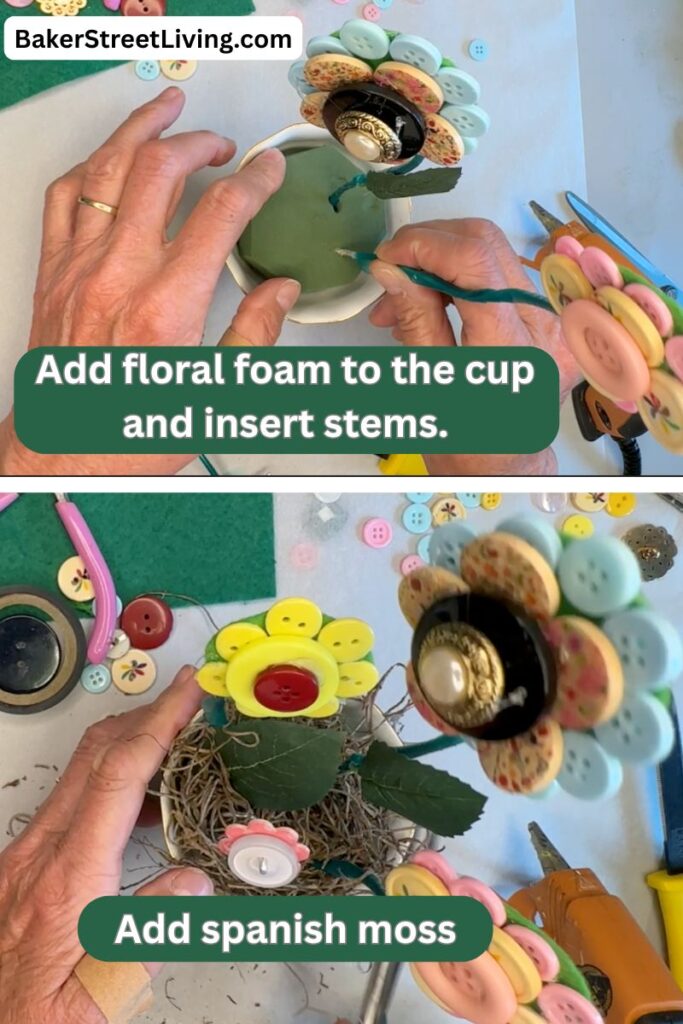
Step 3: Arrange the Bouquet
- Insert floral foam into the teacup, trimming to fit.
- Secure it in place with hot glue.
- Add Spanish moss to the top of the cup and secure it with hot glue.
- Insert each button flower into the foam and arrange as desired, adding hot glue if necessary.
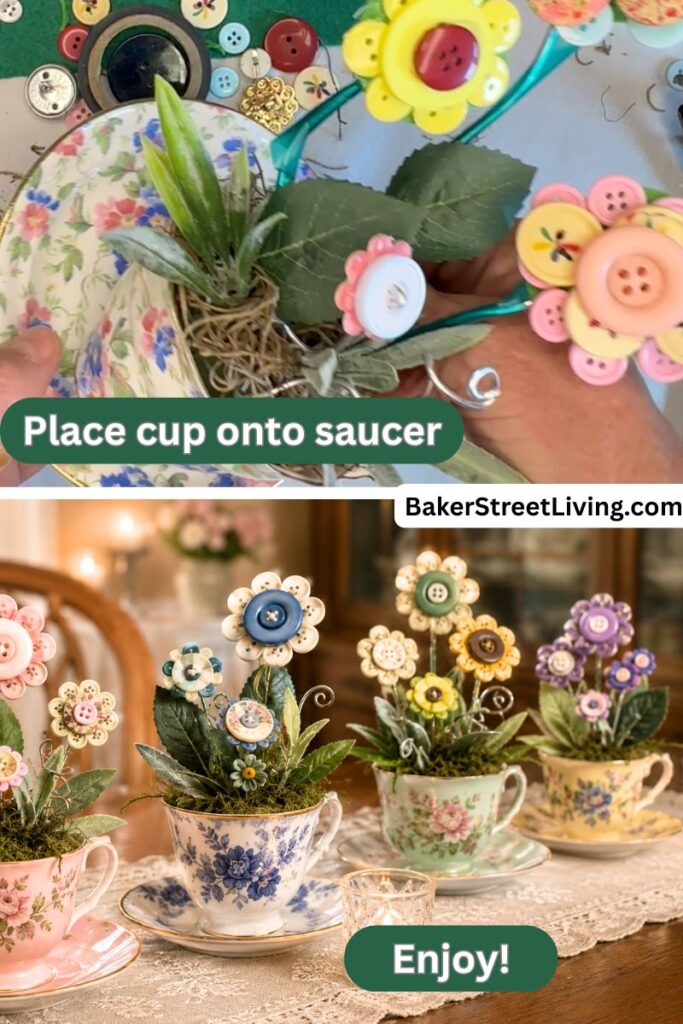
Step 4: Adding Embelishments
- Add decorative stems of leaves as filler.
- Add a couple of shorter pieces of curled wire for interest.
- Display and Enjoy!


Styling Ideas for Your Button Flower Teacup
This DIY looks beautiful:
- On a tiered tray
- Gifts for retirement or nursing home patients
- As a kitchen centrepiece
- In a powder room
- On a coffee station
- As a Mother’s Day gift
- At bridal showers or tea parties, take-home gifts
- As dinner party place cards. Just add a name
This DIY teacup button flower arrangement is one of those crafts that looks surprisingly elegant while being simple to make. It’s a wonderful way to repurpose old buttons, thrifted teacups, or vintage dishes into something beautiful and unique.
Because every flower can be customized, no two arrangements ever turn out the same, which makes this craft extra special.

This website contains affiliate links. As an Amazon affiliate, I earn a small commission from qualifying purchases (at no cost to you).