
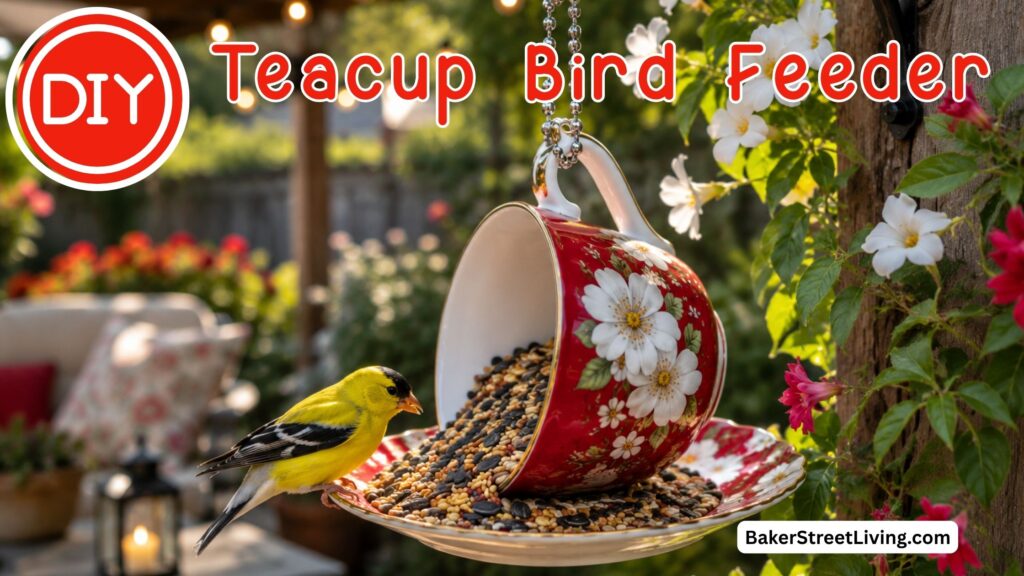
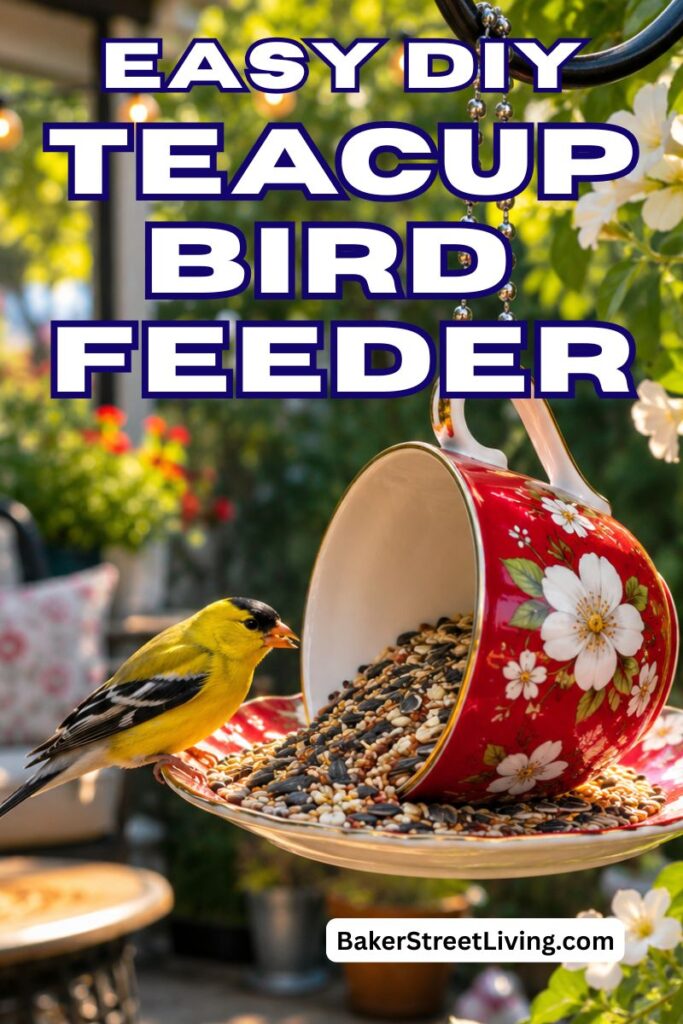
As an avid bird watcher and upcycler, this DIY Recycled Teacup Bird Feeder is the perfect afternoon project. It is budget-friendly! Just pick up an inexpensive thrift store teacup, a few craft supplies and get creating.
Why this project is worth making
- Upcycles mismatched or chipped teacups that are no longer used for food service.
- Creates a charming cottage-style garden accent.
- Provides a small feeding station for songbirds.
- Can be made in an afternoon with inexpensive supplies.(plus glue drying time)
Supplies List
- ! teacup and sauce (mismatched or chipped is fine)
- E6000 Adhesive (or outdoor safe epoxy adhesive)
- Painter’s tape, small pieces of wood, or foam for support
- Hanging Chain and Hook
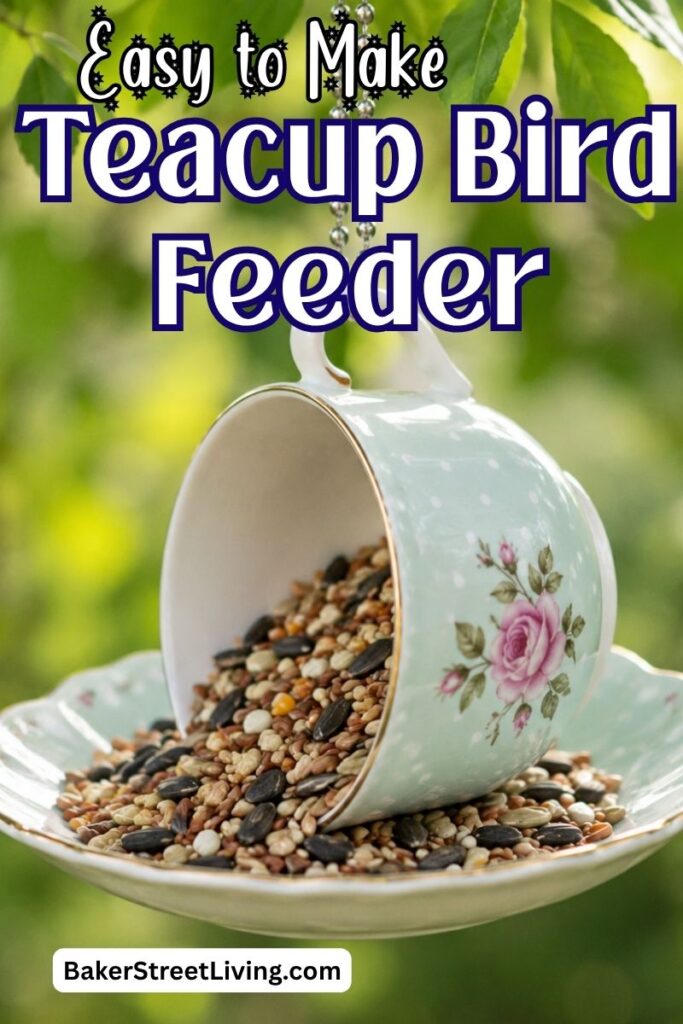
How to Make a Teacup Bird Feeder Step-by-step
- Clean and dry the cup and saucer. Wash thoroughly with dish soap, rinse well, and let dry completely. Wipe the contact areas with rubbing alcohol to remove oils.
- Decide the cup angle. The classic teacup feeder tilts the cup at roughly 30–45°, so the seed is visible and accessible. Set the cup on the saucer and experiment with the angle before gluing.
- Prepare the bonding surfaces (optional but recommended). If the glaze is very glossy, lightly scuff the small contact patch with fine-grit sandpaper. Wipe away dust.
- Position the cup to determine the angle desired.
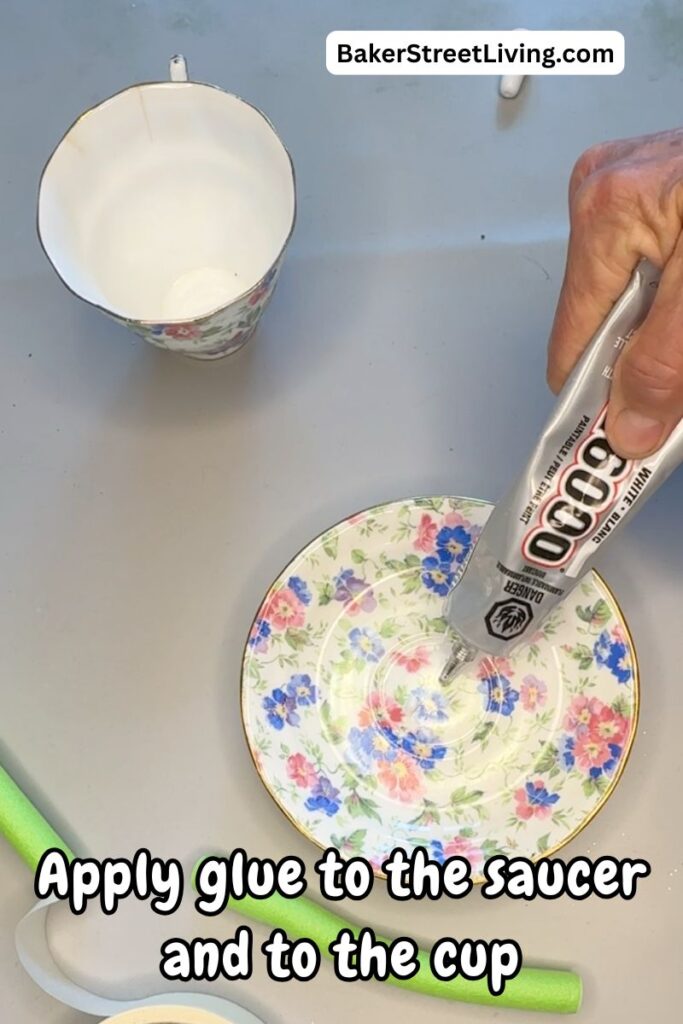
- In a well-ventilated area, apply a generous bead to the contact area where the cup will meet the saucer.
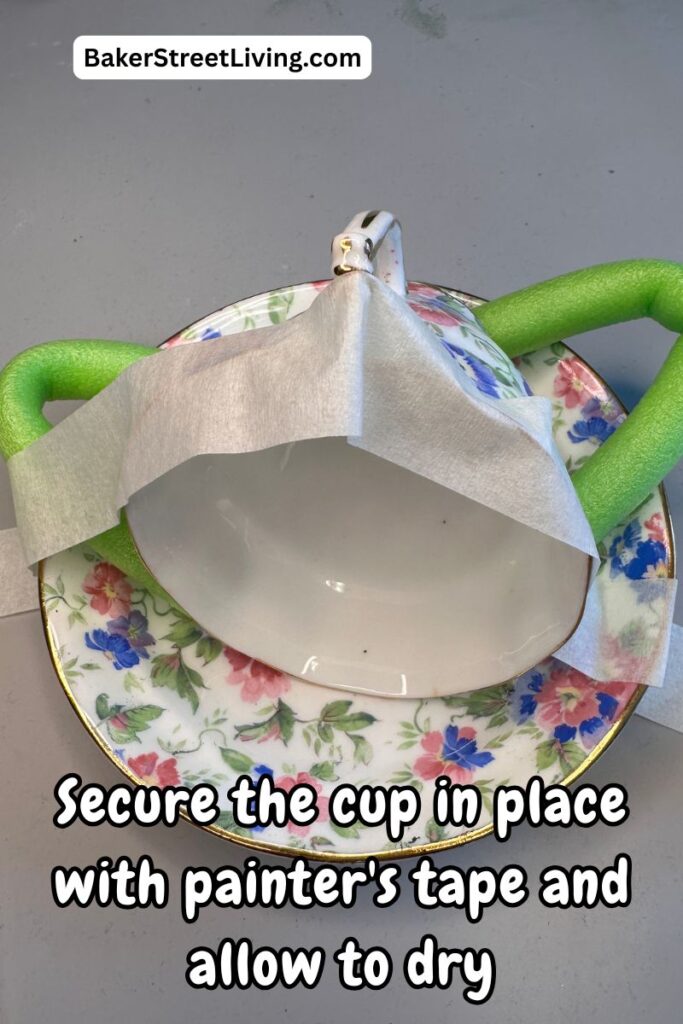
- Place the cup onto the saucer at your chosen angle. Use painter’s tape, rolled towels, or small blocks to keep it from sliding while it cures.
- Allow full cure. drying time
- Do not rush this step. Many adhesives or epoxies become firm within a few hours but require 24 hours or more to reach full strength. Keep the project flat and undisturbed.
- Add hanging hardware (optional). For an easy-hanging feeder, thread a chain through the cup handle and use an S-hook to hang from a shepherd’s hook or branch. (Fill before hanging.
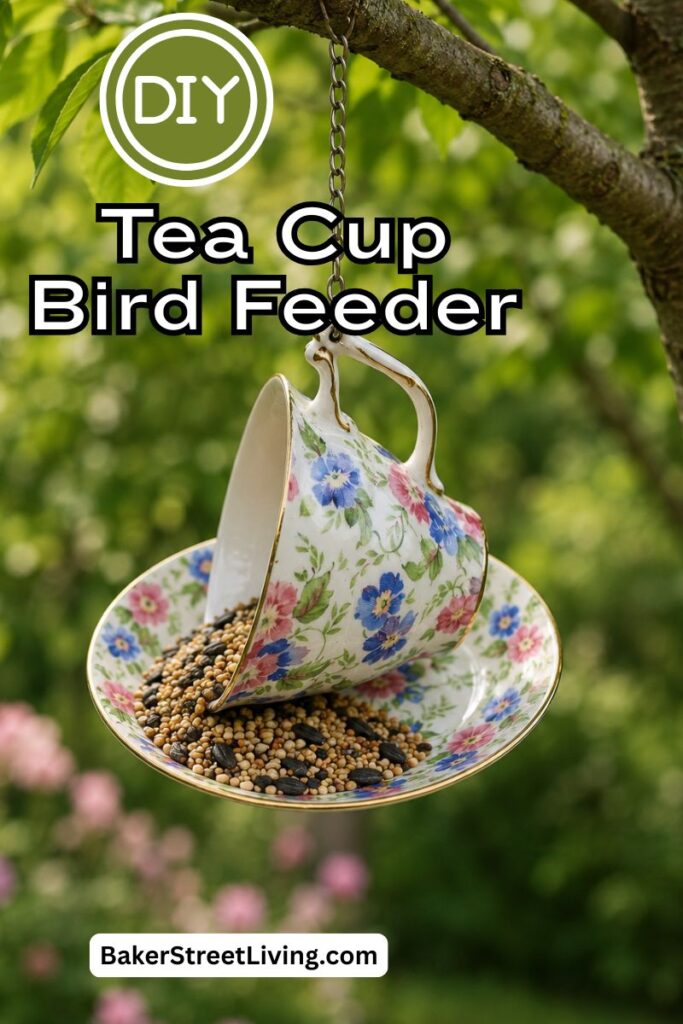
- Fill – Add a small amount of seed and hang or set the feeder in a sheltered garden location.
Tip: A feeder that swings excessively spills seed and discourages birds. If your garden is windy, mount it on a post instead of hanging it from a long chain.

Placement tips
- Position the feeder 5–10 ft (1.5–3 m) from dense shrubs so birds have nearby cover, but predators cannot hide directly beside it.
- Keep it 3–10 ft (1–3 m) from windows.
- Place it where you can easily refill and clean it.
- Choose a seed that caters to the bird you wish to attract, ie, safflower for cardinals
Cleaning Recommendations
Dirty feeders can spread disease among birds.
- Empty old seed weekly.
- Wash with hot, soapy water.
- Rinse well and dry completely before refilling.
- Always replace the seed after rain to prevent mould
A recycled teacup bird feeder is one of the easiest ways to turn thrift-store china into useful garden decor. The keys to success are good surface preparation, a true outdoor-rated epoxy, and a hanging system that supports the saucer rather than the cup handle. Keep the feeder clean, offer fresh seed in small amounts, and you will have a charming upcycled project that is practical as well as decorative. What a delightful way to watch the birds!

This website contains affiliate links. As an Amazon affiliate, I earn a small commission from qualifying purchases (at no cost to you).