This website contains affiliate links. As an Amazon affiliate, I earn a small commission from qualifying purchases (at no cost to you).
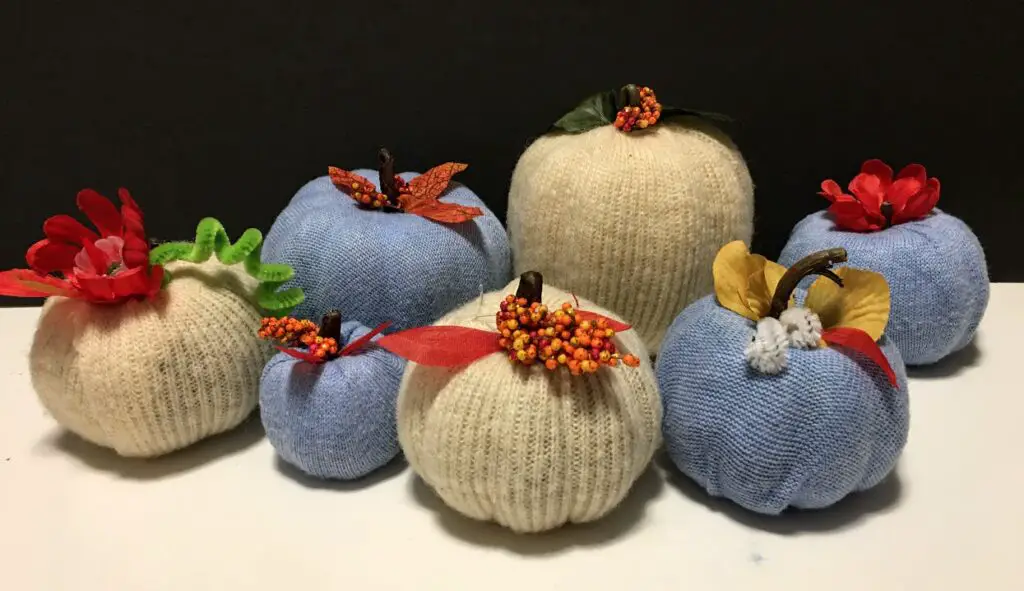
Autumn is such a beautiful time of year. The leaves are changing, and the pumpkins are ready for decorating and carving. These easy-to-make, beautiful sweater pumpkins won’t bust your budget. You can use up an old out-of-style sweater or pick up one in the thrift store in your favourite colour to match your decor when you make beautiful sweater pumpkins.
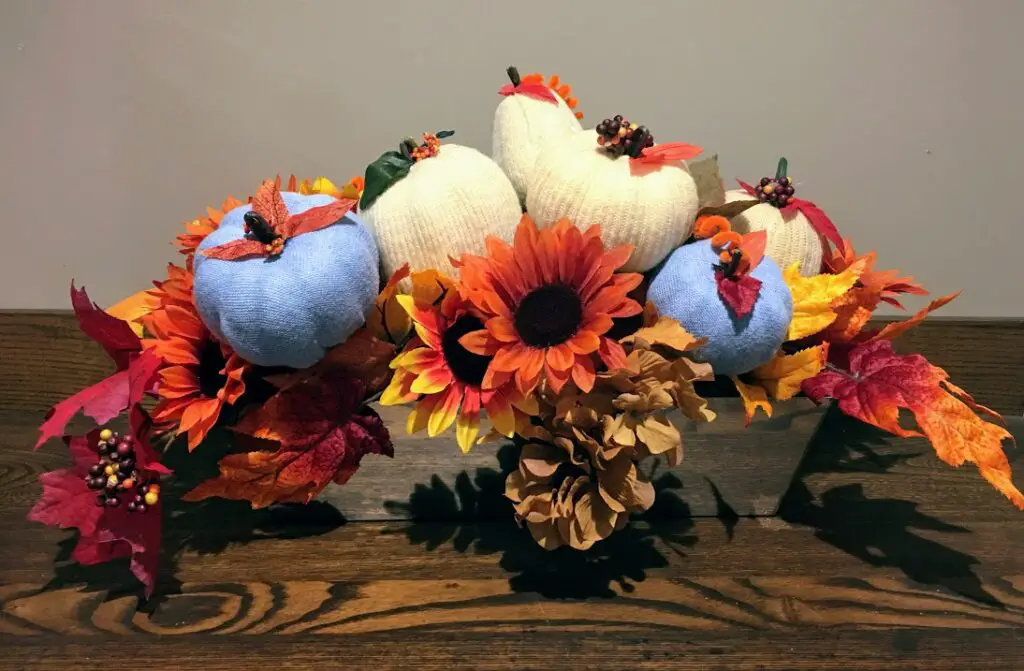
The fabric of the sweater doesn’t matter as long as it is stretchy and not too sheer. For the project illustrated here, we have used an off-white wool sweater and a light blue polyester sweater.
Supplies List
- foam pumpkins
- sweater or fabric
- pencil
- stick or pipe cleaner for the stem
- faux leaves
- faux berries or raffia
- elastic lace (optional)
- tacky glue
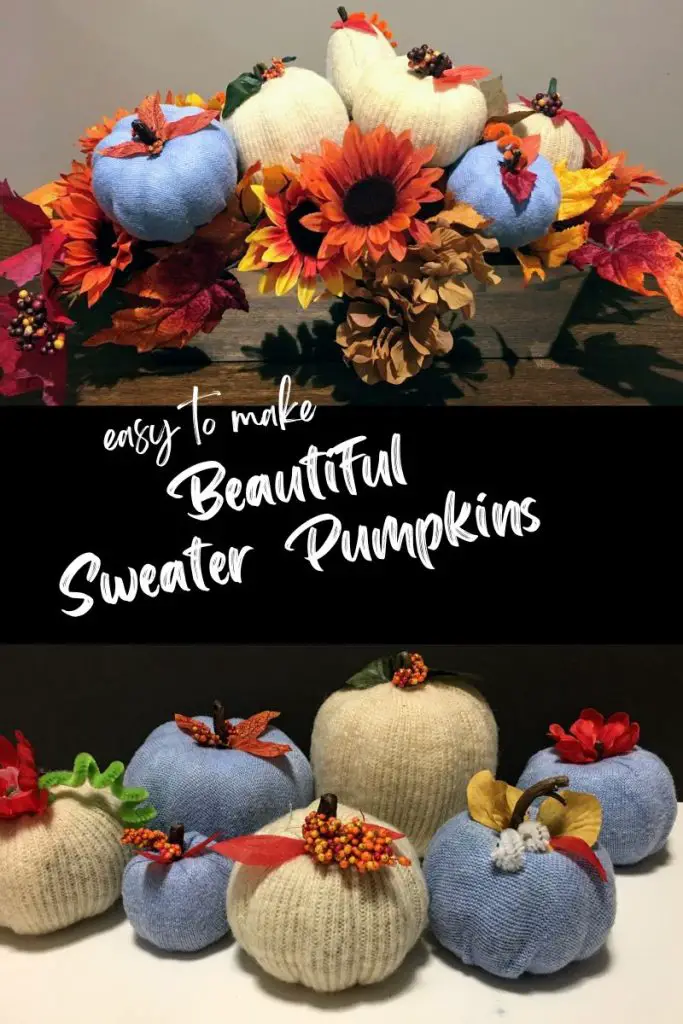
Steps in Making Beautiful Sweater Pumpkins
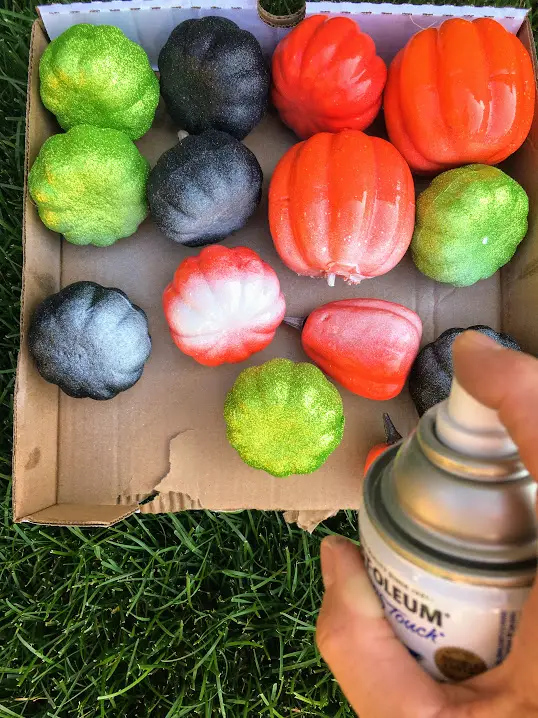
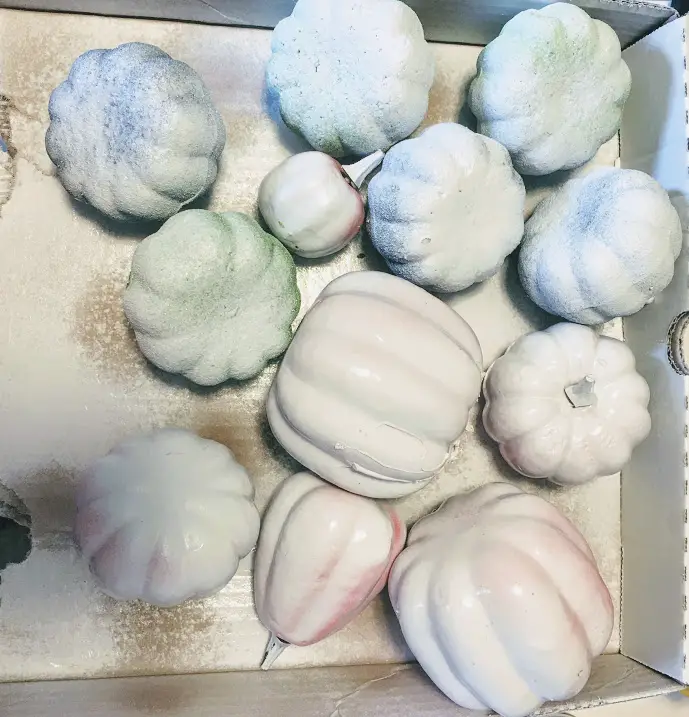
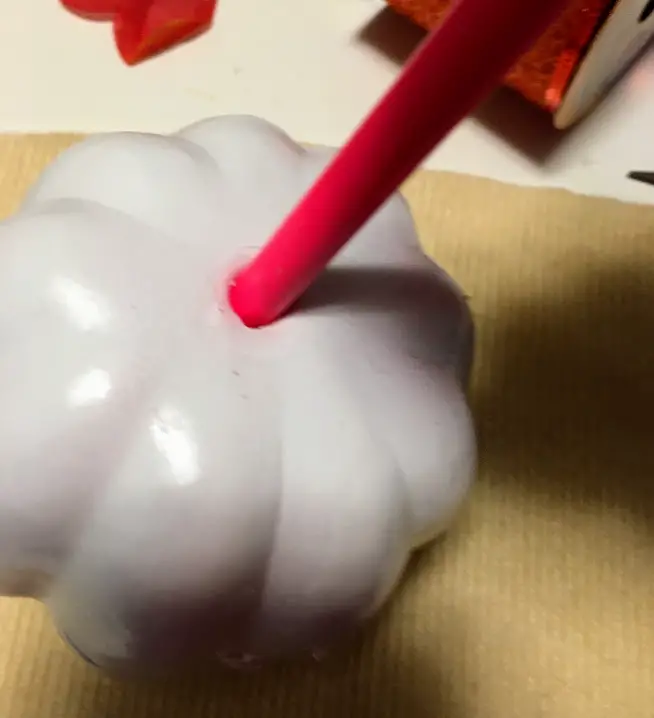
- Spray your pumpkins with some white spray paint, so that the colour doesn’t show through your fabric or sweater. Let dry
- Poke a hole in the top where the stem goes and in the bottom center,
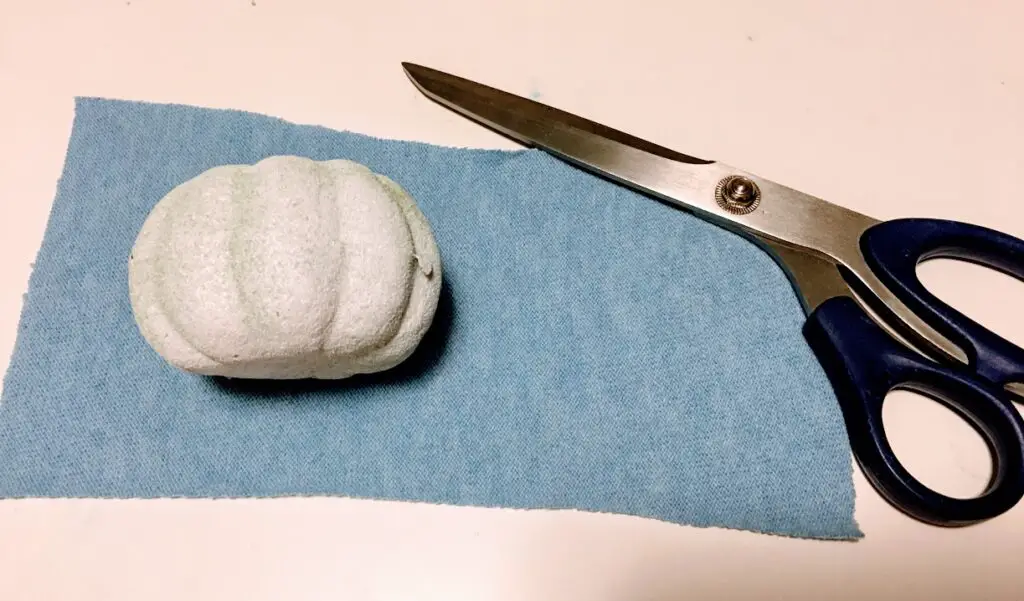
- cut a rectangle of the sweater fabric to a size that will fit around your pumpkin.
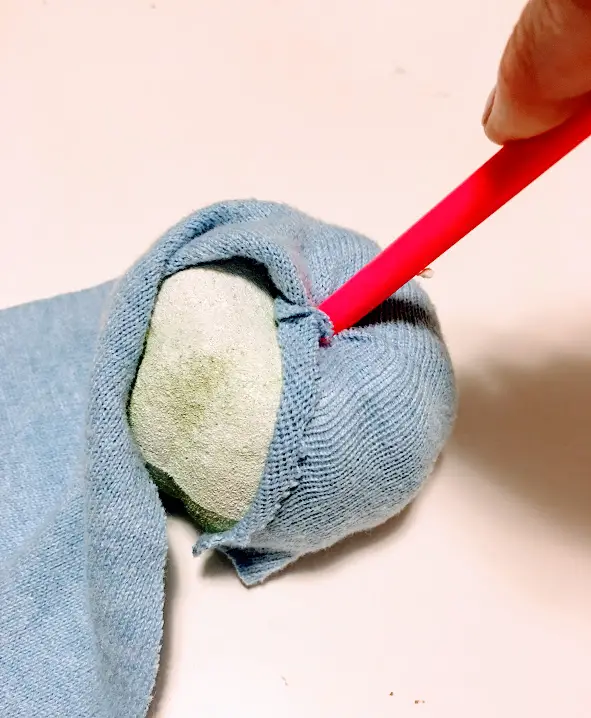
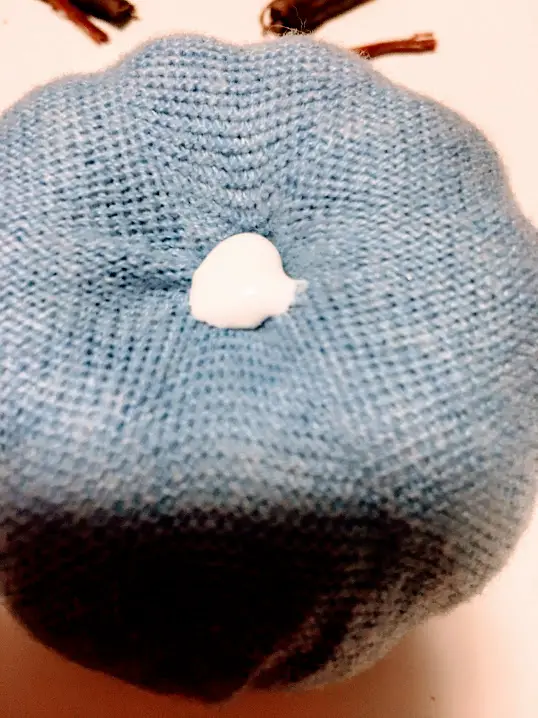
- Put a dab of glue into the hole on the top of the pumpkin.
- Start poking the fabric into the hole with your pencil.
- Put a dab of glue into the hole on the bottom of the pumpkin.
- Pull the sweater snugly over the side, keeping it straight and poke the fabric in the bottom hole.
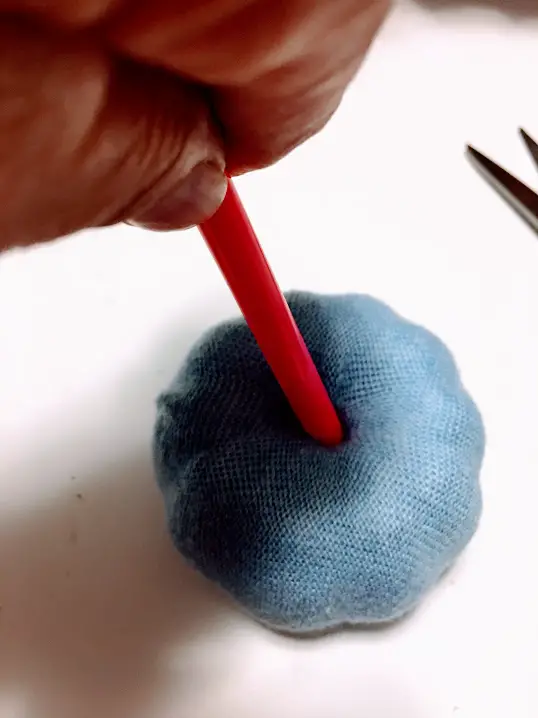
- Continue working around the pumpkin, alternating from the top to bottom, keeping the sweater snug and straight.
- Trim off any excess sweater if needed.
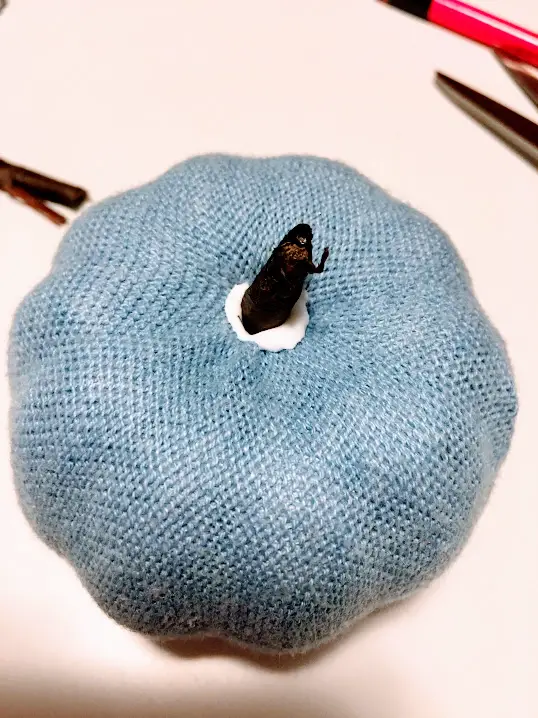
- Once the pumpkin is completely covered and the sweater is snug, place a dab of glue on the top, where the stem will go.
- Optional elastic lace – If you would like a more defined line in your pumpkin, you can use clear elastic lace, wrapping it around following the indents in the pumpkin and tying a knot in the bottom, where it won’t be seen.
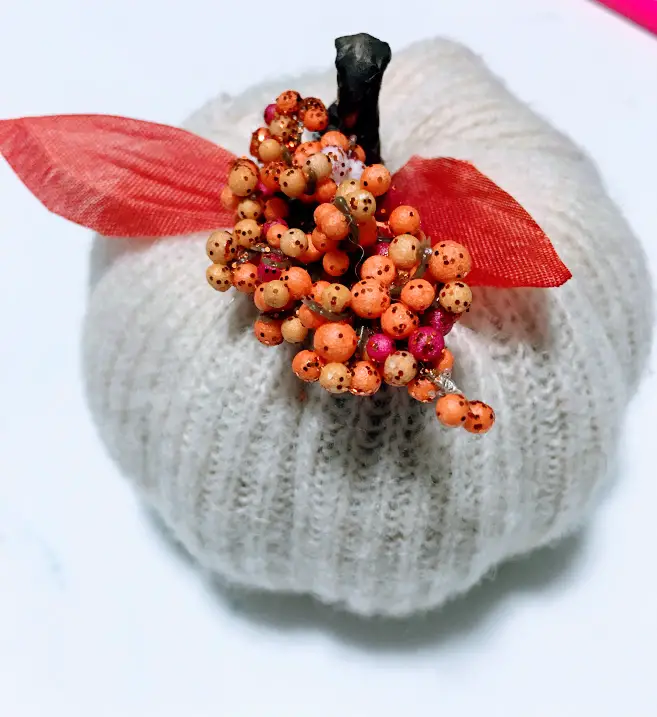
- Stick your stem (stick piece) into the hole with glue and add any leaves or raffia on top. (Don’t worry, the glue will dry clear)
- Let dry completely.
- You are now ready to use them in your decor.

How to Make Beautiful Sweater Pumpkins
Step by Step Instructions
3 ways to show off your sweater pumpkins
This first idea uses a drywall mud tray as a container to hold your decor piece. It can be used as a centrepiece, on a side table, or entry table.
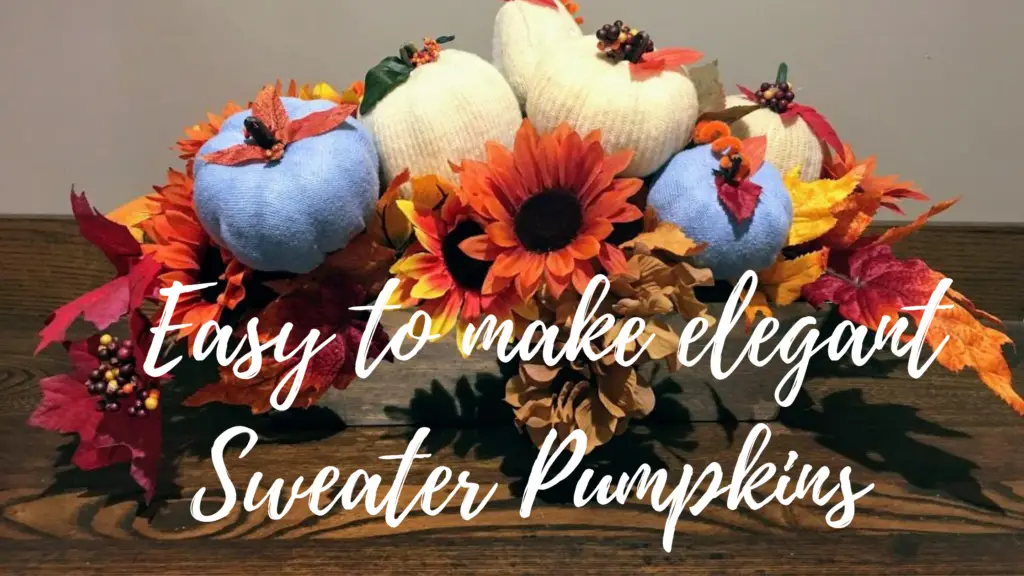
#1 Elegant Centrepiece
This centrepiece uses a drywall mud tray. It is a steel tray that has a chrome look. It is elongated and goes nicely on a sideboard, entry table or a centrepiece on a dining table.

The drywall mud tray is leak-proof and is the perfect size for making a centrepiece arrangement. They are available at your local building centers, such as Home Depot and Lowe’s.
What is used in this centrepiece?
- drywall mud tray (preferably a shiny steel one as in the picture
- Floral foam
- Silk sunflowers, and silk leaves on stems
- wooden skewers
..…..Supplies used in these projects……….
- DIY beautiful sweater pumpkins
- Silk Sunflower stems
- Bamboo skewers
- Tacky Glue
Steps to Assemble Your Sweater Pumpkin Centerpiece:
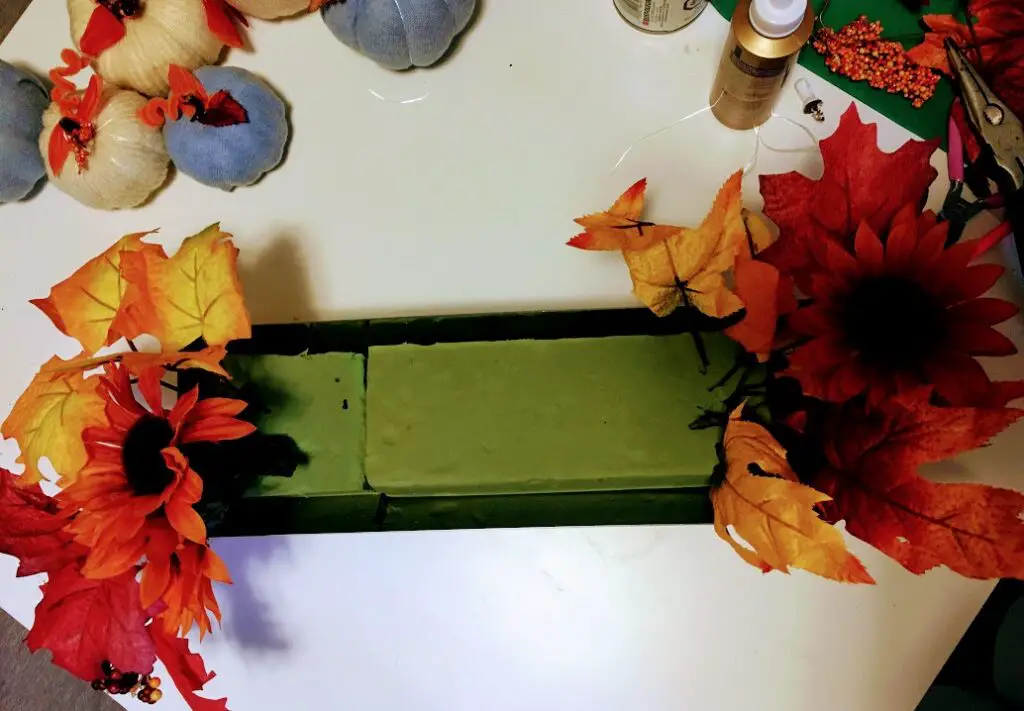
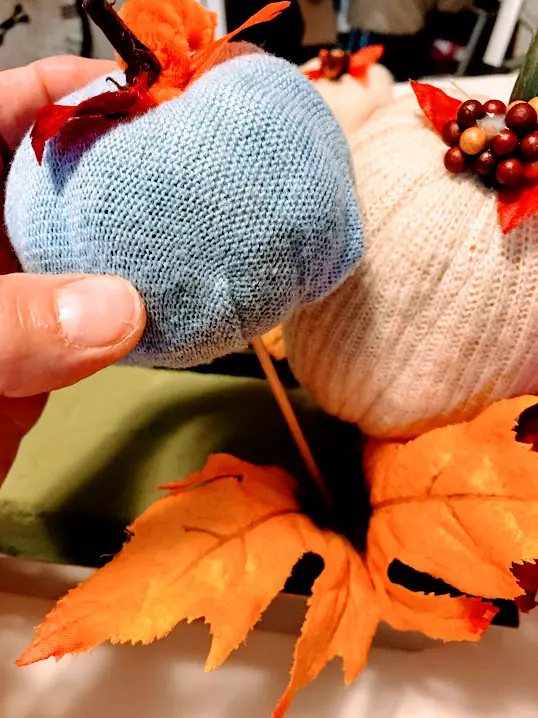
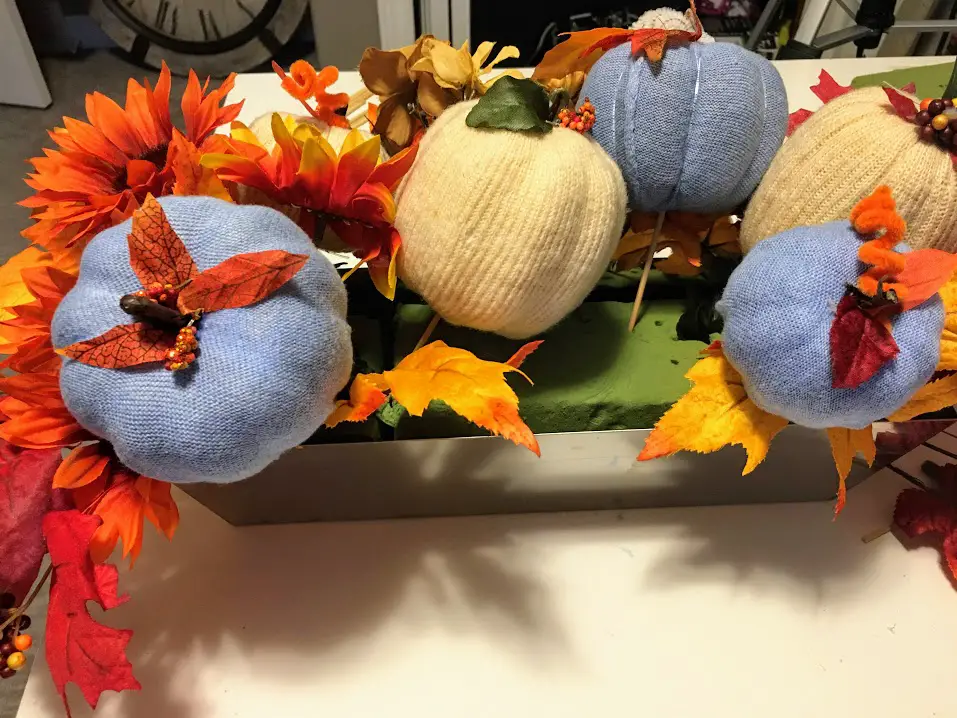

- Cut the floral foam and place it into the tray, ensuring it fits snugly.
- Trim all of your silk flowers and leave stems so they are the right length for the arrangement.
- Insert a wooden skewer with the pointed end into the bottom of your beautiful sweater pumpkins.
- Trim wooden skewers to the proper length for the arrangement.
- Arrange as desired.
- it will look best if there is a high point in the middle and tapers down to the sides, and some leaves trail over the ends (as in pic #
#2 Rustic Centrepiece
This rustic wheelbarrow design is inexpensive and goes together in minutes. The wheelbarrow was purchased at the dollar store for $3.00
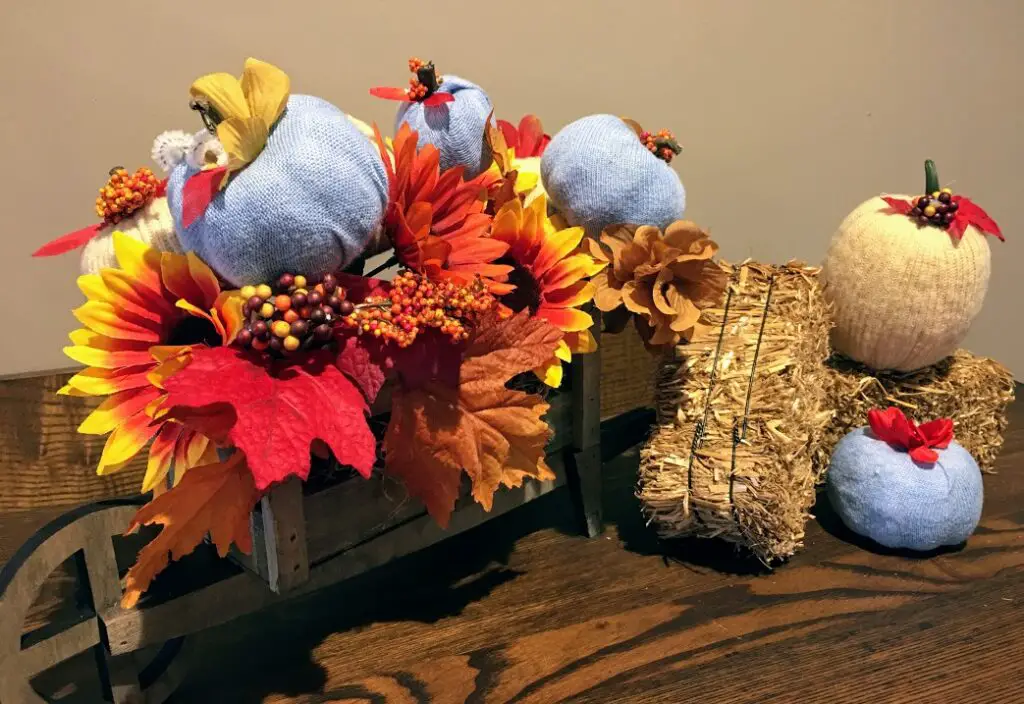
What is used in this rustic centrepiece
- Rustic wheelbarrow, or a similar rustic item,
- Floral foam
- Spanish moss
- mini-bales of straw
- wooden skewers
- Beautiful sweater pumpkins
Steps to Assemble a Sweater Pumpkin Wheelbarrel Centrepiece
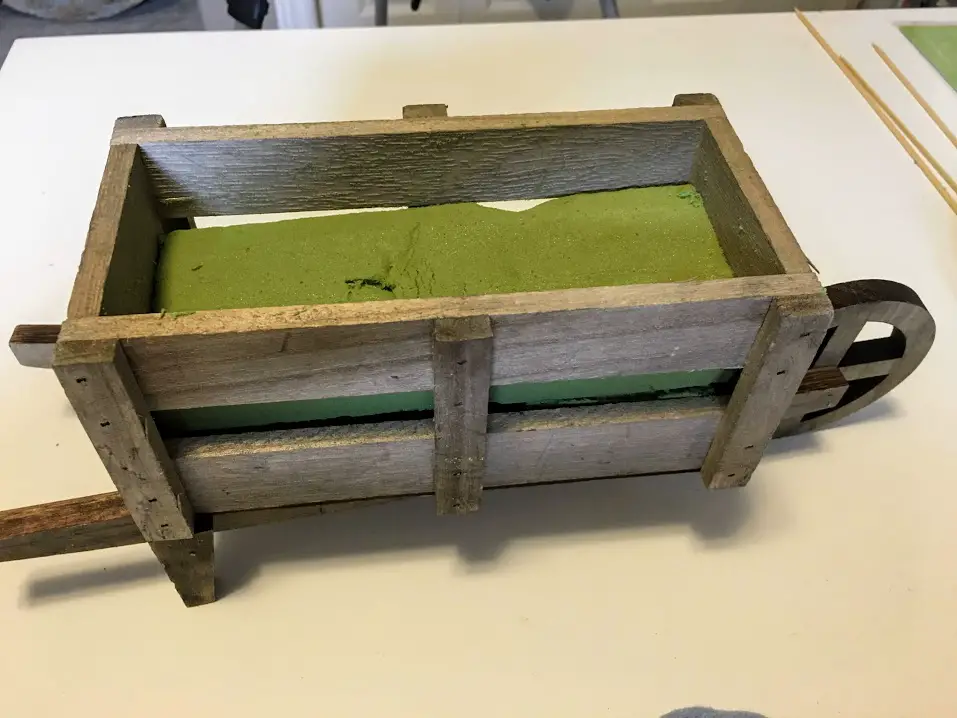
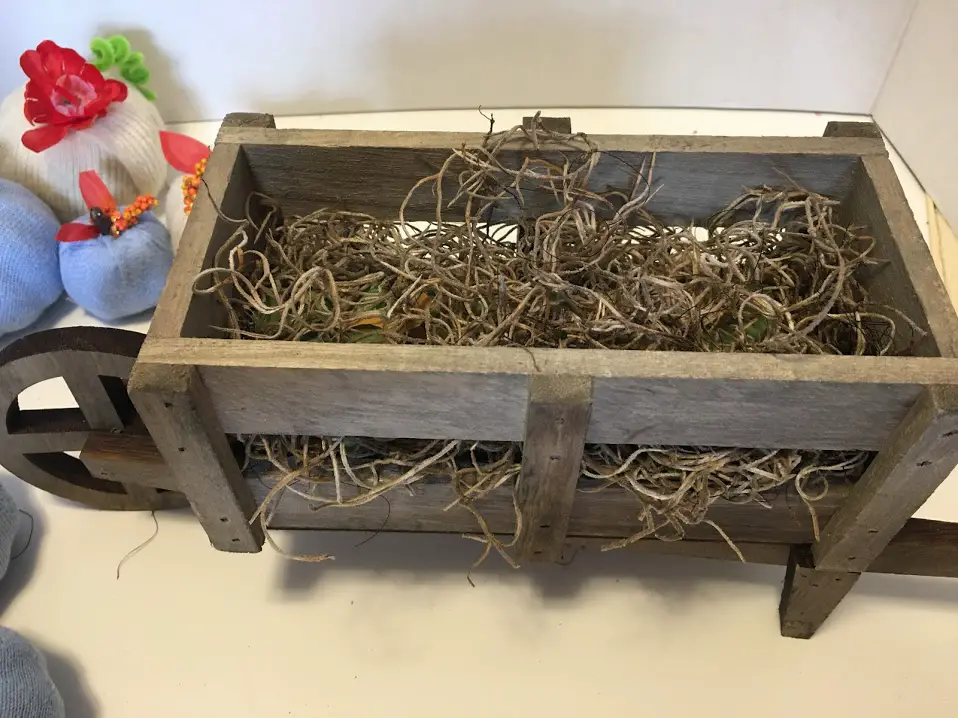

- Cut the floral foam to fit into the wheelbarrow. Leave a little space around the sides for the Spanish moss.
- Add Spanish moss on top and around the sides of the floral foam. Let a little moss stick out of the side of the wheelbarrow.
- Insert skewers into pumpkins,
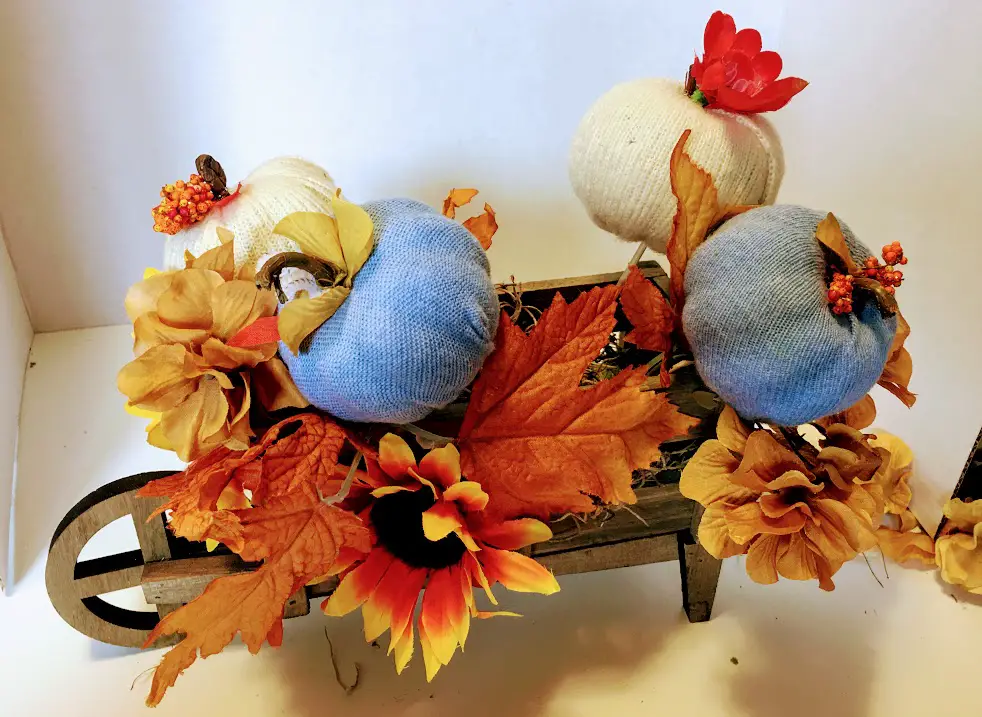
- start arranging your pumpkins and flowers by sticking them into foam.
- When using on a side table, add a couple of mini bales of straw with a couple of pumpkins sitting beside the wheelbarrow.
- It is now ready to use as a centrepiece or side table decor piece.
#3. Easy Lantern filled with beautiful Sweater Pumpkins
This is so easy. You can have it set ready to go in 5 minutes or less. Show off your beautiful handmade creations.
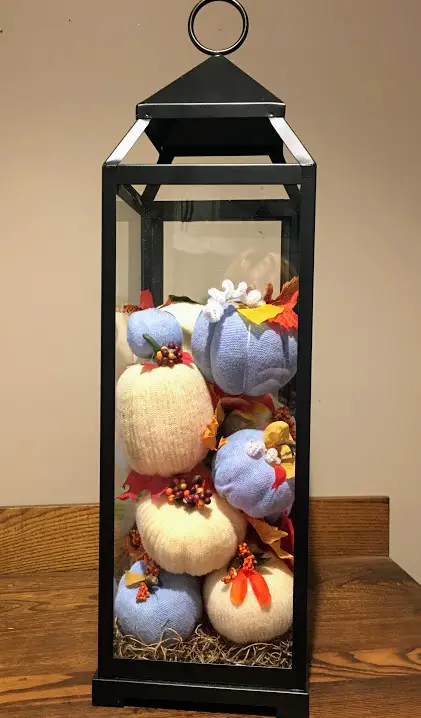
- Use an empty tall lantern.
- Place a thin layer of Spanish moss on the bottom.
- Place your sweater pumpkins in the lantern, alternating with leaves and flowers, until it is the desired height.
- Display on a sideboard, in the center of the table, or outside with a battery-operated tealight in it on a covered porch.
Three beautiful ways to show off your talents, while enjoying the beauty of autumn, with these easy-to-make beautiful sweater pumpkins.

This site contains affiliate links to products. We may receive a commission for purchases made through these links at no cost to you,

Super cute!