
Content Created by Tracey of Baker Street Living 
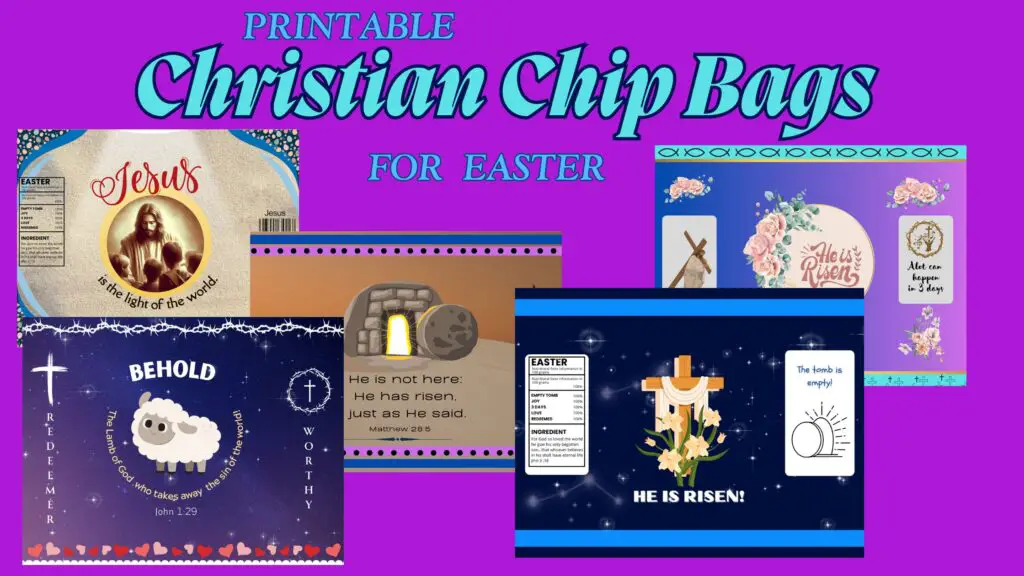
Picture vibrant Christian chip bags featuring beautiful Christian themes: a silhouette of the cross at sunrise, a gentle “He is Risen” message, or playful spring florals intertwined with subtle scripture. It’s more than just a snack; it’s a small, tangible reminder of the Easter story, perfect for church gatherings, Sunday school, or sharing with neighbours.
Homemade printable chip bags are great for kids’ parties and classroom celebrations. I have made many different kinds and recently was asked to make some for a Christian children’s Easter celebration. They were such a hit that I thought I should share our Printable Christian Chip Bags with you. You can even make resealable chip bags.
Whjat You’ll Need
- Brochure Paper (or thing photo paper
- Double-sided tape
- Paper Crimper
- 5 by 7 Zipper bags (if making reusable)
This website contains affiliate links. As an Amazon affiliate, I earn a small commission from qualifying purchases (at no cost to you).
How to Make Printable Christian Chip Bags
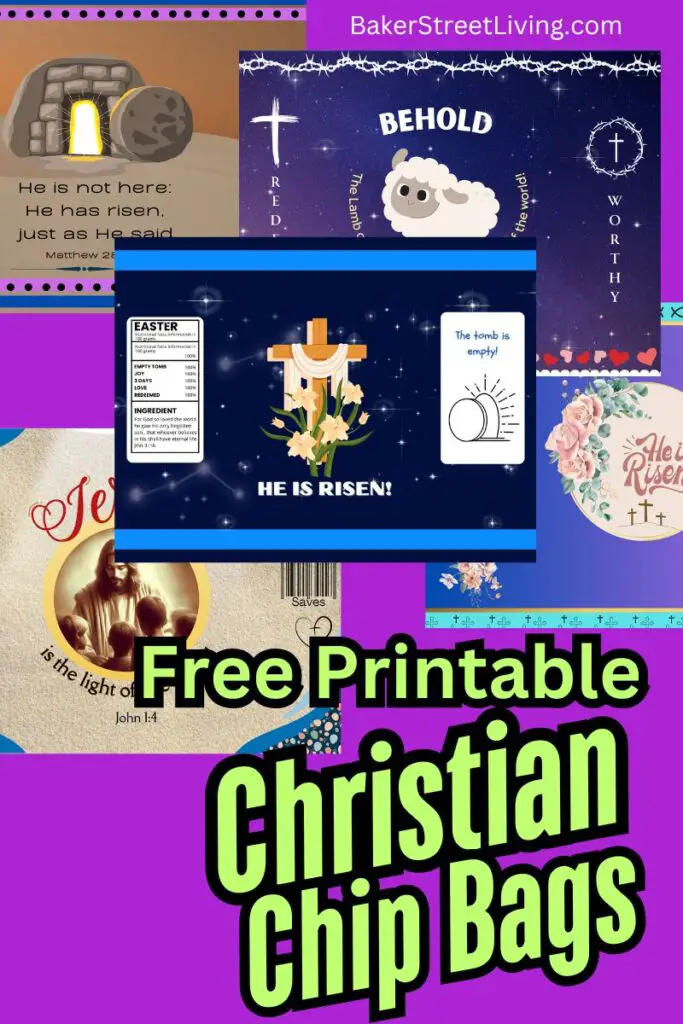
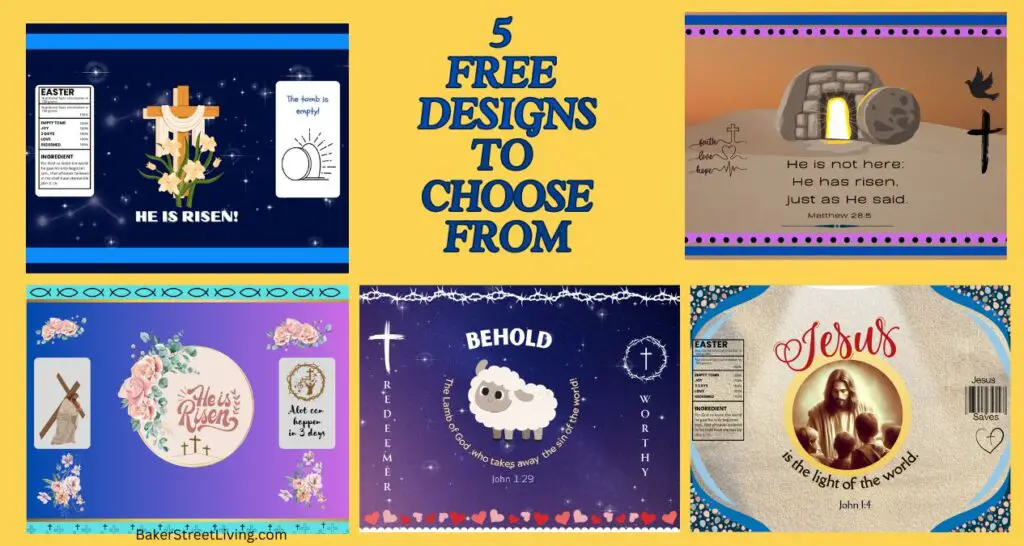
Before you get started, you need to download the printable chip bag design set. Our designs are free for you to use for personal use, but commercial use or selling is prohibited. The chip bags are available in our free resource library.
1 – Download and print the designs. Printer settings should match your paper type (typically, the brochure paper is specialty paper – glossy)
2 – Fold the chi[ bag template, ensuring the back seams meet and the front bag design is centred on the front. Unfold and lay the design flat.
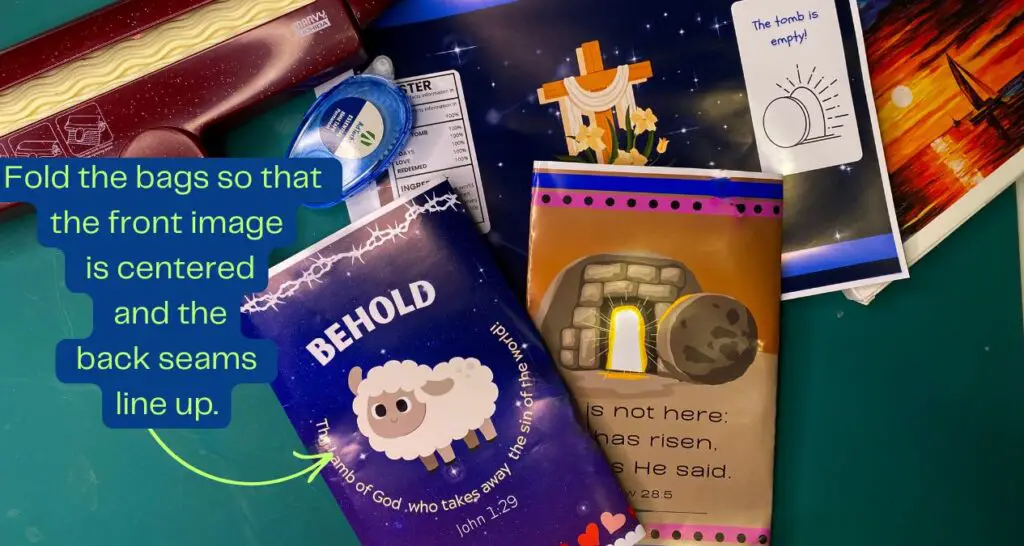
3 – Run a bead of glue tape along the inside of the back seam and along the bottom of the bag where the seam will be.
4 – Fold the bag along the fold lines and press the seams together.
5 – Place a bag of chips or candy in the bag.
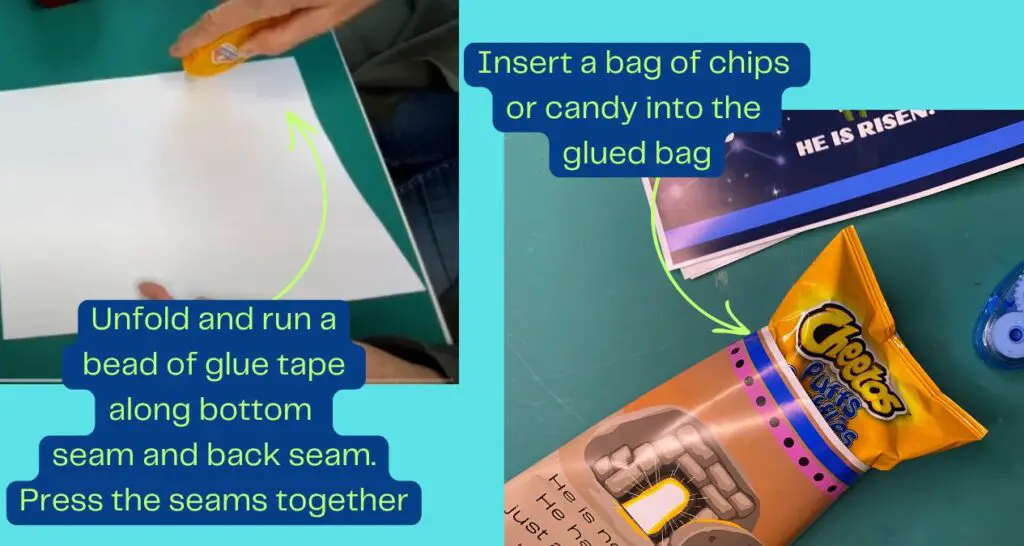
6 – Run a bead of gluer tape across the top seam of the bag and press the seam together.
7 – Using a paper crimper, crimp the top edge and bottom edge of the chip bag.
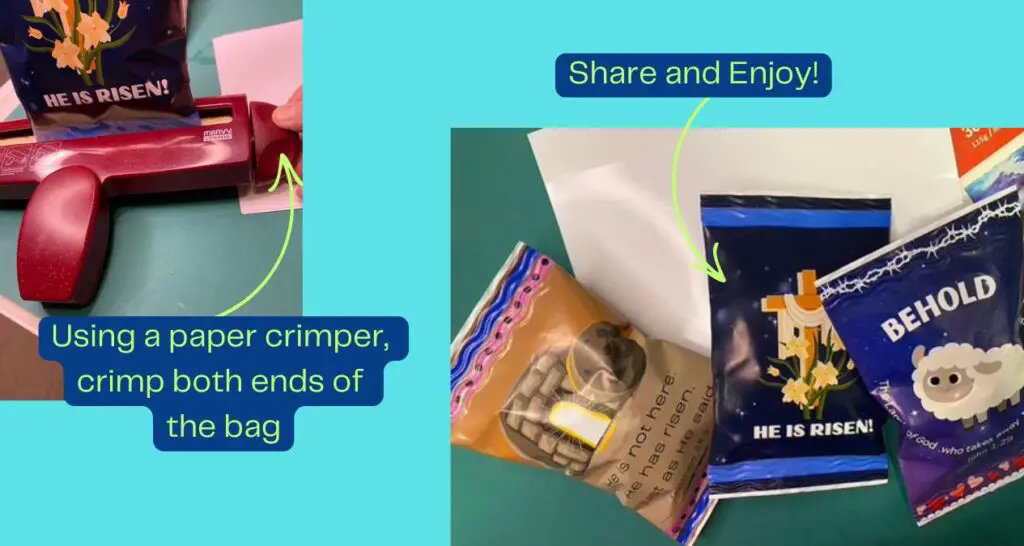
8 – Share and enjoy!


FAQs and Tips for Success
Filling the Chip Bags
The DIY chip bags fit a standard snack-size bag of chips (28 g). Other products that fit into these bags are bags of candy such as M&Ms, jube jubes and even small loot bag-sized toys.
Using Glue in Place of Tape
I recommend using double-sided tape, but if using glue, allow all of the seams to completely dry before crimping. A thin bead of hot glue dries quickly. Add extra time for drying. Be careful to make sure no glue seeps out into your paper crimper.
About the Paper
Thin glossy photo paper is best, but you can use plain printer paper. You won’t get the nice sheen, but if you are making treat bags for a lot of people, it is much more budget-friendly. If purchasing brochure paper (flyer paper), single-sided is adequate.
Printing Suggestions
When Printing – Select: Borderless (fill page), Specialty paper, Glossy and High-quality print. You may have other selections available, but these are the most important.
I hope that you find our easy Printable easter Treat Bags an inspiration to get crafting.
I hope you have enjoyed this tutorial and are inspired to make some printable Christian Chip Bags for Easter.

This website contains affiliate links. As an Amazon affiliate, I earn a small commission from qualifying purchases (at no cost to you).