
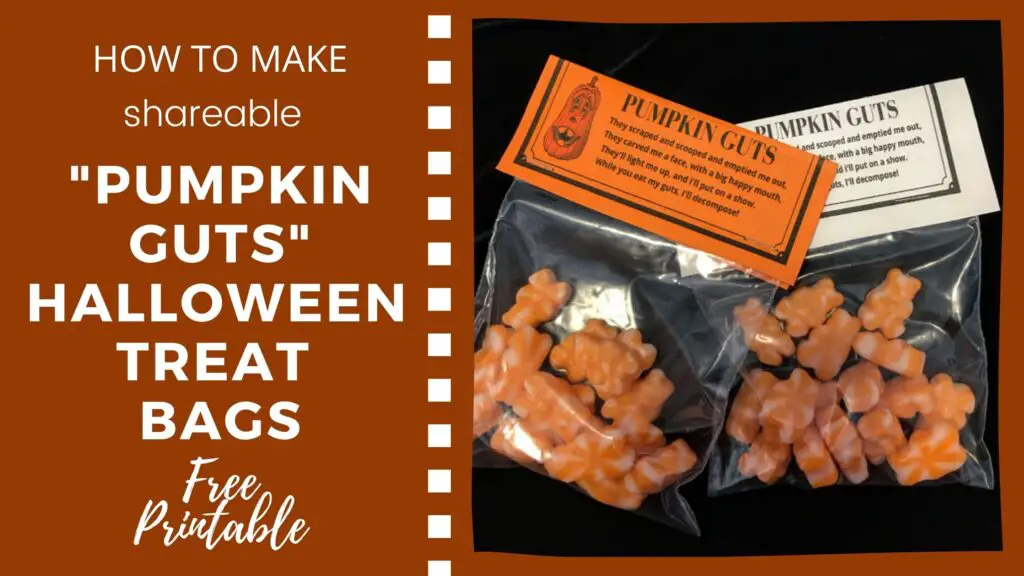
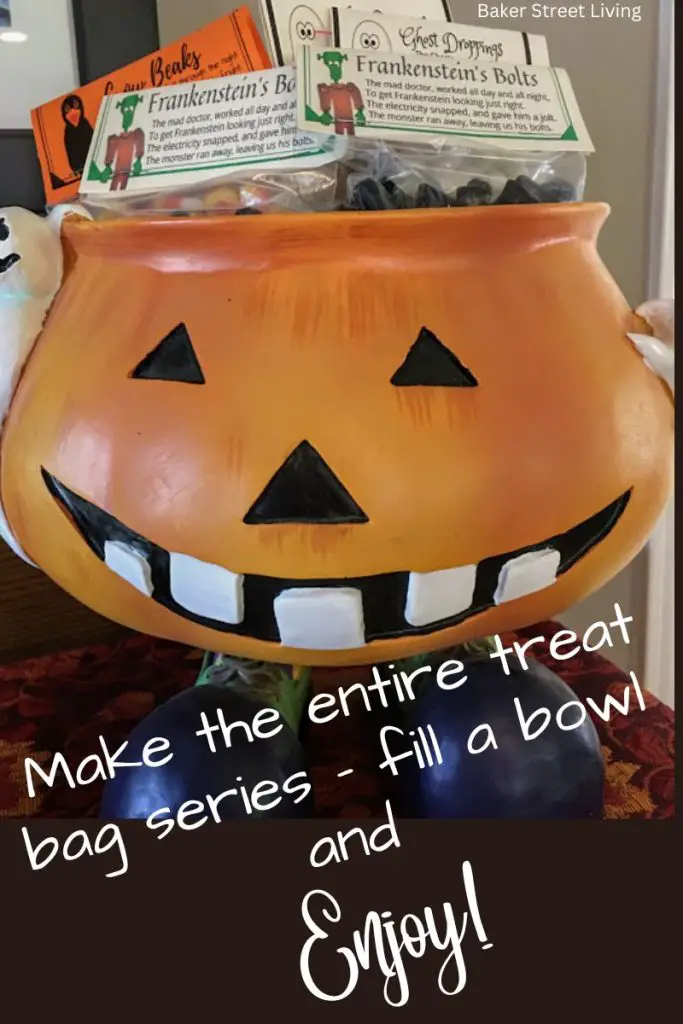
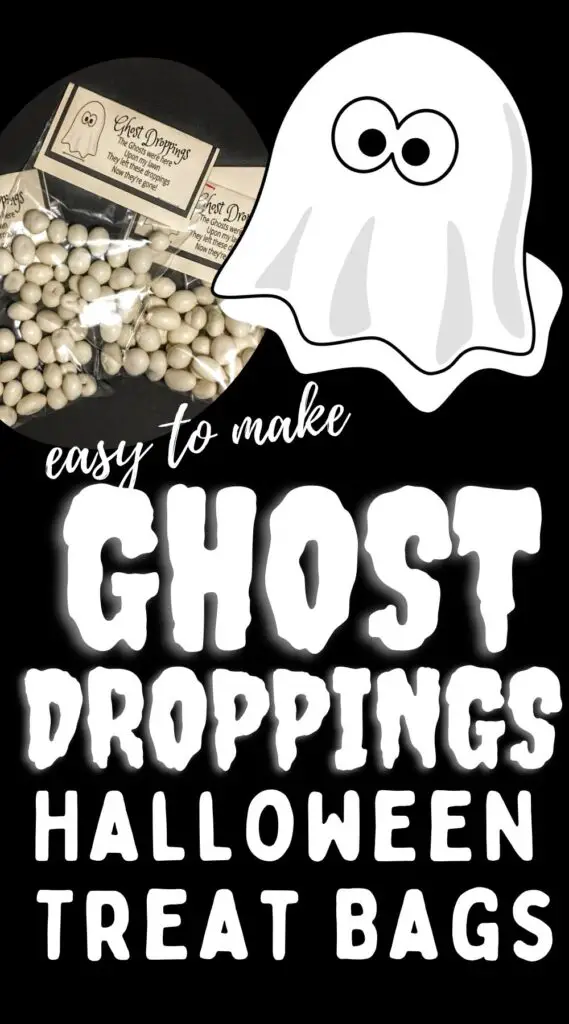
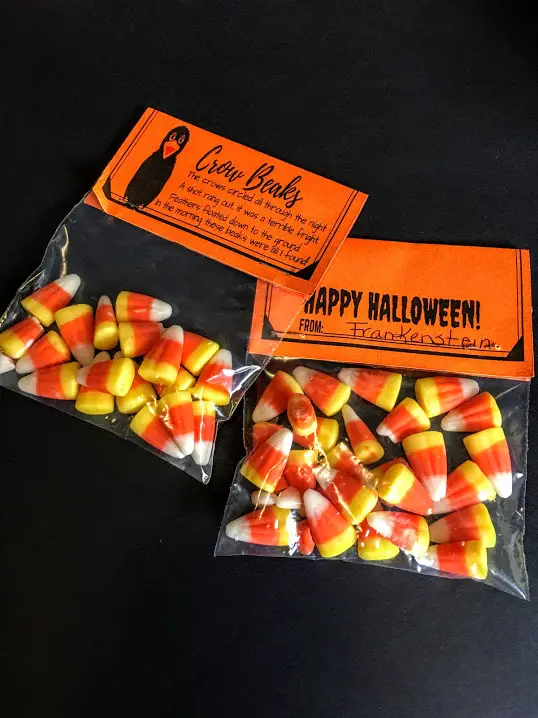
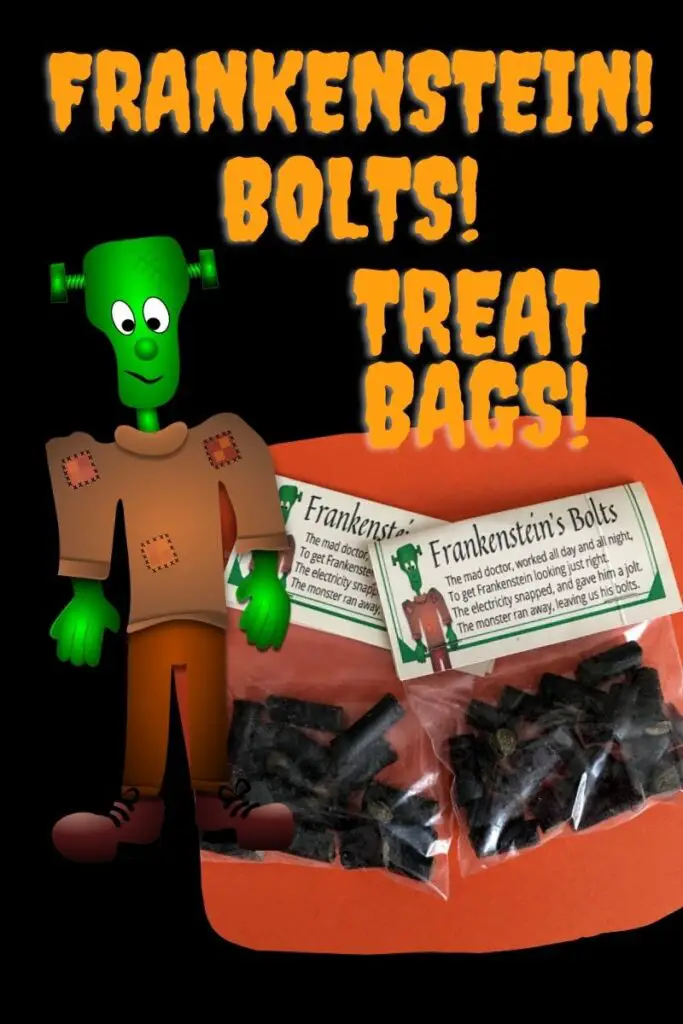
Halloween is fast approaching, and we are almost done with our series of shareable Halloween treat bags. These “Pumpkin Guts’ shareable Halloween treat bags are the fourth in our series of five shareable Halloween treat bags. Make them all, fill a bowl and let the kids help themselves. Watch them laugh as they read their labels.
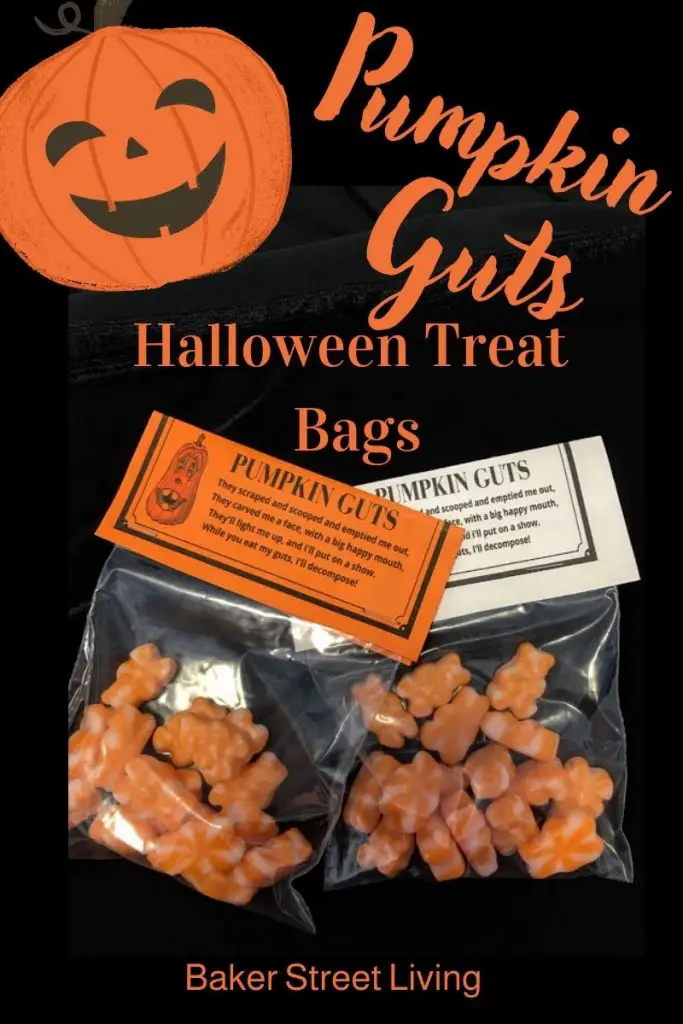
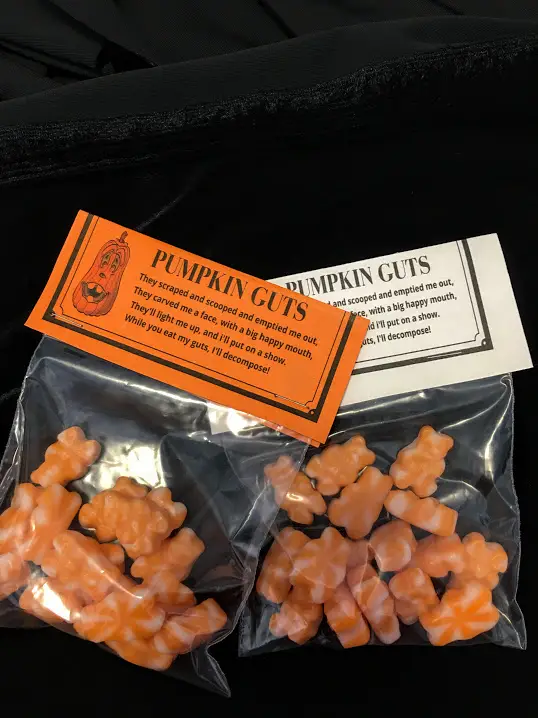
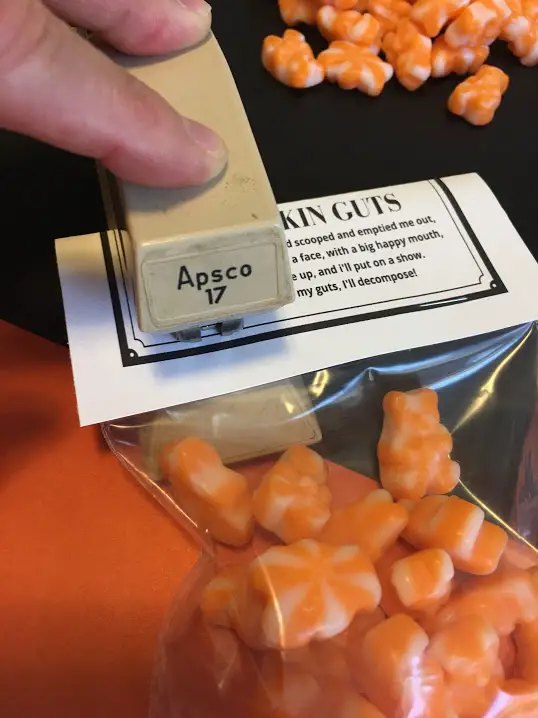
For the Pumpkin Guts treat bags, we are using orange cream-flavoured Gummy bears. These have a mottled orange colour and have a great look. They taste like Creamsicle, which is a popular flavour. You can use any orange candy that you think reflects the look and colour of pumpkin guts. You can easily add your favourite orange candy without compromising the theme of Pumpkin Guts.
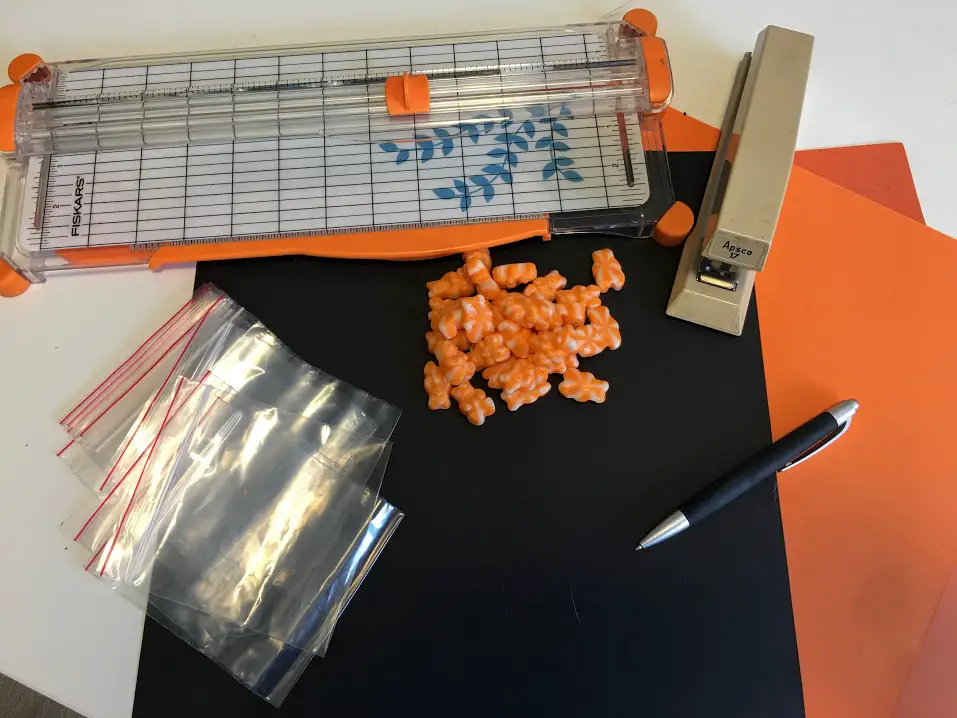
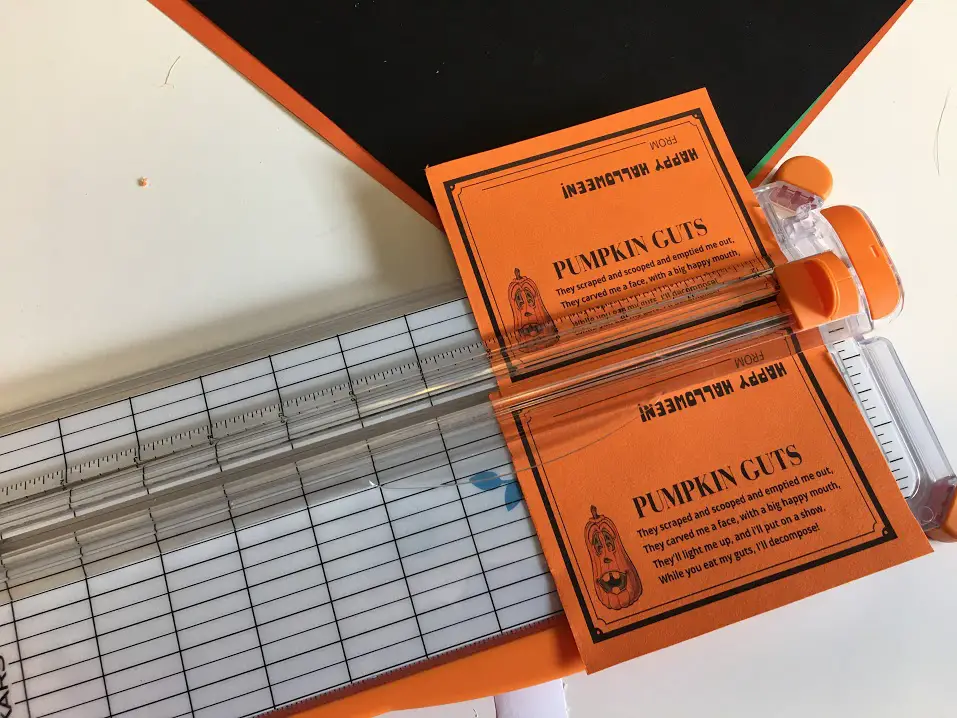
If you are using a 12 by 12″ cardstock, you can easily cut it down to fit your inkjet printer using the paper trimmer.
This project can be made using an inkjet printer and paper trimmer, or with a Cricut cutting machine, using a print and cut setting
Supplies List
This website contains affiliate links. As an Amazon affiliate, I earn a small commission from qualifying purchases (at no cost to you).
Using a cutting machine? – See project instructions and get the print and cut downloadable pattern at the bottom of this page.
How to Make Pumpkin Guts Shareable Halloween Treat Bags
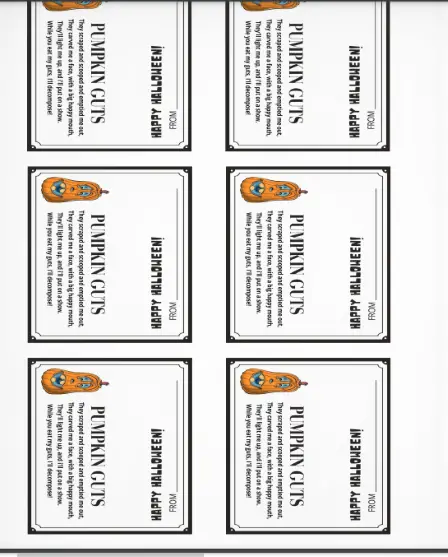
Download the free printable or Print and Cut Pumpkin Guts cards from our free resource library
Don’t have a password yet? Get one here.
- Send the printable to an inkjet printer and print.
- Using a paper trimmer, cut the printed tags into 6 equally sized tags
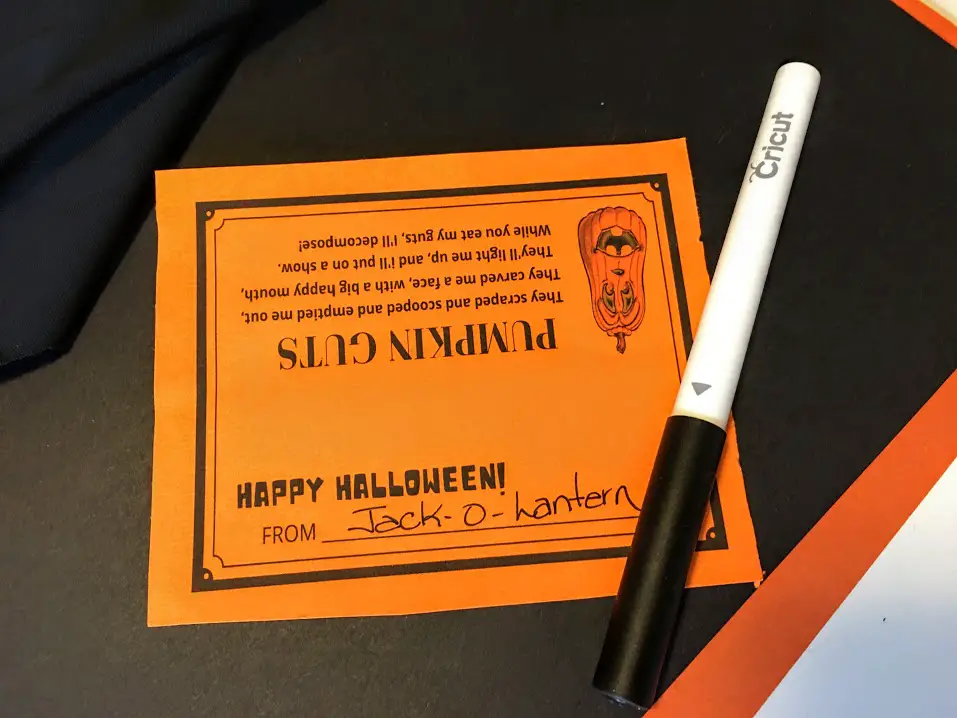
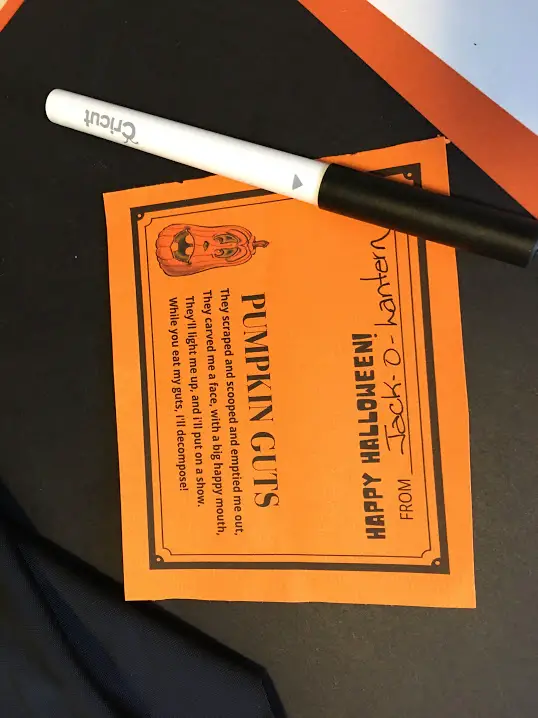
- Have the person handing out the “Pumpkin Guts”, Halloween handouts write their name on the back in the “FROM” spot. (This is a great opportunity for kids to practice writing their names)
- Fold “Pumpkin Guts” tags in half and set them aside.
- Fill the treat bags with an equal amount of orange cream Gummy bears, or your chosen candy. ( This is a great opportunity for some math practice for kids. Count the candy up and divide it into equal portions.
- Seal the bags
- Staple the tag to the top of the bag

How to make – shareable Pumpkin Guts Halloween Treat bags using a Cricut cutting machine
In addition to the supplies mentioned above, you will need:
Instructions for using the Cricut cutting machine
- Download the free print and cut file above.
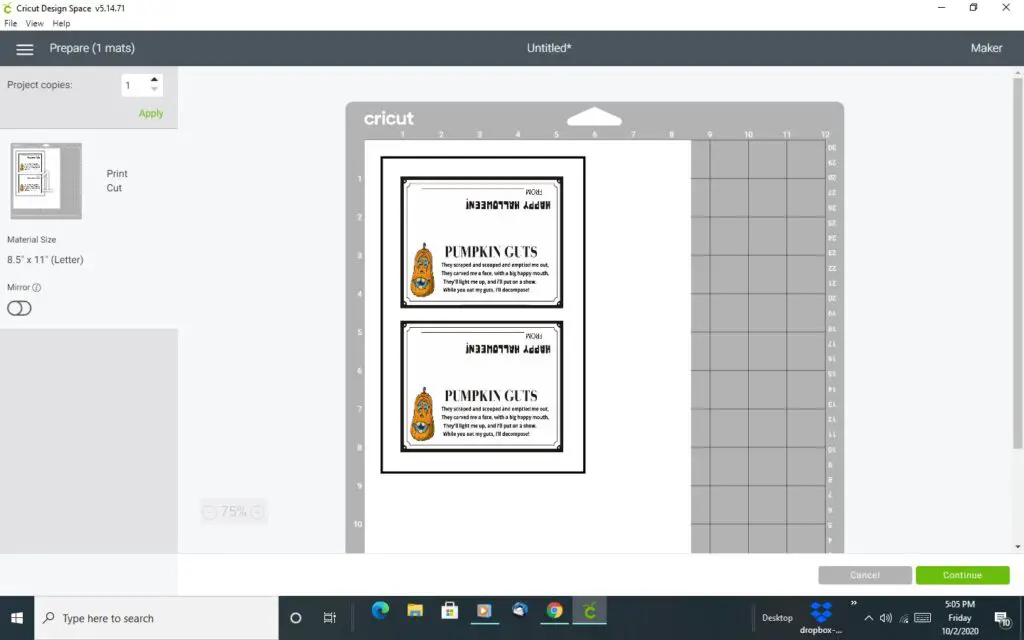
- Upload the file into the Design space, choose print and cut in the menu after uploading and load onto the canvas.
- Resize the design to the size you desire. It looks best if you choose the size that is the width of the top of your zipper bag. I used a 3.5-inch by 4-inch zipper bag, so my tags were 4″ by 4″. Remember, you can unlock the design on the canvas to accommodate your bags
- When you have the desired size, re-lock the lock and duplicate. When using the print and cut on the Cricut, you will likely only get 2 tags per 8.5″ by 11″ piece of cardstock. This is because Cricut prints a registration box around the designs. Do not cut this box off. This is what your Cricut will use to orient itself on where to cut your design.
- Make it
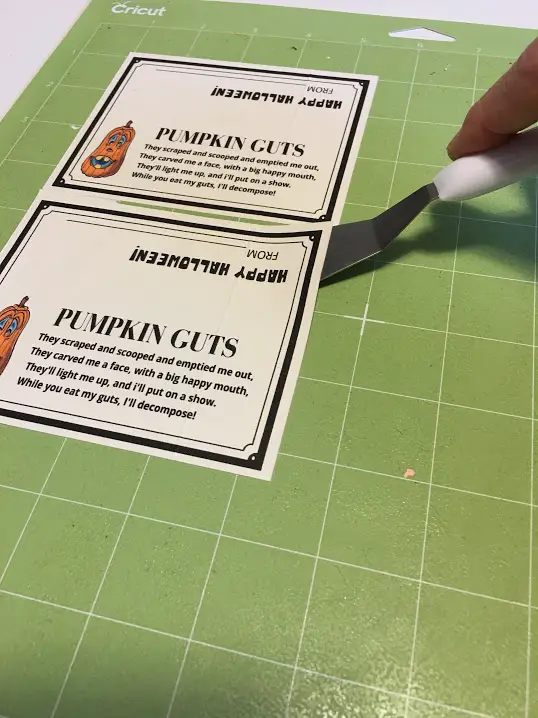
- Once you have printed your design and cut your design in your cutting machine, lift your design from the mat. We use the Cricut spatula tool for lifting the tag. This thin spatula will keep your tag nice and flat while removing it from the sticky mat.
- Sign the “From” part of the tag before stapling.
- Fold tags in half and staple them to the top of the zipper bag.
- Share your Pumpkin Guts Halloween treat bags.


Halloween Shareable Treat Bags – a series of free printables
If you have missed any of the previous Halloween shareables, you can get them here with the free printables.
Thank You for visiting Baker Street Living.
Disclaimer: This post contains affiliate links. We receive a small commission when purchases are made through our links.