
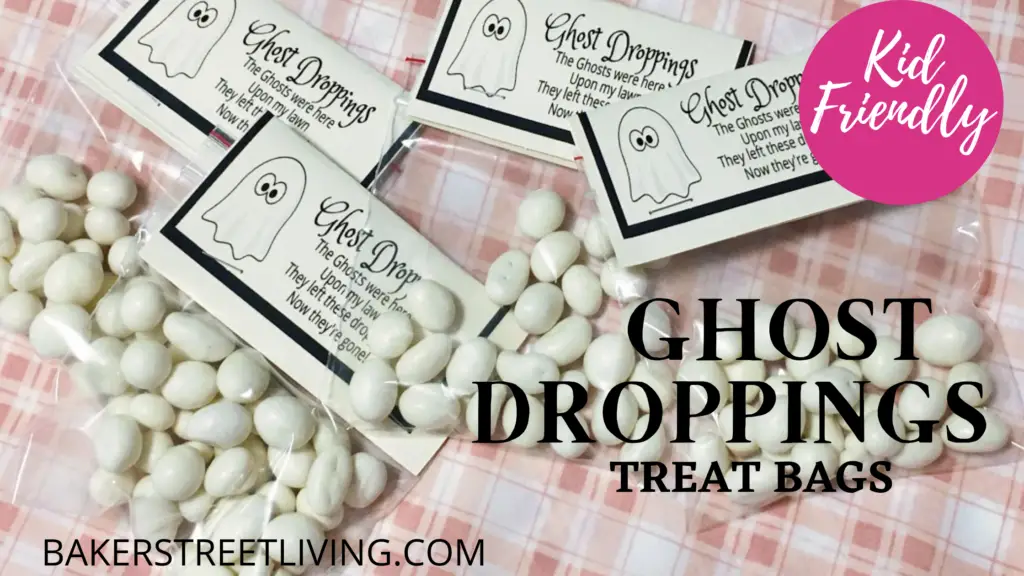
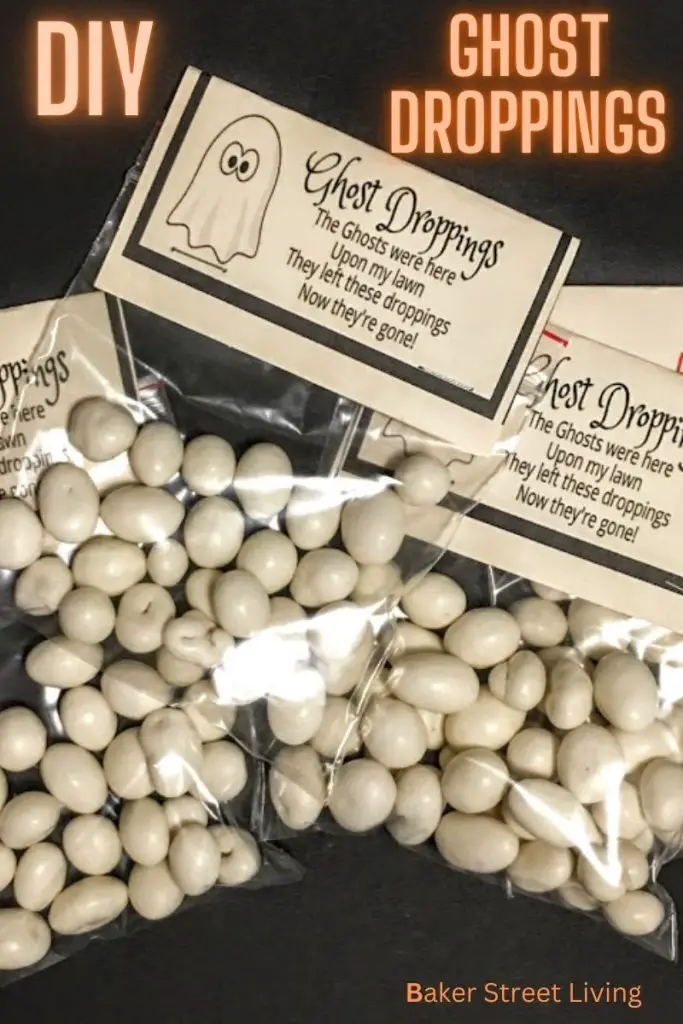
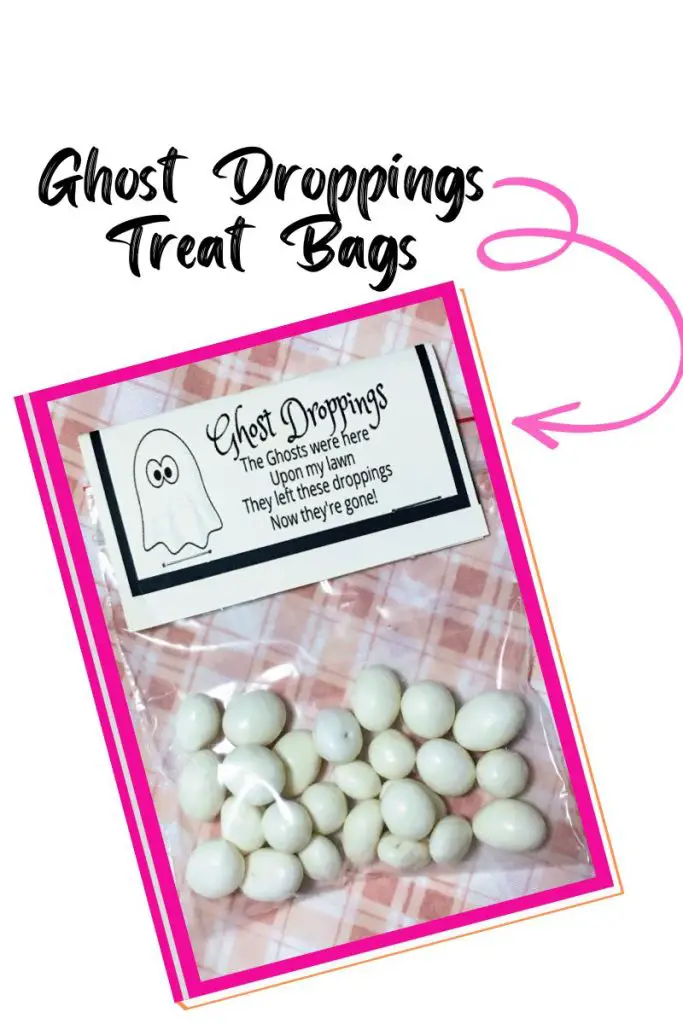
Did someone say candy? Halloween is such a fun time for kids and even some adults. Halloween decorating is fun, but eating all the candy is more fun. You can easily learn how to make ghost droppings, a great Halloween handout and super kid-friendly.
Even the kids can easily learn how to make Ghost Droppings and put them together It is an easy way to get kids involved. You do the printing and cutting, and let them do the rest. Let the kids have fun handing out their Ghost Droppings to their friends and their classmates.
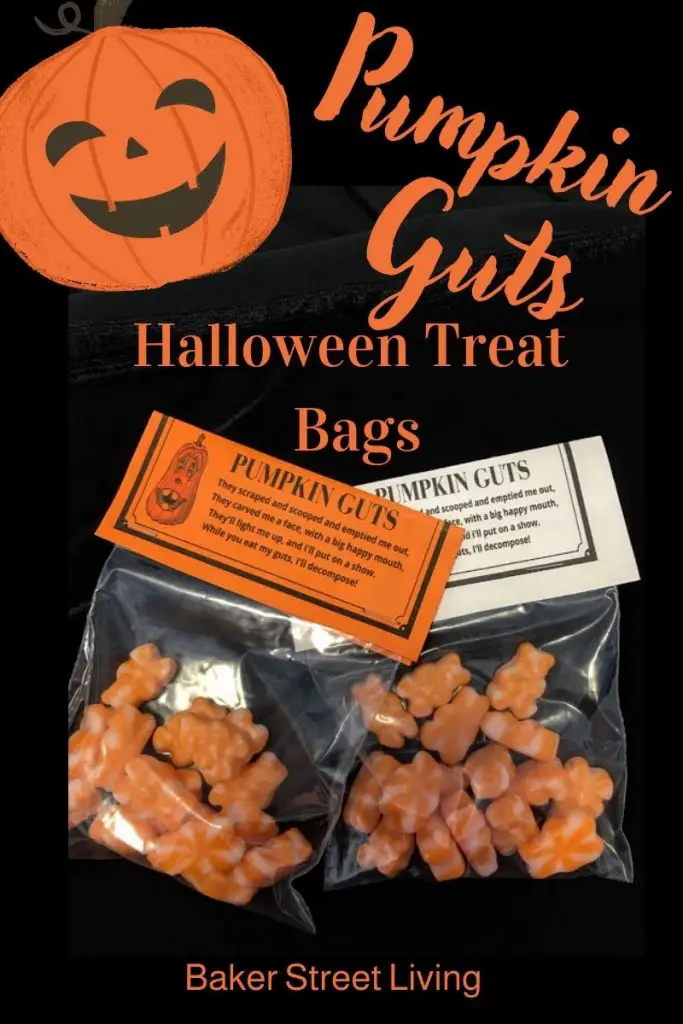
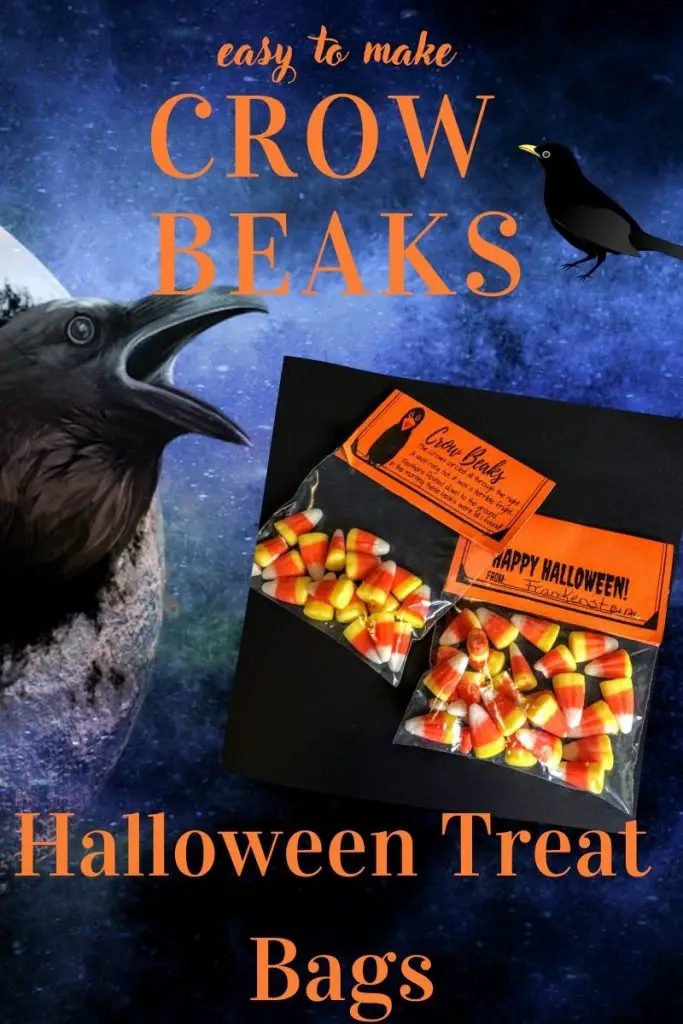
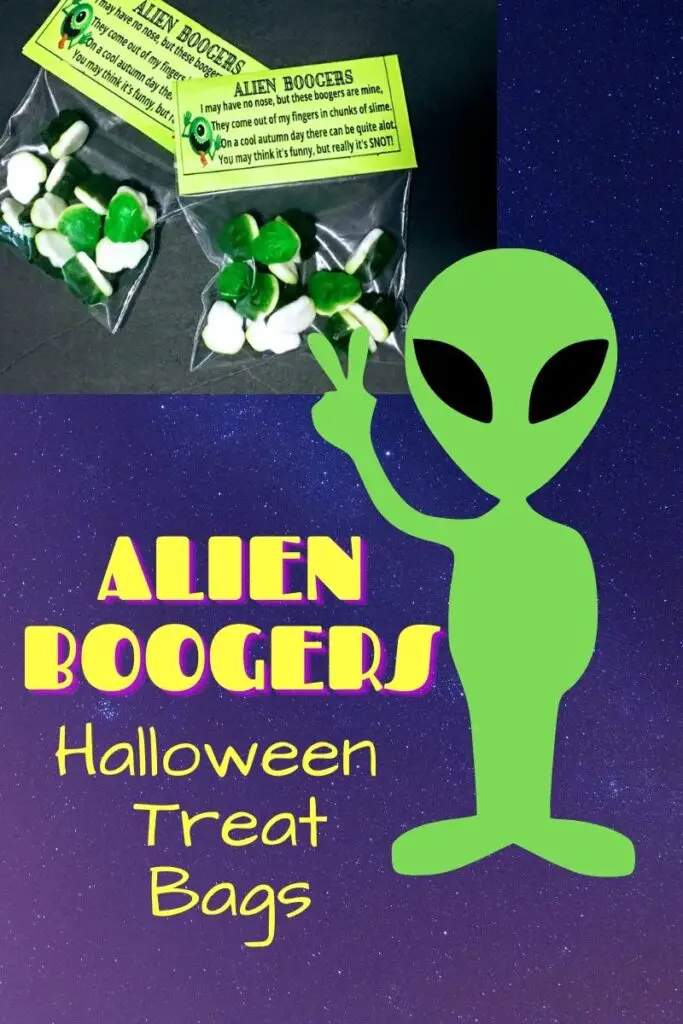
These Ghost Droppings treat bags are a great compliment to our other Halloween handouts, like our Alien Boogers treat bags, Pumpkin Guts Halloween treat Bags, our Crow Beaks Halloween treat bags and our Frankenstein’s Bolts Halloween treat bags.
Supplies List
This website contains affiliate links. As an Amazon affiliate, I earn a small commission from qualifying purchases (at no cost to you).
- 8.5″ by 11″ cream-coloured cardstock
- Mini resealable treat bags
- stapler
- inkjet printer
- paper trimmer or scissors
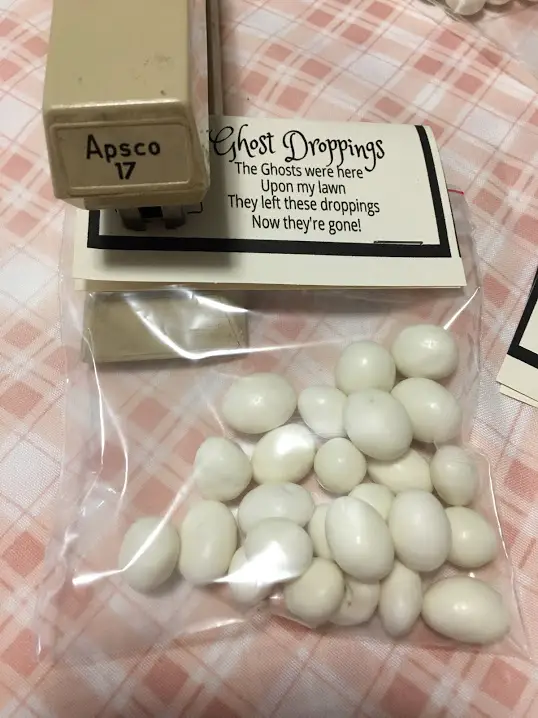
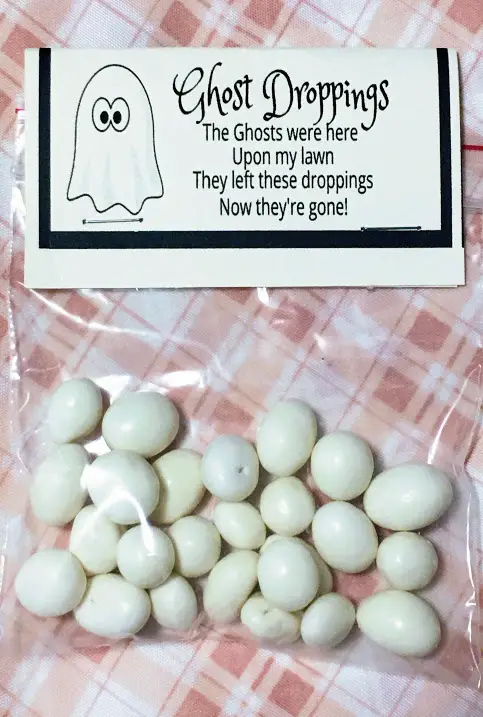
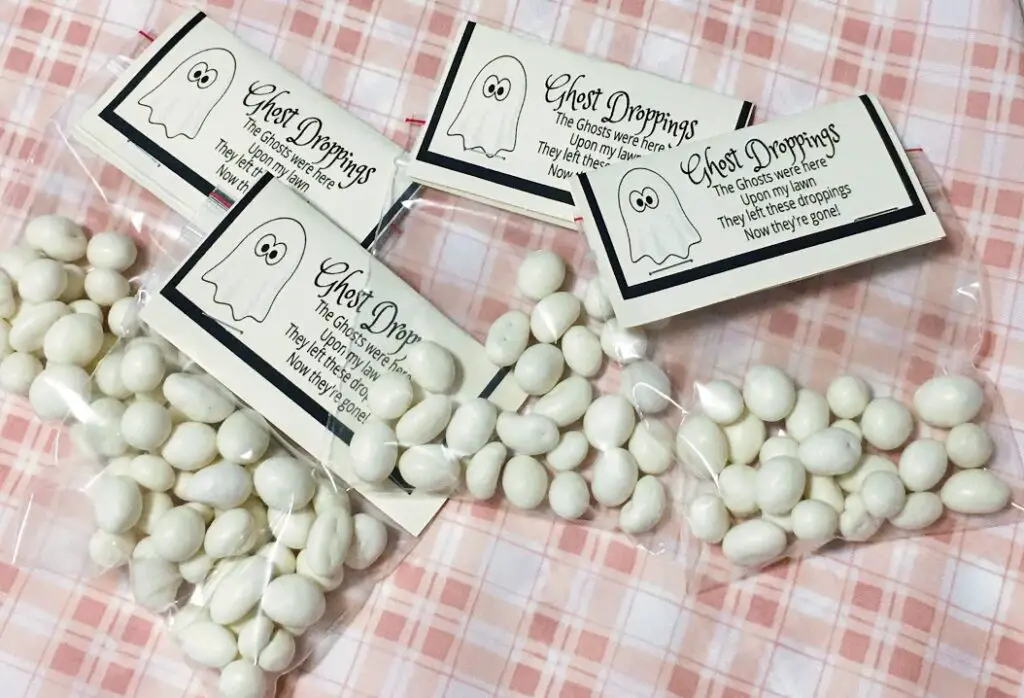
- Yogurt-covered raisins
- If using the Cricut cutting machine – this is a print and cut project – see supplies needed below
**. We used a medium-weight card stock as it seems to be the best weight for the inkjet printer, and still be strong enough to hold the top of the treat bags firmly in place
Supplies needed if using a Cricut Cutting Machine
- Cricut cutting machine ( can be made on any Maker, Maker 3, Air Explore 3 or Explore 3)
- standard grip cutting mat
- fine point blade
Thinking about buying a Cricut Cutting machine. Check out our post on How to choose the right Cricut cutting machine for you.
How to Make Ghost Droppings treat bags on your inkjet printer
Need a password – No problem.
Steps in How to make Ghost Droppings treat bags
STEP ONE
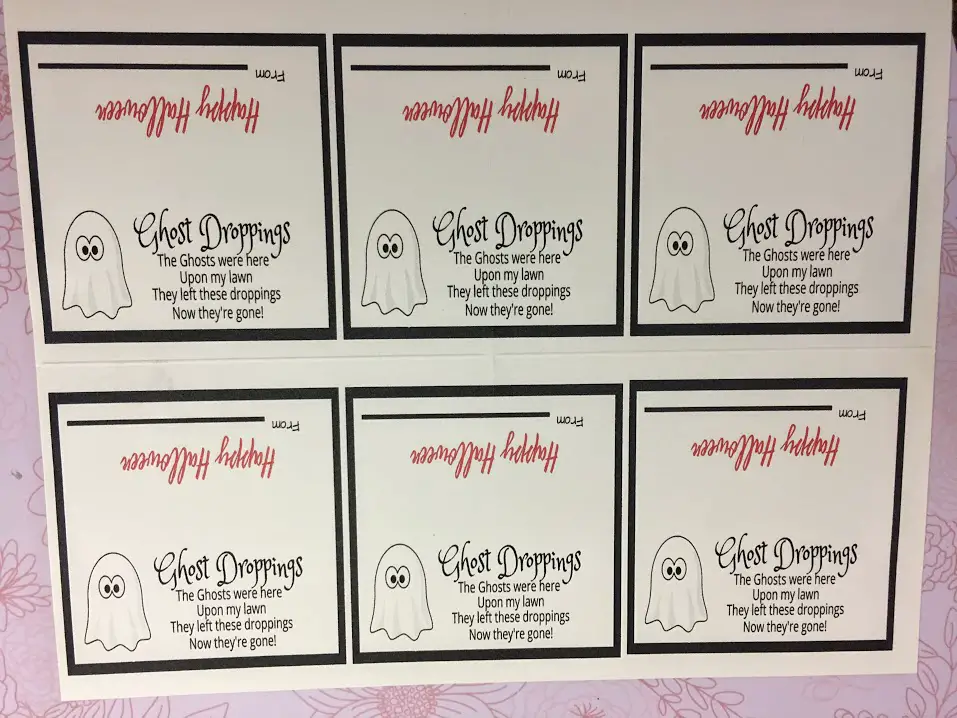
Print the treat bag cards – There are 6 printable ghost droppings treat bag cards per 8.5″ by 11″ sheet of card stock. Print enough to make the number of ghost-droppings treat bags you plan on making.
STEP TWO
With a paper trimmer, cut around the edges of all six cards. If you don’t have a paper trimmer, use scissors or a ruler and X-Acto knife on a cutting mat.

STEP THREE
If you are assigning the rest of the assembly to young kids, make an easy assembly area for them to follow.

STEP FOUR
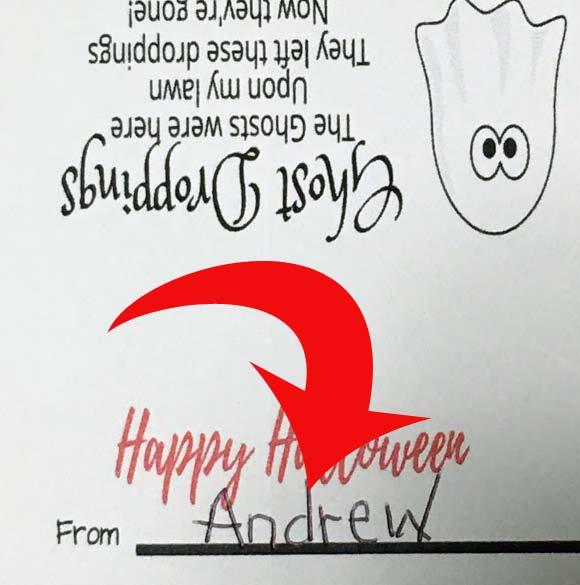
Fill out the FROM section on the back of the Ghost Droppings tag. This is a great time for the kids to practice their writing skills.
STEP FIVE
Fold tags in half, so they are easy to attach to the top of the treat bag.
Put yogurt-covered raisins (or your favourite white candy) into treat bags and staple the “Ghost Droppings” folded tag to the top of the bag.
Now all that is left is to hand them. out.


How to make Ghost Droppings treat bags with a Cricut cutting machine
If you have a Cricut cutting machine, open the canvas in Design Space,
Steps to print and cut in Cricut Design Space.
- Download and save the image to your computer from our free resource library.
- Upload the PNG image into Cricut Design Space
- Save as a print-and-cut file
- Load the design onto the design space canvas
- Resize to the size you want. You can make your treat bags as big or small as you want.
- NOTE – the tags will be cut along the black border of the tag. If you would like a bit of extra space around the tag, follow these easy steps
- Select shapes from the side menu ( or use the offset option from the top menu in Cricut Design Space)
- Select the square and resize it to cover the tag
- Left-click on your mouse and send it to the back
- Resize if not already the desired size.
- Left-click on the tag and then on the square – both should be highlighted on the right side layers panel.
- Select Flatten from the bottom right tools menu.
- Duplicate to make as many tags as desired.
- Now select “Make.”
In the image below, we added a box as described above and now have a nice, clean white border around the black border of the tag.

Once your tags are cut, just fold, fill out and staple onto a treat bag, as described above.

This website contains affiliate links. As an Amazon affiliate, I earn a small commission from qualifying purchases (at no cost to you).