
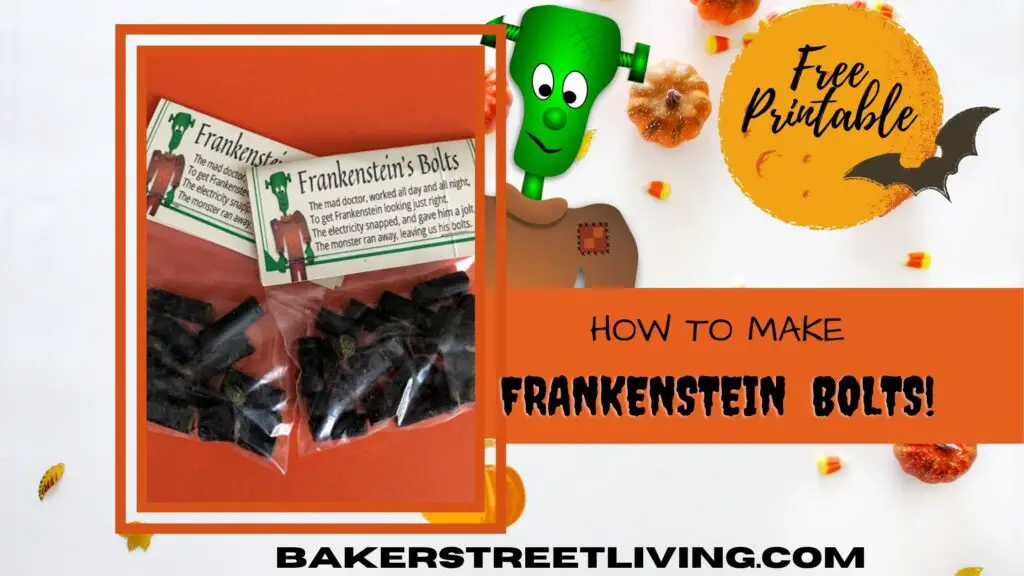
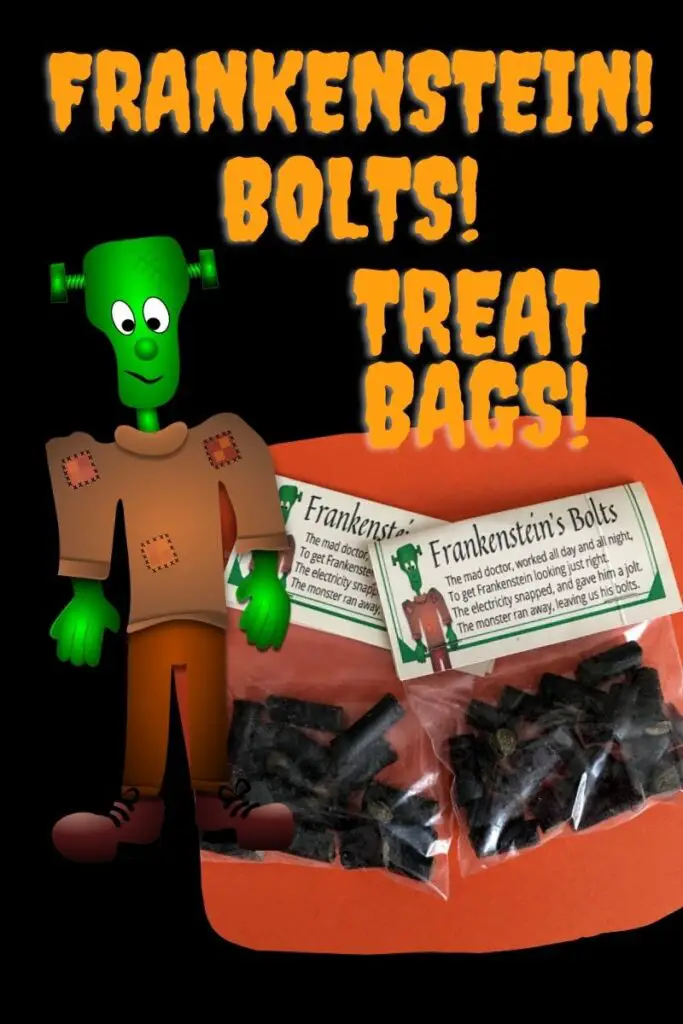
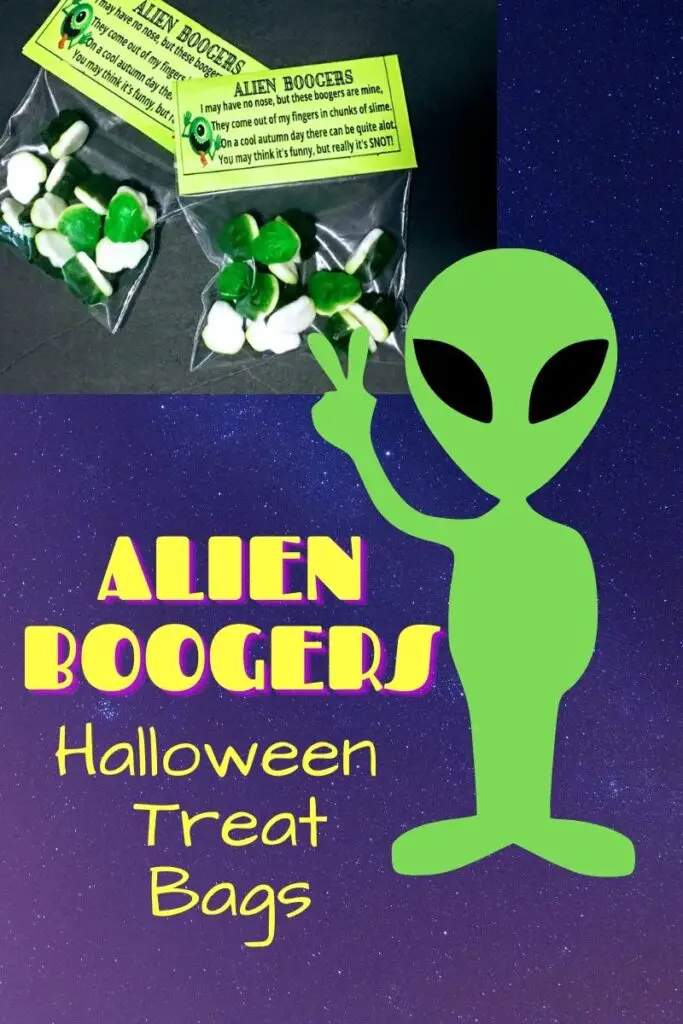
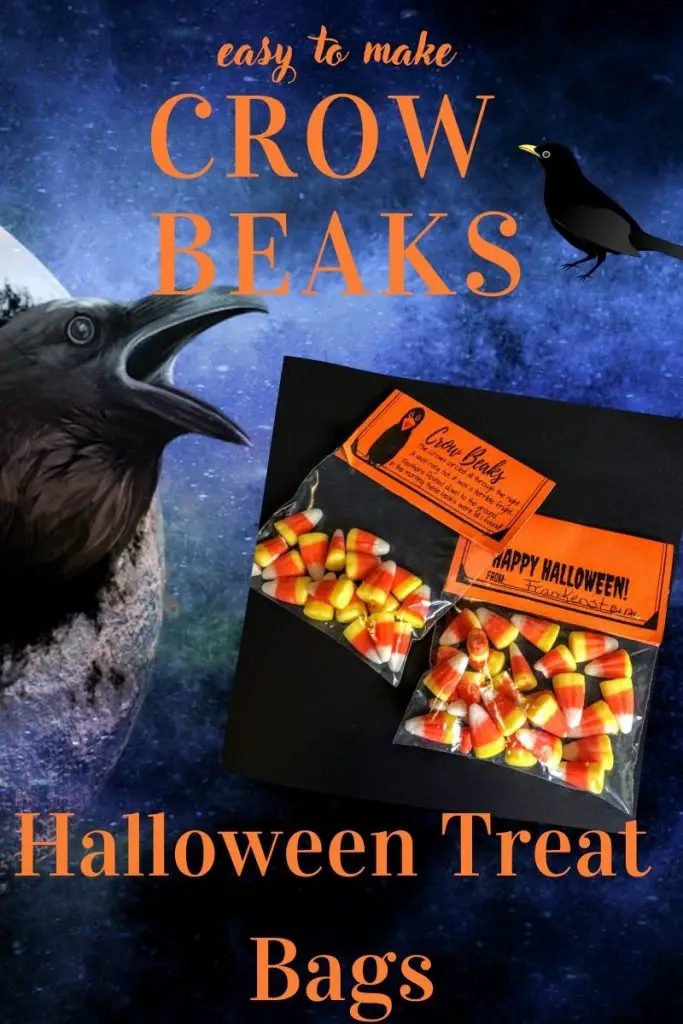
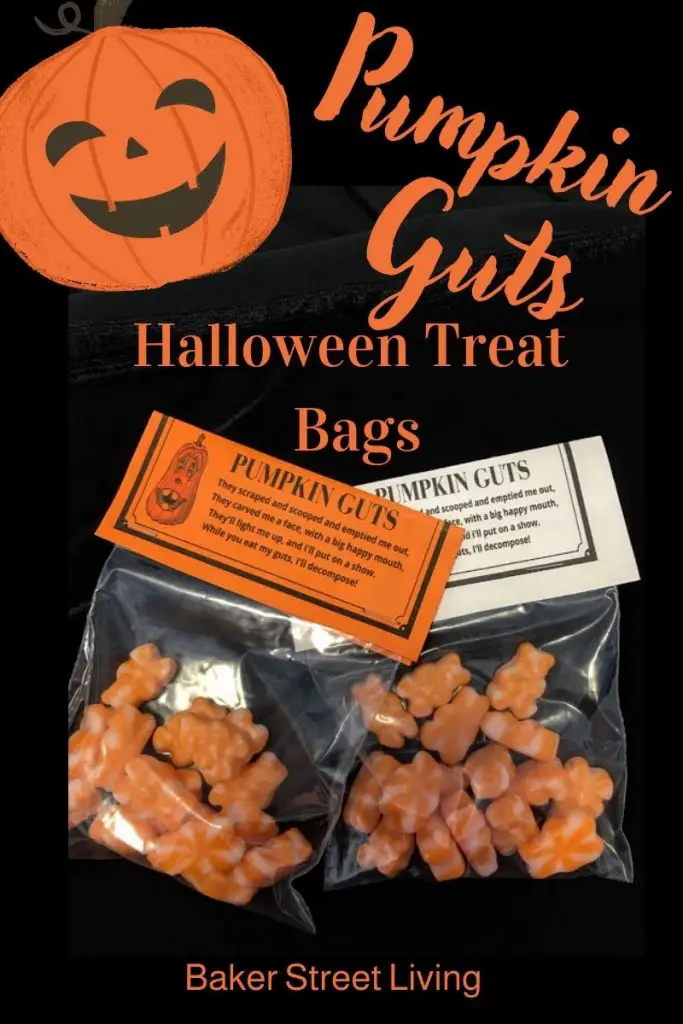
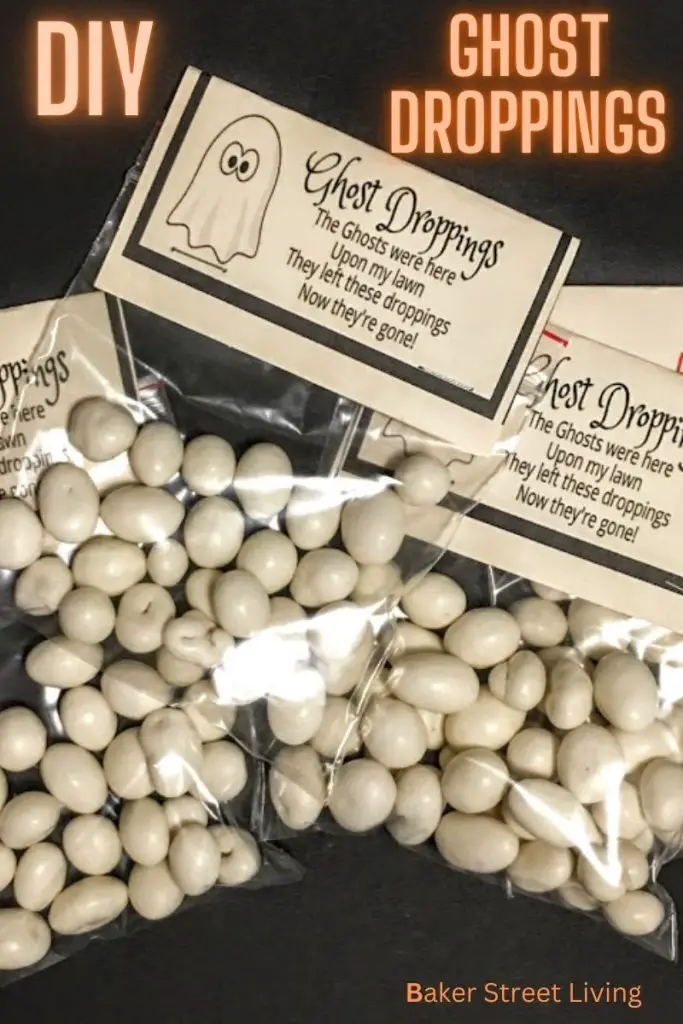
We love this series of Halloween Handouts. These Frankenstein Bolts are just another fun handout that the kids can share with their friends and classmates. These are easy to make, and it’s a great opportunity to get the kids involved in putting them together.
If you have been following along with us, you will already know that this is the third project in our series of Halloween Handouts. If you are new to this page and you like the idea of fun Halloween Handouts, then you should check out our two previous Halloween posts.
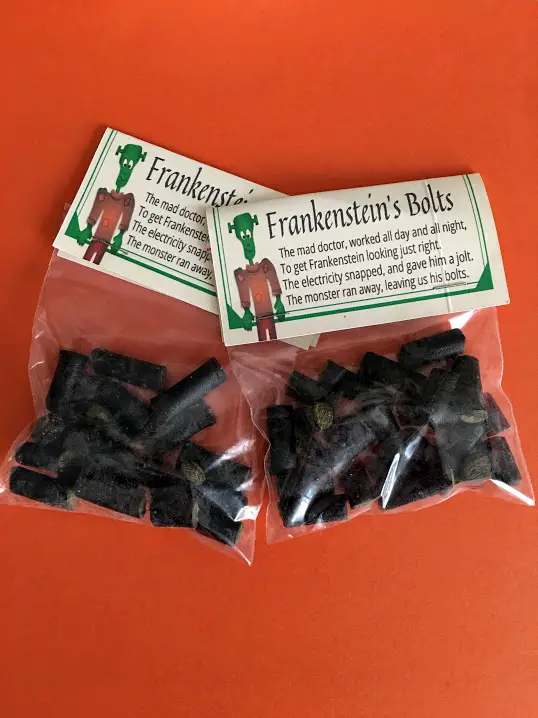
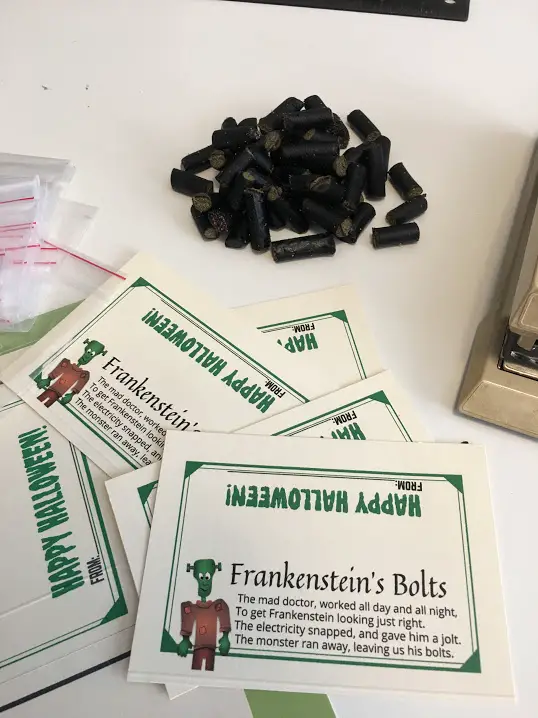
In the Frankenstein Bolts, we are using black licorice nibs. If you don’t like black licorice, you can use red licorice or choose your own suitable candy that resembles bolts.
We like the licorice nibs because they are the right size and shape for the bolts. Some ideas are green licorice cut into short bolt-sized pieces, jelly beans, or Hubba Bubba bubble gum squares. If you are looking for a non-candy substitute, you could use pretzels or Reece’s Puffs cereal. The great thing about the Halloween handouts is that you can personalize them with all of your favourite candy or treats.
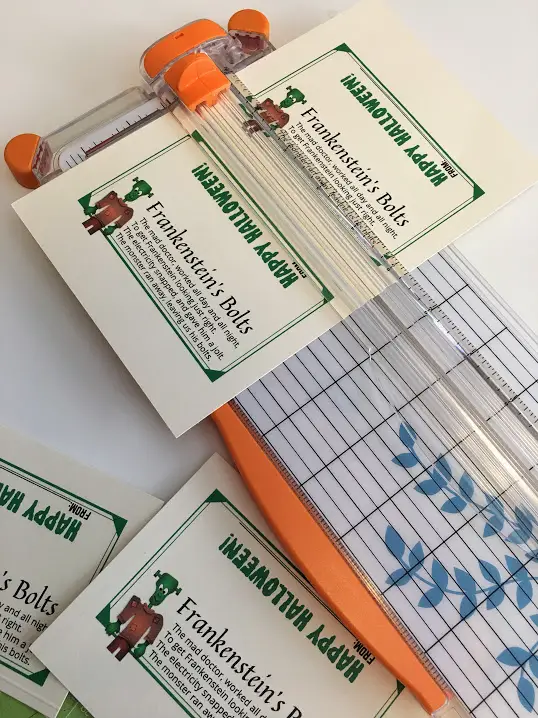
This project can be made using an inkjet printer and paper trimmer or it can also be made on a Cricut cutting machine
Supplies List
This website contains affiliate links. As an Amazon affiliate, I earn a small commission from qualifying purchases (at no cost to you).
Using a cutting machine? – See project instructions and get the print and cut download at the bottom of this page.
How to make the Frankenstein Bolts Halloween Handout
- Send the printable to an inkjet printer and print.
- Using a paper trimmer, cut the printed tags into 6 equally sized tags
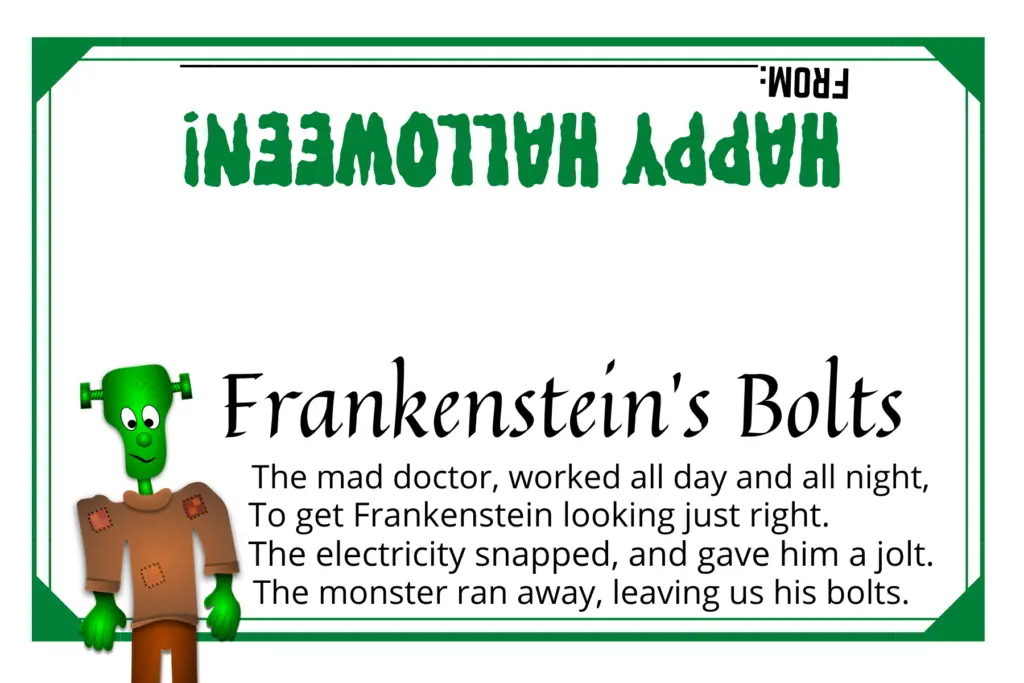
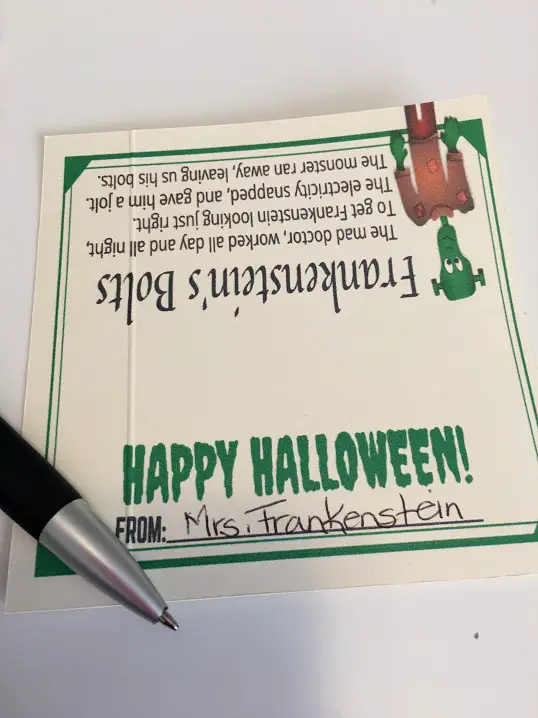
- Have the person handing out the Frankenstein Bolts and Halloween handouts write their name on the back in the “FROM” spot. This is a great opportunity for kids to practice writing their names.
- Fold Frankenstein Bolts tags in half and set them aside.
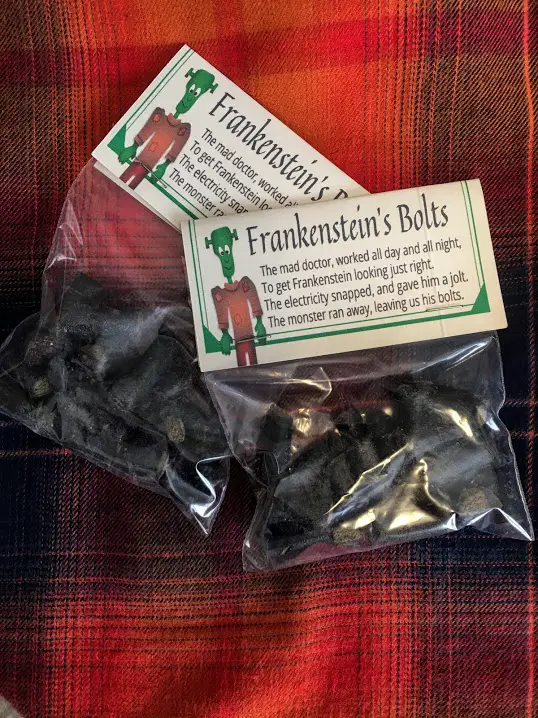
- Fill the treat bags with licorice and seal bags.
- Staple the tag to the top of the bag

Additional Supplies for cutting machine users.
In addition to the supplies listed above, you will need:
Instructions for the Cricut cutting machine
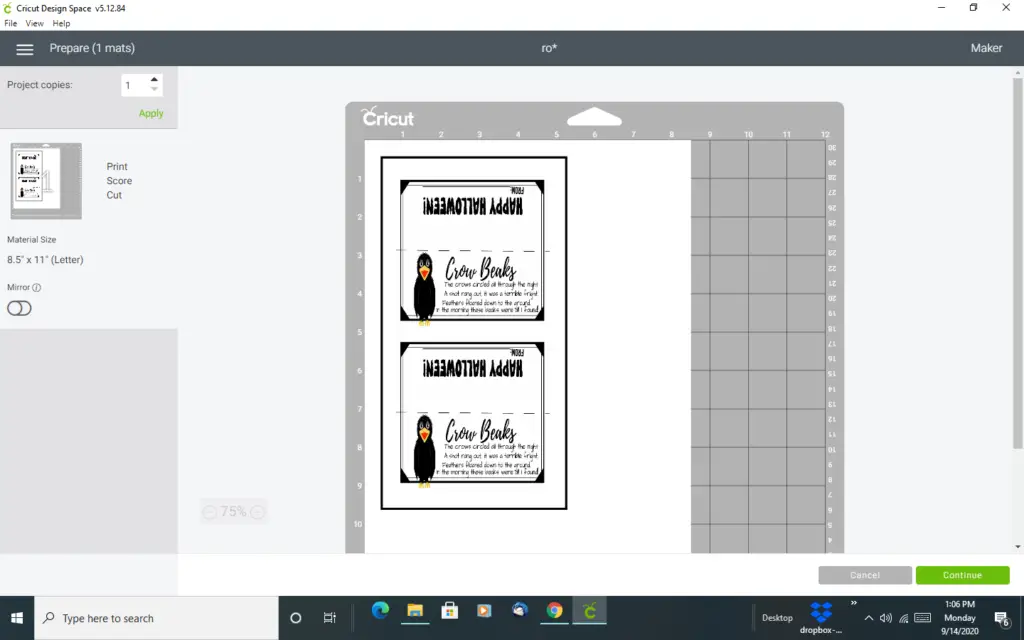
- Download the free print and cut file above.
- Upload the file into Design space, choose print and cut in the menu after uploading, and load it onto the canvas.
- Resize the design to the size you desire. It looks best if you choose the size that is the width of the top of your zipper bag. I used a 3.5-inch by 4-inch zipper bag, so my tags were 4″ by 4″. Remember, you can unlock the design on the canvas to accommodate your bags.
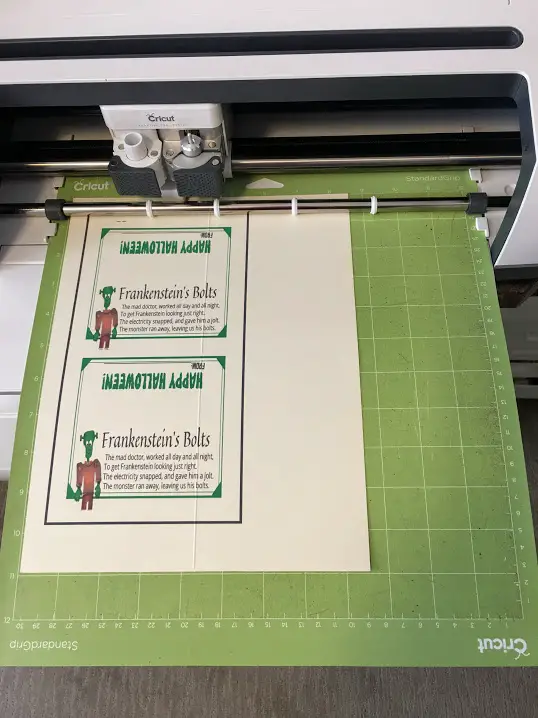
- When you have the desired size, re-lock the lock and duplicate. When using the print and cut on the Cricut, you will likely only get 2 tags per 8.5″ by 11″ piece of cardstock. This is because Cricut prints a registration box around the designs. Do not cut this box off. This is what your Cricut will use to orient itself on where to cut your design.
**If you are using a Cricut, you can add a “score line.” Just be sure to center it on the tag and then attach it to your design before you make it.
5 Make
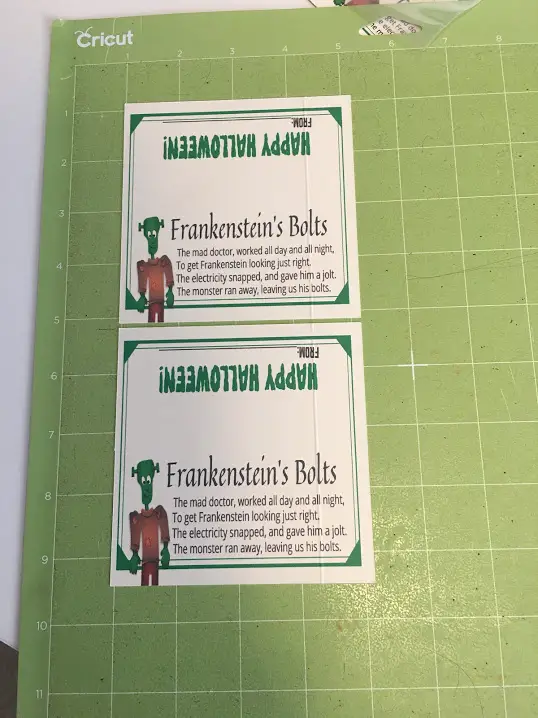
6. Once you have printed your design and cut your design in your cutting machine, lift your design from the mat. We use the Cricut spatula tool for lifting the tag. This thin spatula will keep your tag nice and flat, while removing it from the sticky mat.
7. Sign the “From” part of the tag before stapling.
8. Fold tags in half and staple to the top of the zipper bag.
9 – Start handing out your Frankenstein Bolts Halloween Handouts


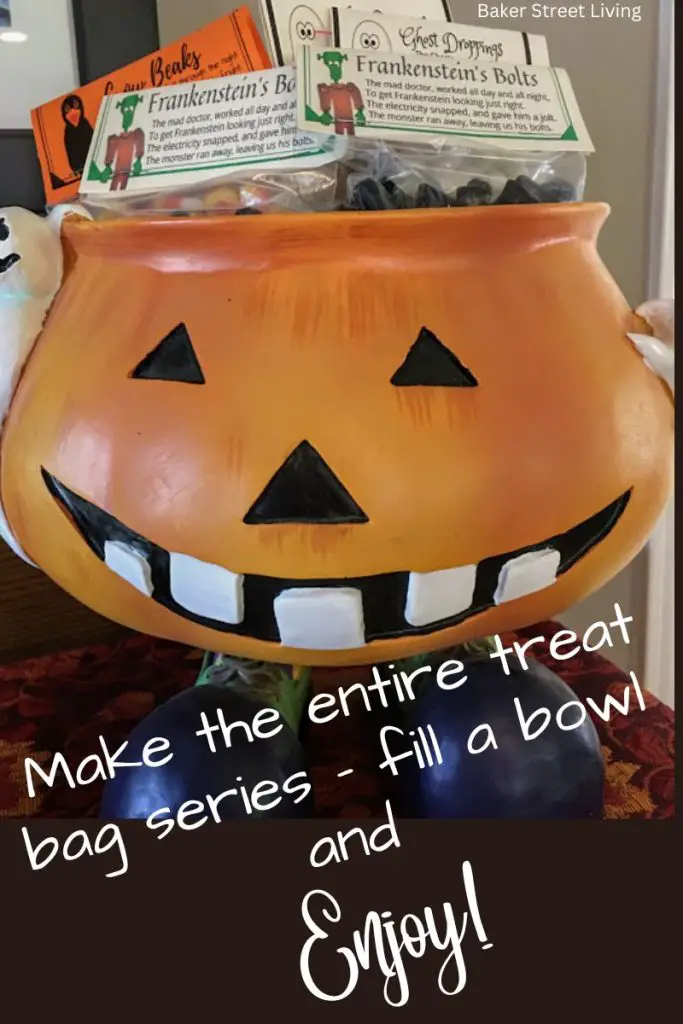
Fill a bowl of our fun Halloween handouts and grab and go!

Thanks for visiting Baker Street Living. Happy Crafting.
Disclaimer: This post contains affiliate links. We receive a small commission when purchases are made through our links, at no cost to you.