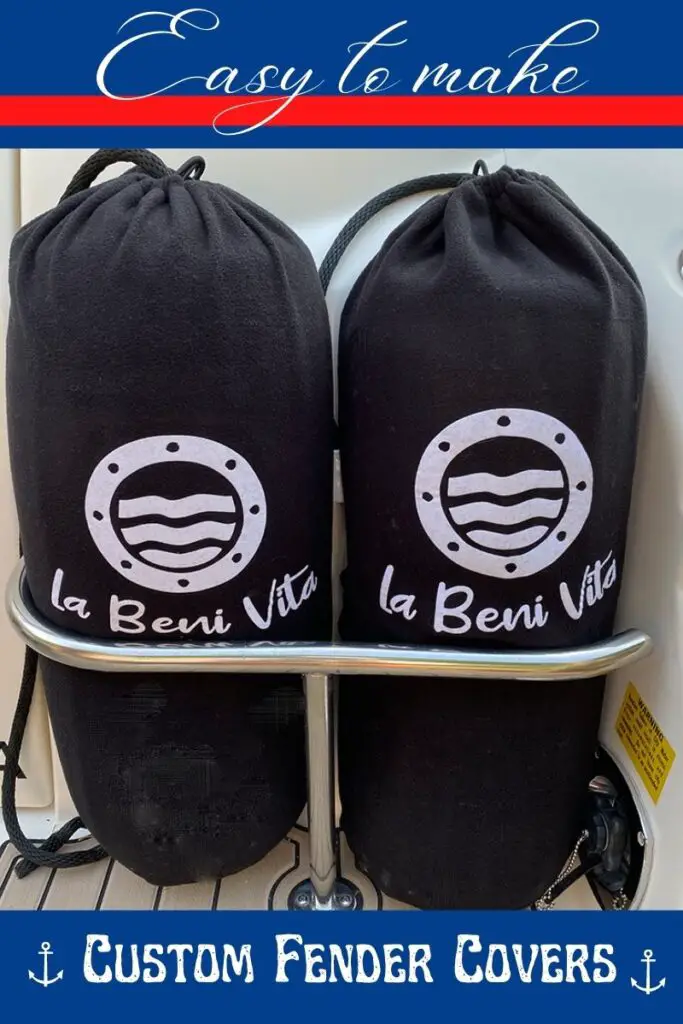
Moist crafters I know are frequently downloading images from the internet and turning them into layered designs for HTV and adhesive vinyl and HTV Vinyl projects. Creating layers for layering vinyl designs doesn’t have to be intimidating. The process is quite easy and once learn how to layer vinyl and you do it a few times you’ll be a pro.
This method is handy when you are using images that you have downloaded from the internet and you wish to turn them into layers.
There are several ways to layer vinyl. This method is one we use to layer vinyl that is easy to follow easy to use, especially when using images you have saved online.
AN EASY BEGINNER PROJECT
FIRST – Convert the image to either an SVG or a PNG image- there are other compatible file types but I find these two work best.
There are many websites where you can convert images into SVG’s but that does not guarantee a smooth edge when cutting.
If you are looking for a free online tool to convert images into an SVG easily, I highly recommend INKSCAPE. It is a free downloadable open software program that is easy to use and opens up many options for making cut files and print and cut files.
Once you have your files converted, follow these next easy steps.
How to Layer vinyl designs from downloaded images – easy method
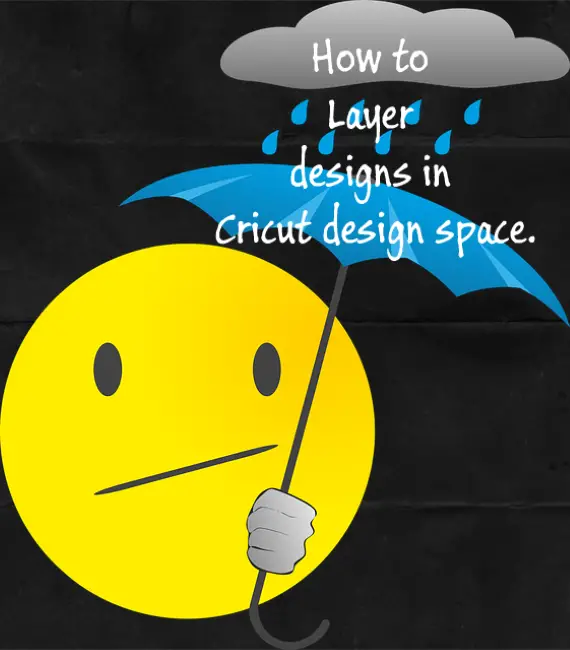
Step 1: Choose your image and upload it into Cricut design space. I chose a smiley with an umbrella as it was multi-coloured and easy to follow. This image was a free download from Pixabay. The link is at the bottom of this page.
Step 2: Upload your image into Cricut design space.
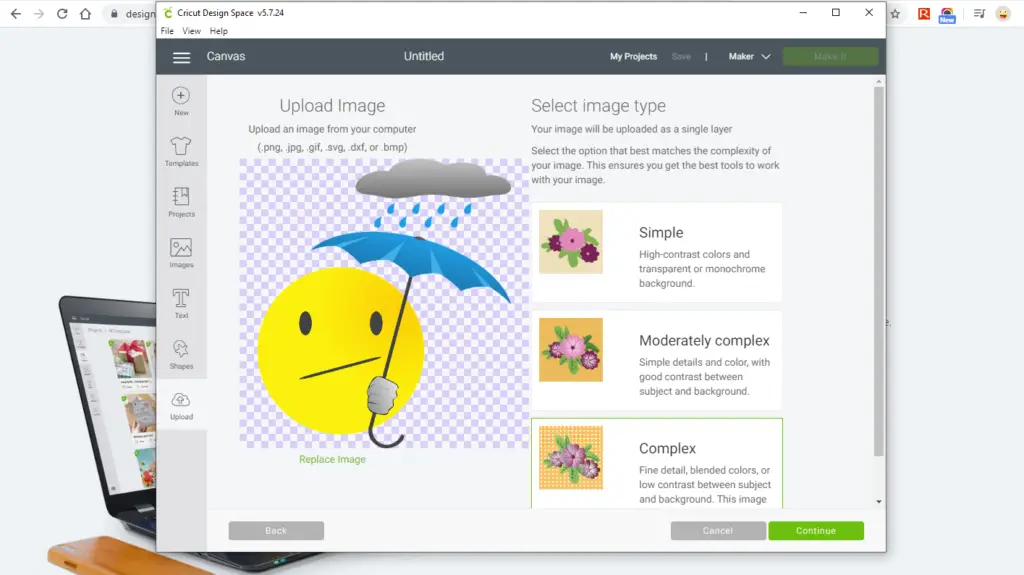
Choose complex from the menu that appears on the right. Click on continue ( if your image is only 2 colours, you can choose simple, but it’s a good idea to choose complex just in case there are shades of colour that you didn’t see)
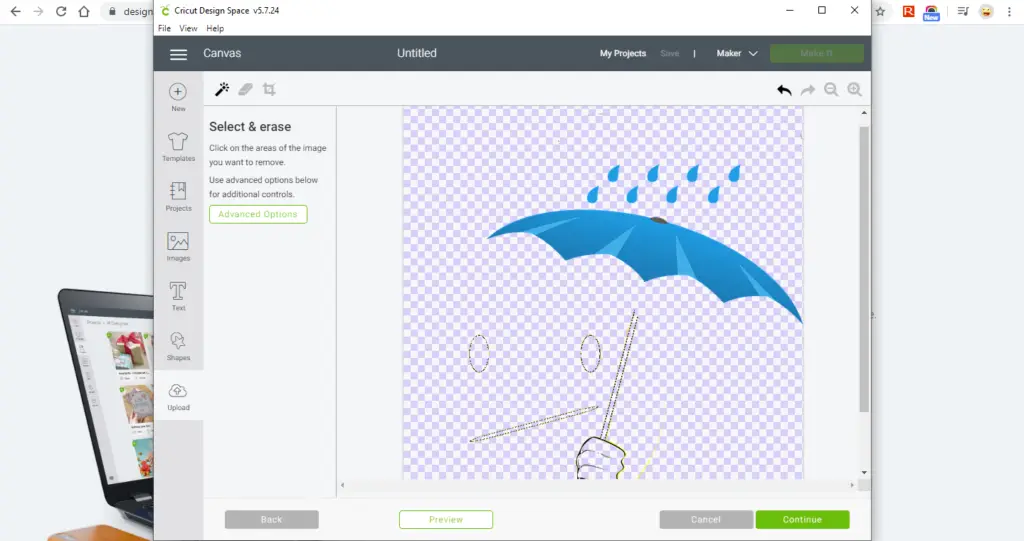
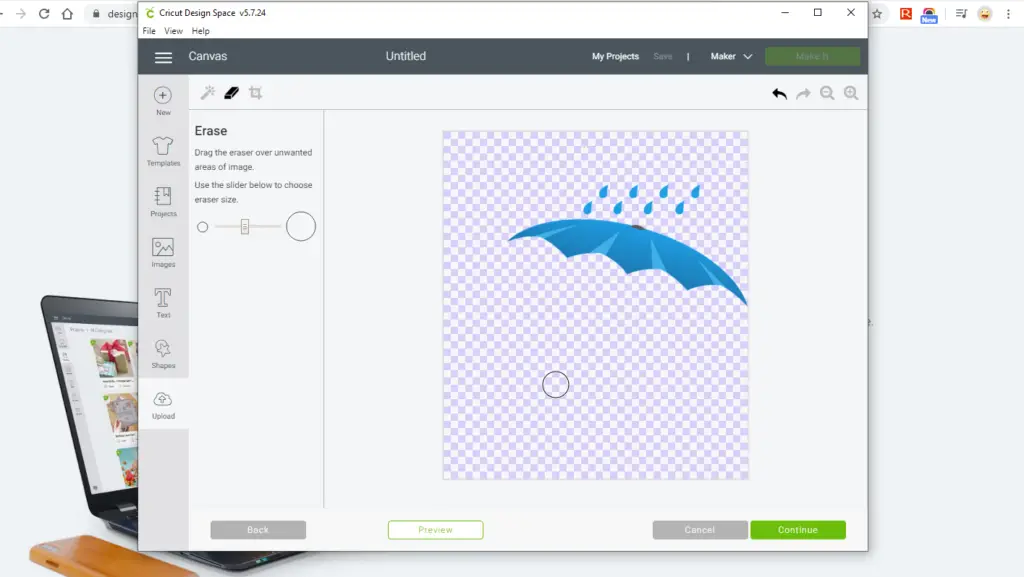
Step 3: The next page that appears allows you to remove unwanted areas. I will do this for each colour. First I removed everything but the blue umbrella and raindrops. You can see in the image below that it left some outlines. We can easily erase those lines and clean them up. Go to the top left and select erase. Remove any of the lines that were left behind. You can use the zoom tool on the top-right menu to get in close to make sure you’ve got them all.
After erasing, you can see in this next image that it looks pretty clean.
Step 4 Complete the same function for each different coloured layer in your image After you have completed this on all parts of your image and you’ve saved them as cut files, click on each one and select Insert Image in the bottom right corner
Step 5. You should now see your images on the Cricut grid. It will look jumbled as they will load on top of each other.
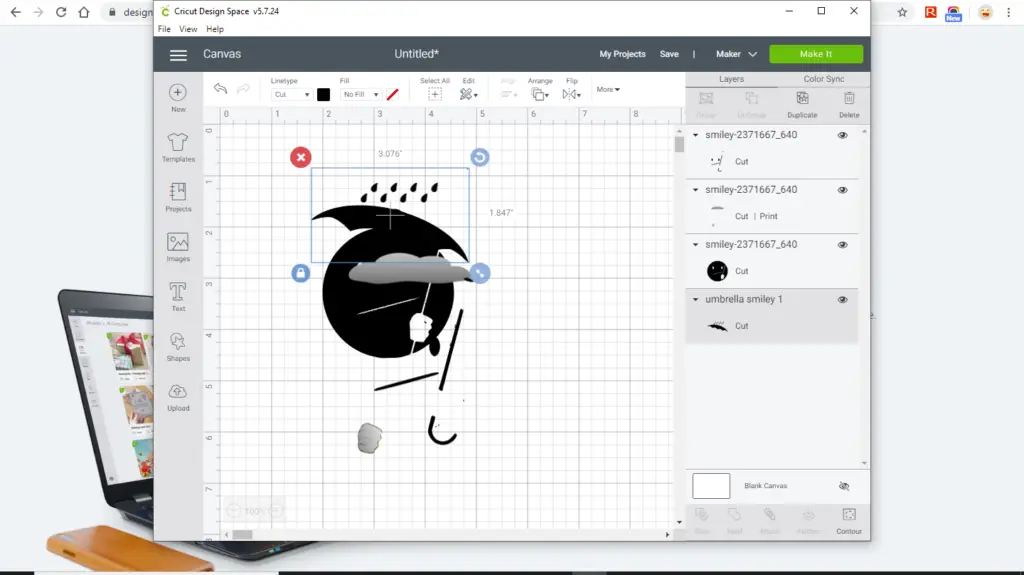
You can click on each one and move them around to see if they are all the correct size and complete.
In the next image, you can see that I have moved the sections into place and they all fit perfectly.
I have also changed the colours on them, as they came into the grid black.

You don’t have to do that. I like to do it so that when I’m making it I have all the colours I need, handy and ready to load onto my mats.
You can change colours on the top menu bar. When you click on a section of the image, a frame will appear around it showing you what is inside and the colour will appear on the bar. Click on the colour square and a menu will open up with colours to pick from. You can also resize them here to fit your project. Make sure you resize them all accordingly.
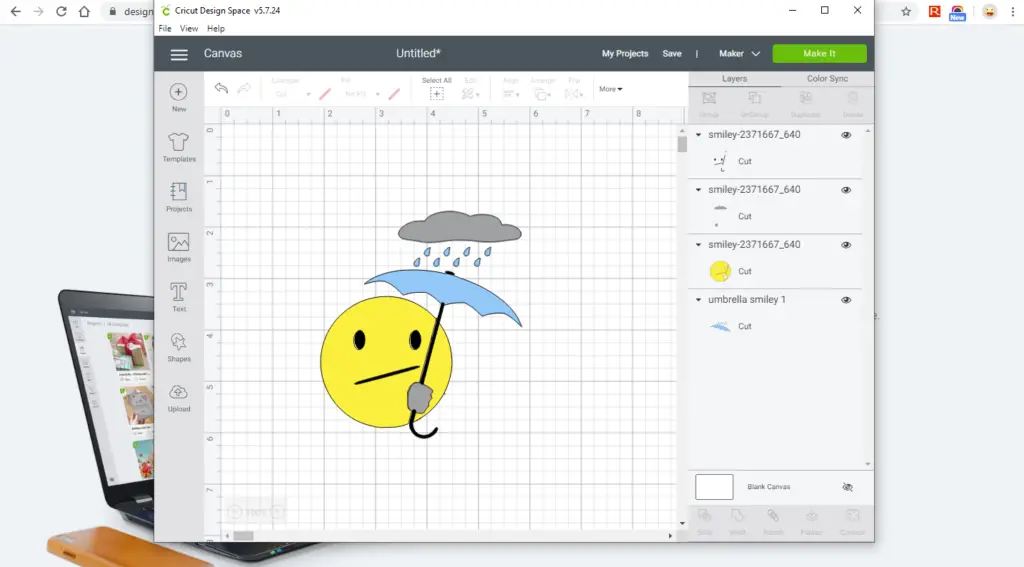
Step 6 ” Select Make It”. Your mats will appear with your four colours on them. Now you follow your Cricut instructions by loading and cutting each mat.
Make sure you follow package instructions when you are going to layer vinyl. When using heat transfer vinyl, different brands have different heat setting times.
There are other ways to layer vinyl as well. It is all a matter of personal preference. That’s the great thing about a Cricut cutting machine. They are multifunctional and easy to use. \
Finding Images and files online
Pixabay is one of my favourite sites for free downloadable images and clip art. This Smiley with the umbrella was a free download from the Pixabay site.
There are other free sites as well = such as UNSPLASH and PEXELS.
For free fonts check out DAFONT
A note about free downloads.
Make sure that you adhere to the licensing agreement. Many are free for personal use only, but some allow commercial use.
Thanks for visiting Baker Street Living. Happy Crafting!
This website contains affiliate links. As an affiliate, I earn a small commission from qualifying purchases (at no cost to you).

